
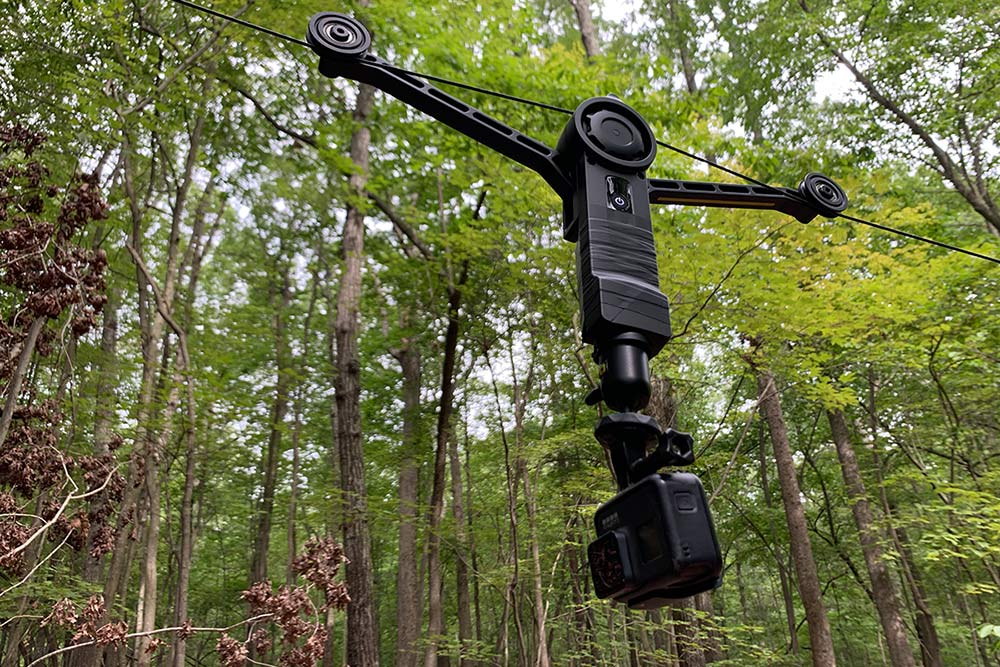
We all want those killer shots where the camera looks like it’s floating through the woods. Or flying through impossibly tight trees where no drone could go? A cable cam is how you do it, and the Wiral Lite is one of the easiest, most affordable ways to add that to your video toolbox. We’ve been testing it on our final summer road trip and on local trails, and it’s been killer. Even if we did smash it to bits on the very first run…
You’ll notice the Wiral Lite’s motor noise clearly present in every segment. For reviews and ride videos, we’d duck that channel down to zero and mute it. I left it in here so you can hear what’s recorded by a GoPro HERO7. If you were really wanting to capture the ride sounds to match the video, I’d suggest turning on a voice recorder app on your phone or running a second camera on the bike. Then, just clap your hands at the start to sync up the video by matching the audio wave forms in your editor. OK, on to the written review…
What’s in the box?
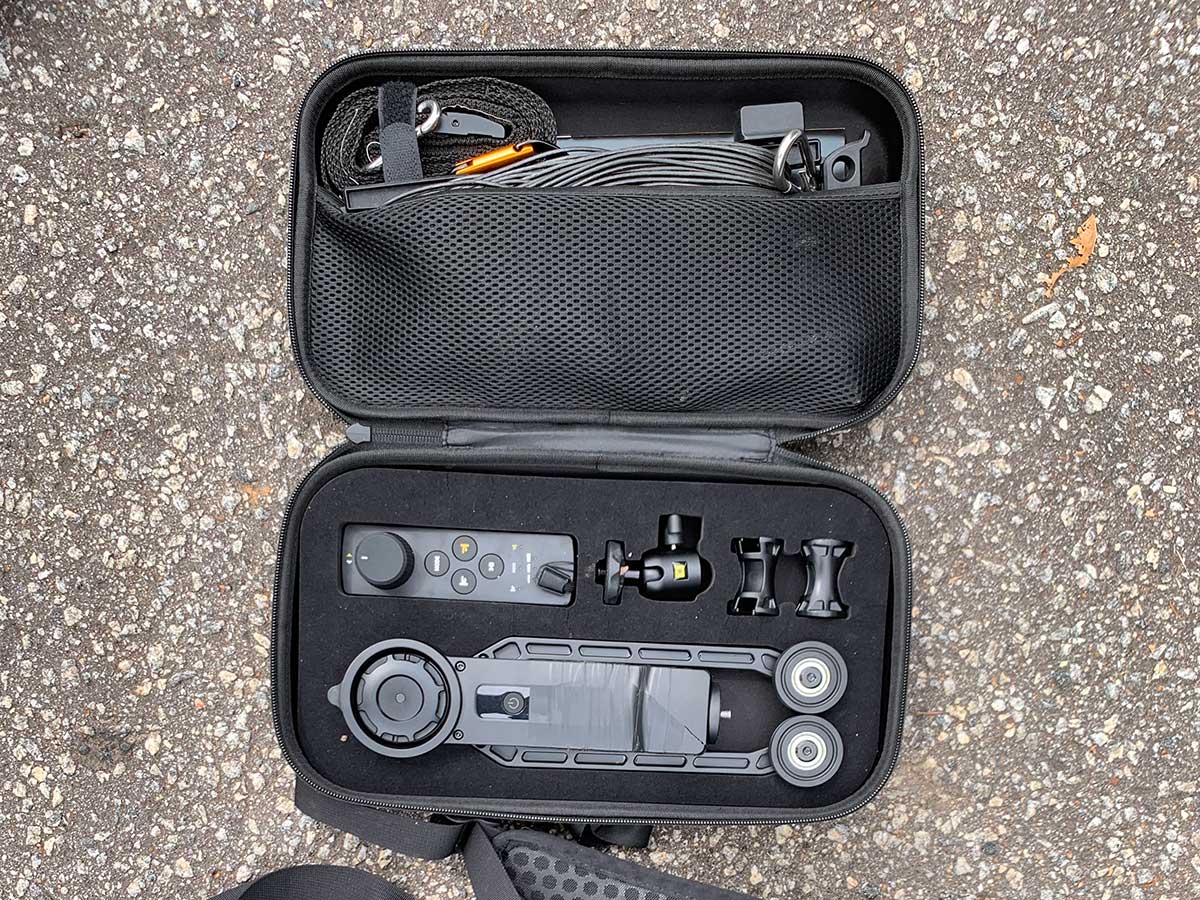
For $399, you get the Wiral Lite cable cam, two cable end stops, the ball-joint 1/4-20 camera mount attachment, two cable stops, charging plug and battery, remote control, and a 50m yellow cable with adjustment strap and quick reel. We upgraded to the 100m black cable (+$149) and used a 1/4-20 “GoPro”-style action camera mount that we already had. Wiral also sent along the Premium Travel Case (+$79), which is what you see above holding all of the bits and pieces. The case is a bit expensive, but…

…it definitely keeps everything safe and secure. And it’s easily packable in a large hydration pack like the Mission Workshop/Acre Hauser 14L (with room to spare).

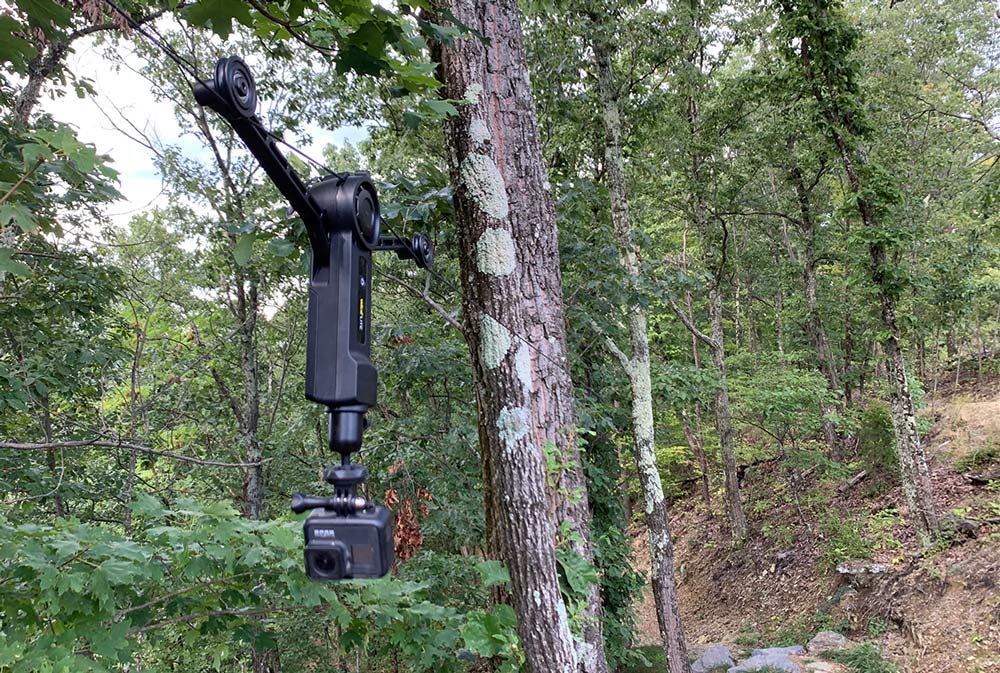
Both lengths of cable reel come on a quick reel carrier that makes it easy to run the cable between end points, and easy to reel it back in. Once you have the desired length, just click it into the closed position and attach the adjustment strap. You’ll loop the cable around something (like a tree, light pole, etc.) at one end and clip it to itself with the attached carabiner. The strap loops around something at the other end. Use the reel to take up any slack, then pull the cable tight to keep the system taut. At about 50m of length, we noticed up to 4′ of sag when the cable cam was in the middle. That’s with a GoPro HERO7 attached, so a DSLR will likely sink deeper.
PRO TIP: If you can’t get the exact position needed by clipping the cable end directly around a single object, then loop it around two different poles and triangulate the point where it aims toward the other end point. This allowed us to work around, um, poorly placed trees to still get a clean line through the woods.

The cable stops clip onto the cable and provide a physical stop. These should be placed 6-10′ (2-3m) away from the pole to provide a buffer. Hit them at low speed and they may slide a bit. Hit them at full speed and they’ll knock the leading wheel off the cable. And that’s what they’re supposed to do. The cable cam won’t fall because it’s capturing the cable between the motor-driven wheel and a metal pin. But by dislodging a guide wheel, tension is removed and the motor can no longer propel it forward…into the pole. It’s a clever and simple safety system. And it’s a backup to the digital stops you can set with the remote…more on that in a minute.
Wiral Lite operation & performance
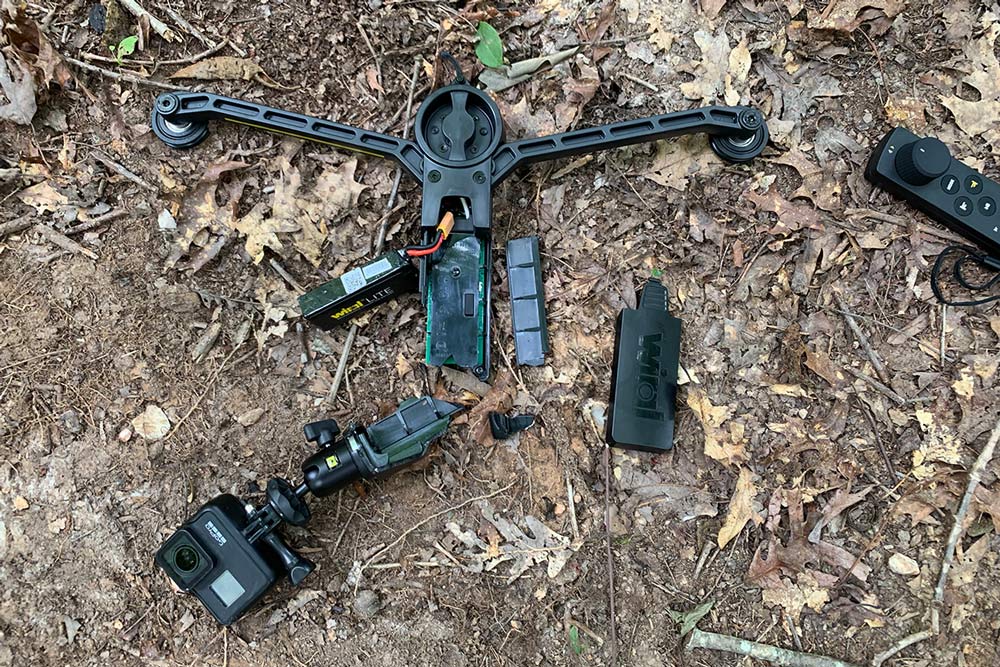
Practice makes perfect, as they say…and a lack of it can result in a smashed cable cam. Or, more precisely, a too-low line can put the camera in the way of the rider. Or the cable. Neither of which you want to hit while riding. On our very first run, we were trying to catch up to the rider and ended up sideswiping his helmet at high speed. The image above shows the result.
To Wiral’s credit, none of the electronics were damaged, and after we electrical taped everything back into place, it worked just fine for the remainder of the day. That said, it’d be nice if the body were a bit tougher.
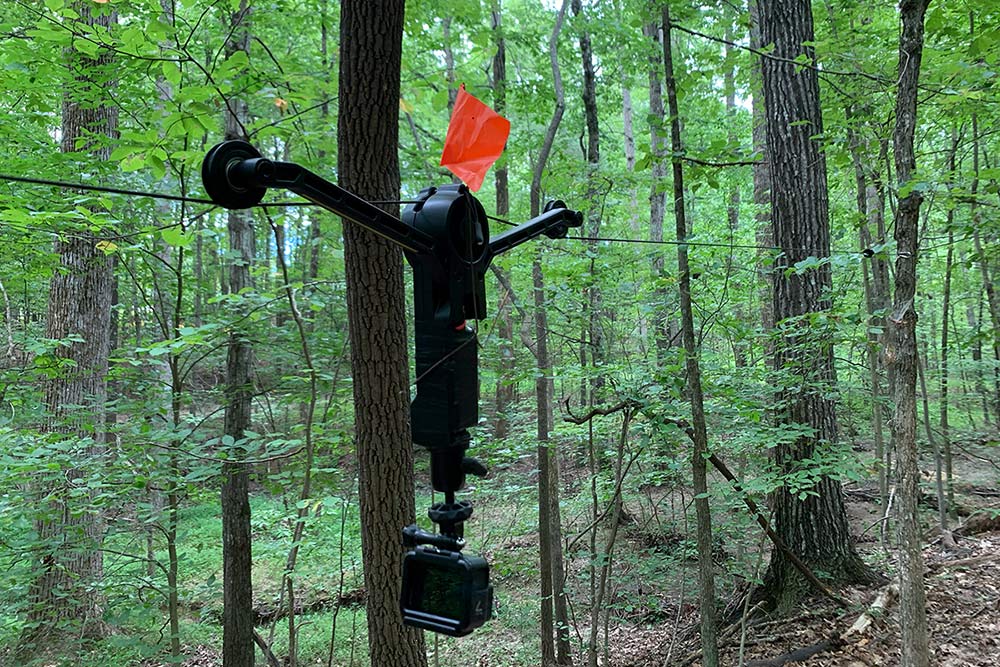
We also think it’d be smart if the body were bright orange, or came with a small flag. Here’s why: The remote control operator needs to be way off to the side or behind the start/finish point (behind whichever direction the camera is facing), otherwise you’ll see them in the footage. Even at 40m, the cable cam can get lost in the trees and hard to see. This makes it hard to match its speed to the subject’s speed, which makes it hard to keep the subject framed properly.
The only other small issue we had was with setting the digital stop points. The arms on the cable cam are color coded to buttons on the remote (see that and everything else mentioned in this review in the video, and more). Simply drive the unit to the point where you want it to stop (somewhere well in front of the cable’s attachment point), push the correct button to set that stop point, and repeat on the other end of the cable. Our issue is that the lights didn’t always indicate that a digital stop had been set, even if it had. And sometimes that meant we’d mash buttons in frustration and end up setting the wrong stop. Fortunately, it’s a quick fix…just turn the remote off and back on…but still annoying. That said, the digital stops do work pretty well. Just know that they’re not a hard stop…if you’re going fast, they are the point at which the motor stops driving, but the unit will coast past it a bit. So, set the digital stop a little ways in front of the physical stops. Which brings us to…
Wiral Tip Pro Tips
Here are a few things we learned using the Wiral Lite to capture product review and destination trail footage for various stories:
- Practice!
- Steady the unit before driving it.
- Beware wind, especially if you’re driving it through tight spots.
- Set the cables higher than you think you’ll need, and be aware of how and where it crosses the trail.
- Bring a ratchet strap if you really, really need to prevent as much sag as possible.
- Plan on about 10-20 minutes of set up per shot, but probably longer than that to get the shot.
- Turn the camera around and capture reverse footage from same setup to get the most out of your setup time.
- Leave 15′ (5m) or so past where you want to stop capturing the action, otherwise, you’ll end up with an awkward end to the cable cam’s motion while the subject moves out of frame. Better to run it longer than you think you need, and start it farther ahead of where you think you need. This gives you much smoother transitions in and out of the shot.
A few other things you need to know are: It requires two people. There’s pretty much no way to control it while also riding (or doing anything that requires your hands). Except in “Ping Pong” mode, which lets you set a speed and have it automatically drive back and forth between digital stop points until you stop it. So, you could (theoretically) set that and try to time your own action to match the camera’s speed, but like many things, it’s better with a partner.
It has two modes, Slow and Fast, plus a time lapse mode that lets you set a speed and have it crawl between digital stops to capture time lapse footage.
Overall, the Wiral Lite is impressive. It’s compact, affordable, easy to use, and performs as advertised. It’s compact size and quick set up make it easy to take on any ride, too. We’d recommend it as another option in your video toolbox to capture unique footage.
Wiral Lite Tech Specs
- Retail price: $399
- Climbs up to 30º incline
- Handles cameras up to 3.3lb (1.5kg)
- Up to 3 hour run time on full charge
- Remote requires 2xAAA, not included
- Remote automatically pairs, and can be locked to a single Wiral Lite if multiple units are being used in close proximity