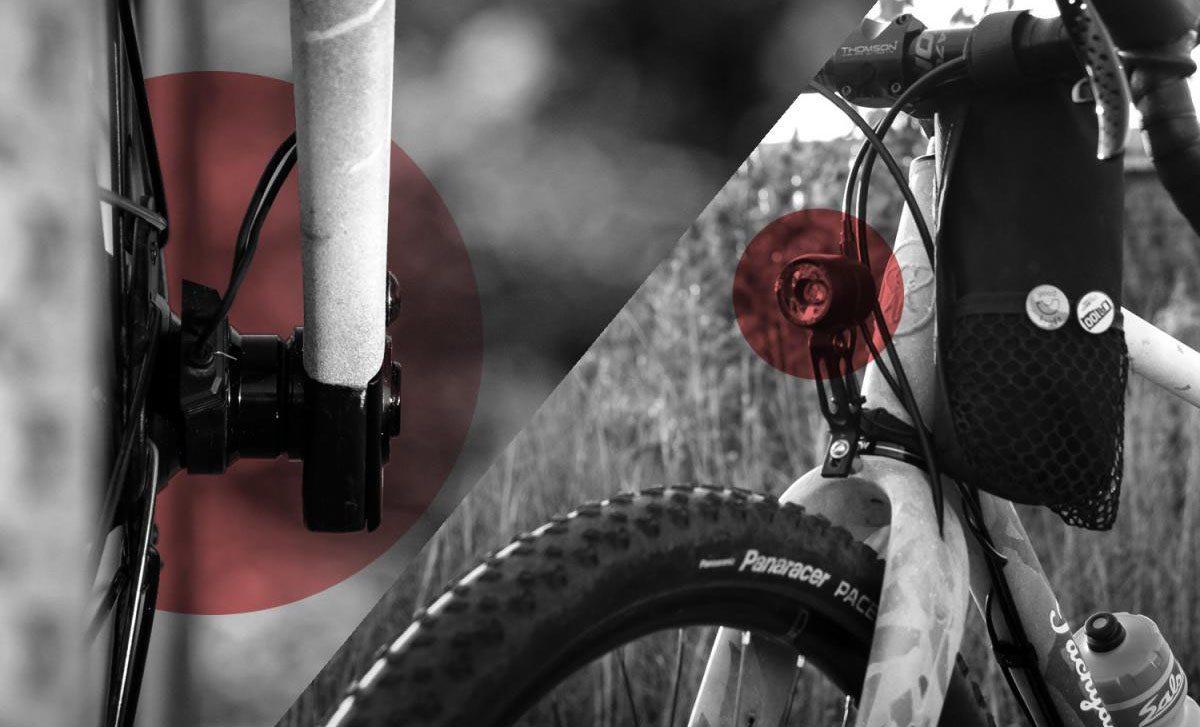
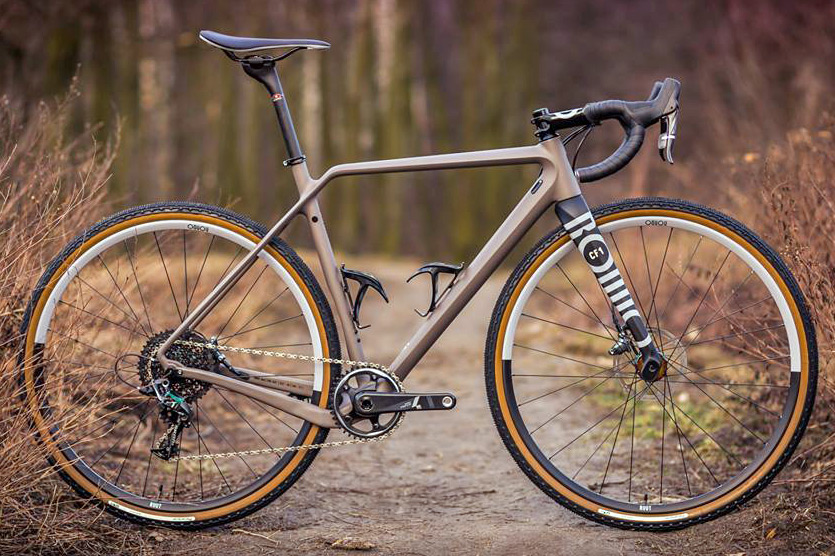
If you’re only buying one drop bar bike, a gravel bike is the way to go. It’s as versatile as a bike gets, able to run skinny tires and keep up on group road rides, or fit up to 29×2.1″ mountain bike tires and hit the trails. And everything in between, from dirt roads to bikepacking, gravel bikes open up opportunities.
In this guide, we’ll explain the terminology and latest standards so you know what to look for and why it matters. If you want to future-proof your investment in a new bike, this is your Gravel Bike Buyer’s Guide!
TABLE OF CONTENTS
1. TL;DR – what kind of gravel bike to buy
2. Hub Axle Standards
3. Bottom Bracket & Crank Standards
4. Number of Chainrings and Cogs
5. Gear Shifting Methods
6. Brake Types and Trends
7. Wheels & Tires
8. Freehub Standards
9. Cockpit Standards and Trends
10. Suspension
11. Fork Standards
12. Frame Geometry
Quick Note: If you’re buying a complete bike, this overview will help you know what to look for and ask about. You won’t necessarily need to remember everything, but this should provide the basis for picking something that has all of the latest standards. Or, at least, those standards that are important to you. This is especially important if you’re buying a lower priced bike now with plans to upgrade. Some standards are more easily upgraded than others. And if you’re building your dream bike component by component, then pay attention to the details because not everything plays well together. Ready? Here we go.
1. TL;DR – What should I buy?
When gravel bikes first became “a thing”, some borrowed mountain bike standards, and some borrowed from cyclocross and road, which both also borrowed from MTB bikes while they figured out disc brakes, thru axles, bigger tire clearance, and even dropper seatposts.
Fortunately, the dust has settled and mass market standards have been mostly finalized. There will always be outliers, but for the most part, in our professional opinion, here are the…
Must Haves
- Minimum of 700x45mm tire clearance
- Top Tube bag mounts
Nice to Haves
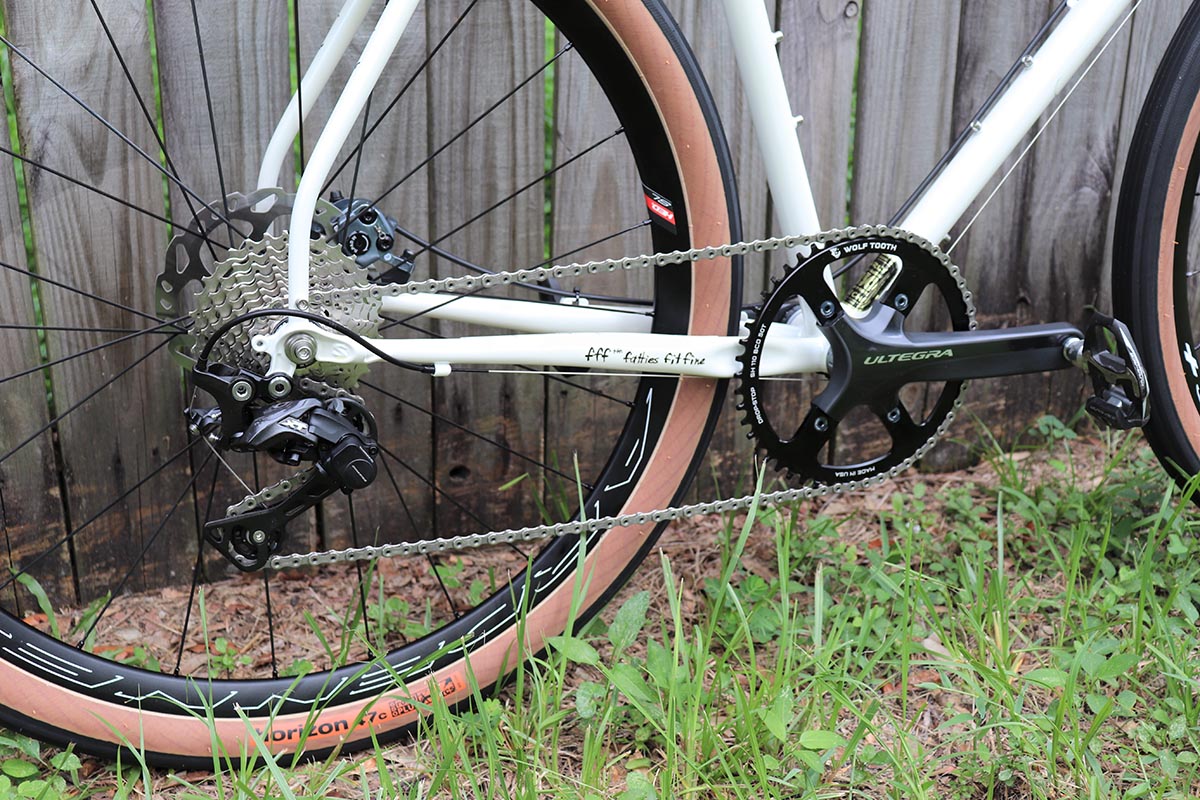
- 1x drivetrains
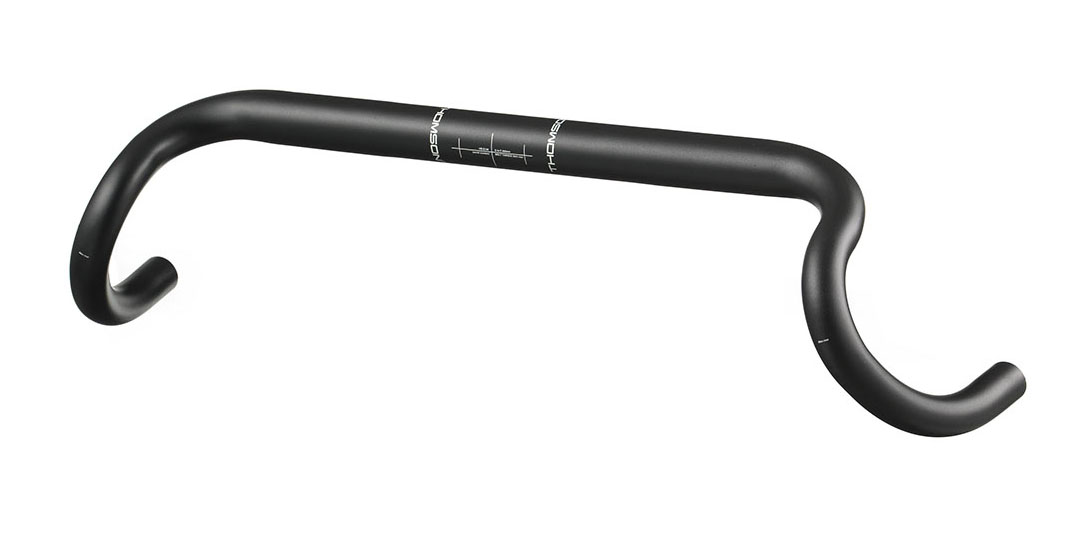
- Flared handlebars
- 27.2 seatpost diameter
- Dropper post cable routing
- Fender & Rack mounts
- Fork accessory mounts
- Suspension-ready geometry
The latter category includes things you may want depending on how you’re going to use the bike. If you’re new to gravel, the more of these things you can get on the bike now, the more options you’ll have for upgrading later.
Sounds good, but I don’t know what you’re talking about.
If you’re totally new to riding and just looking for a “road bike”, those handlebars that loop down then back are called “drop bars”. Gravel bikes use drop bars, too, and they usually flare out more in the drops to make them easier to hold onto in rough terrain.
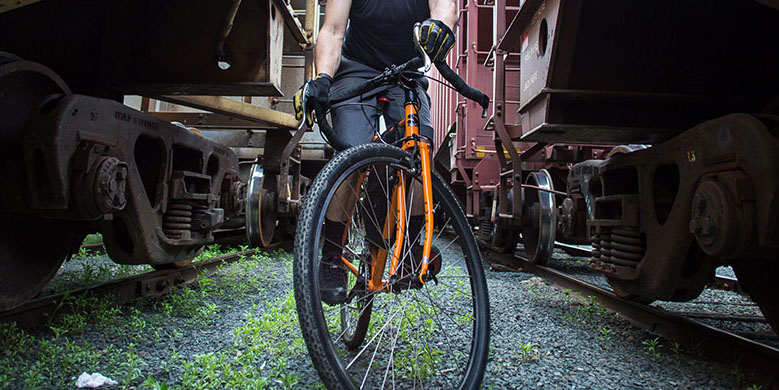
Think of a gravel bike as the SUV of drop bar bikes. You can still take it on the roads and bike paths, but it’s also quite happy exploring gravel and dirt roads. Maybe even a little singletrack trail.
A Quick History Lesson
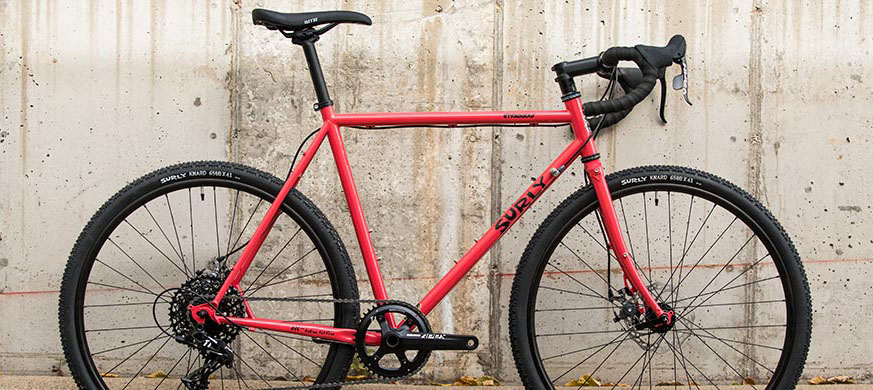
Surly must be credited for their early pioneering here, with the Cross-Check being one of the first gravel bikes to fit tires over 40mm wide (called “monstercross” before gravel terminology existed).
Touring bikes often had bigger tire clearance, but their geometry was made for riding slower with a loaded bike. Cyclocross bikes that could fit a 40mm-wide tire were the first fast gravel bikes, and now gravel bikes have all but replaced the market for ‘cross bikes entirely.
The latest bikes feature big tire clearance, compliant frames, dedicated gravel drivetrains, and even suspension.
2. HUB AXLE STANDARDS
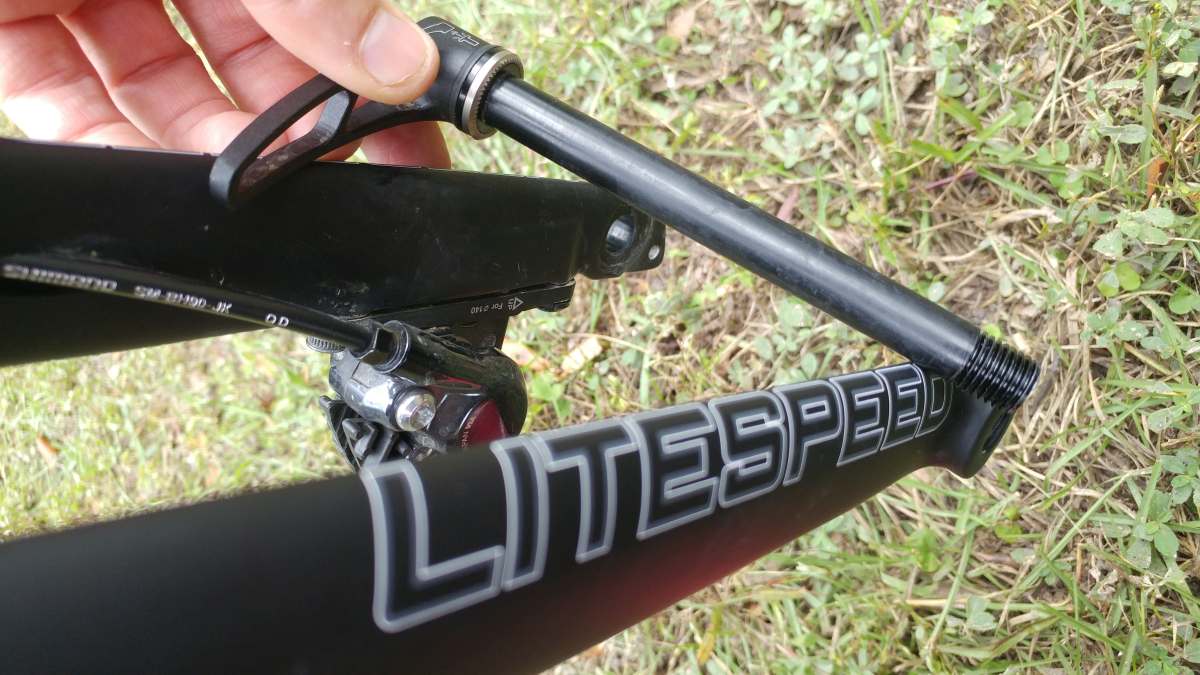
By the time “gravel bikes” were officially a thing, so was the 12×142 rear thru axle. So, even if you’re buying used, it’s highly likely that’s what you’ll get. Don’t buy a “gravel” bike with a quick-release skewer holding the wheels in place. Not only are those less stiff and secure, you’ll also have a really hard time finding any good wheels that work with them anymore.
Early gravel bikes borrowed the 15×100 mountain bike thru axle standard, before every mountain bike fork went to the wider 15×110 Boost standard. Then road bikes settled on the sleeker 12×100 thru axle, and gravel bikes adopted that, too.
There is a wider 12×110 “Road Boost” standard used by a few bikes, but the vast majority use the 12×100 standard. Which refers to 12mm diameter by 100mm hub shell length.
So, the axle will actually be longer than 100mm, because it has to go through (and thread into) the dropouts, too. The exact size will vary by bike and fork brand, but the numbers you need to know are:
- Front: 12×100
- Rear: 12×142
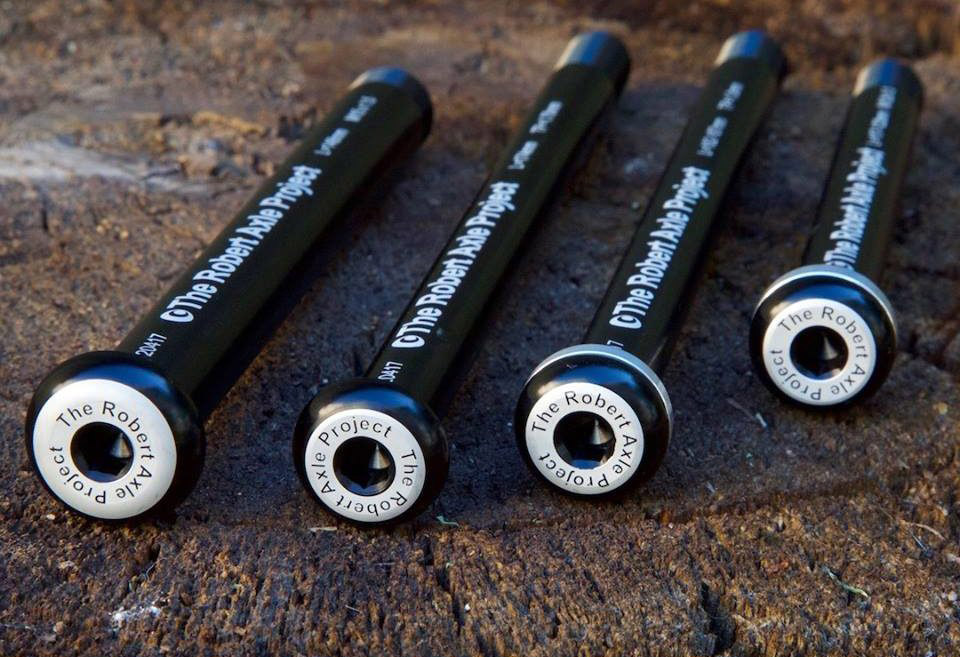
If you’re buying a new bike, 99.9% chance that’s what you’re getting. And if you need to replace a thru axle, look at the specs etched onto the original, because the actual length and thread pitch will vary and you’ll need to get the same exact specs for it to work with your bike. Then just call Robert Axle Project because they make replacements for everything. Or just take it to your local bike shop.
But aren’t there different thru-axle types?
Yes, there are “tooled” and those with a lever. Tooled thru axles simply mean you need an allen wrench to remove the axle, which adds time, but saves weight and looks sleeker.
Tool-free axles use a QR-style lever, which gives you a lever to spin and thread the axle into place, then you clamp it down to secure it. Technically, these are more secure because they’re applying tension against the threads, making it harder for the axle to come loose, but they add a bit of weight and stick out from the bike and fork.
DT Swiss makes a thread-in thru axle with a lever -some models have a removable lever- giving you a blend of benefits.
Will a thru-axle bike fit on my indoor trainer or bike rack?
Now that most bikes have disc brakes, most direct-drive indoor trainers come with adapters for thru axles. And most fork-mount bike racks have options for all the different axle types. Just order what you need.
3. BOTTOM BRACKET & CRANK STANDARDS
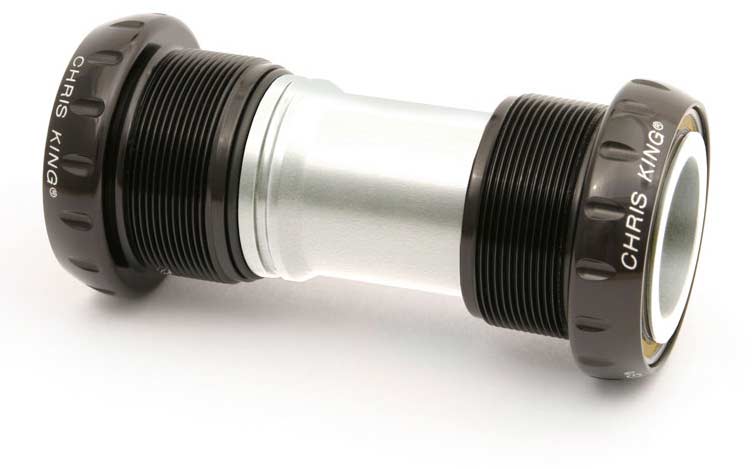
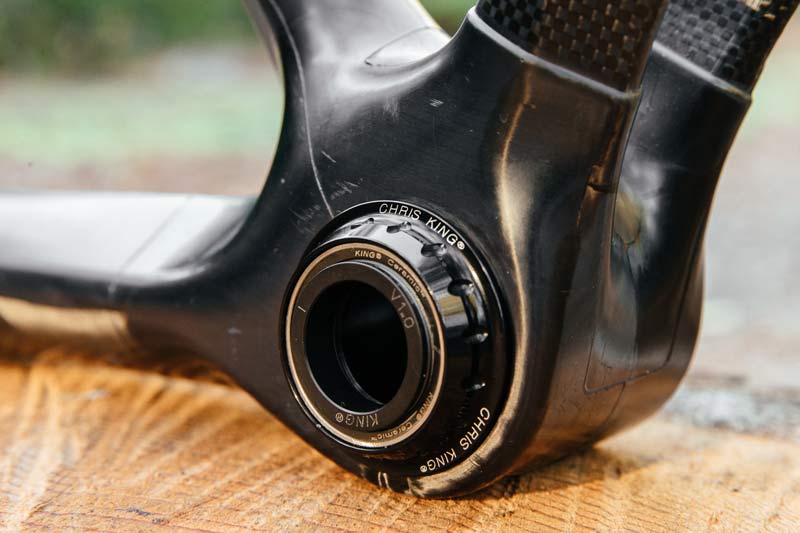
Ever the source of controversy, bottom brackets come in a lot of different types, each with its pros and cons. They include:
- BSA Threaded
- T47
- Square Taper
- PressFit
- BB30
- DUB
- GXP
…and within PressFit, there are various types. This section is provided as a top level pros/cons explanation so you know what you’re getting, but the reality is you’re probably not deciding which bike to buy (or not buy) based on which type of BB it has.
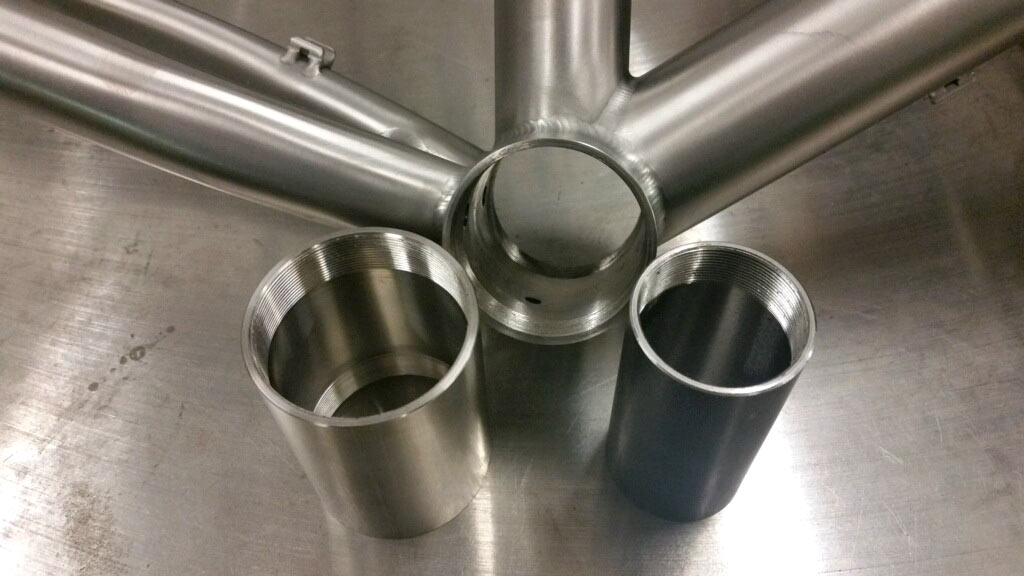
Most gravel bikes have a 68mm wide bottom bracket shell, but most bottom bracket manufacturers (and your local bike shop) will also be able to tell you which size you need if you tell them which bike you have.
DUB and GXP
These two aren’t really BB standards, they’re crank spindle standards, but require a matching BB to work, and both are SRAM-specific standards.
DUB refers to a ~29mm spindle diameter (versus the very well established “BB30” cranks that use a 30mm spindle), and GXP is a tapered spindle that goes from 24mm to 22mm in diameter. While DUB’s allowance for ever-so-slightly larger bearing sizes may be of DUB-ious benefit, GXP did make setup slightly easier…however, it’s essentially discontinued, so you’re unlikely to find a gravel bike with it.
If you get a bike with a modern SRAM crankset, it will have a DUB spindle, and you’ll just need to make sure any bottom bracket upgrade is DUB compatible. Because of SRAM’s prevalence, you’ll have no problem finding options.
BSA Threaded
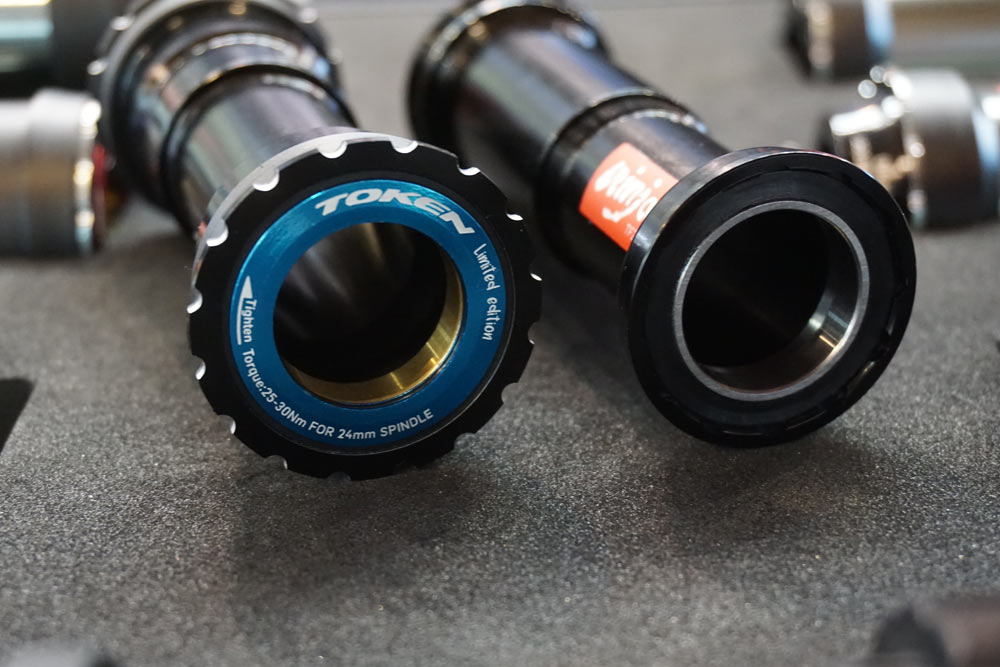
BSA is what most “bike shop bikes” (as in, not cheapos from big box stores) have used for years. It has two sides that thread into the frame, ensuring good crank spindle alignment, simple installation, and decent durability. This makes them a favorite of both riders and mechanics everywhere.
The bearings are outboard, and models are available for 24mm, 30mm, and DUB spindle sizes. The only potential downsides to BSA is that you need to make sure they’re installed tightly to avoid creaking, and that the bearing size tends to get smaller (and thus potentially less durable) when they’re used for cranks with DUB (~29mm) and 30mm spindles.
All of Shimano’s cranks still use a 24mm spindle, which is the standard that BSA was originally optimized for. Other than SRAM’s ~29mm DUB spindles, every other crank brand has switched to a 30mm spindle, so now we have…
T47 Bottom Brackets
Debuting in 2015, T47 bottom brackets use the same threaded installation as BSA bottom bracket, but in a larger diameter that fits BB30-style bearings and cranks inside while also allowing larger bearings. Those bigger bearings improve durability, arguably making T47 the best overall solution. And it’s growing in popularity.
PressFit Bottom Brackets
Press-fit bottom brackets are a large category containing many different sub-types. Rather than threading into the frame, they rely on a large bearing press for installation. The main reasons for their introduction were to reduce weight and increase stiffness via larger-diameter 30mm spindle. But, also, they speed up complete bike assembly at the factory, which is likely what truly drove their quick adoption. Here are some of the most common varieties:
BB30: Uses a short-length 30mm aluminum axle; bearings press directly into the frame (ideally into an aluminum insert molded into a carbon frame, since it’s not ideal to press bearings directly into carbon fiber). The bearings are held into place with C-clips. It’s rare to find a true BB30 frame anymore because PFBB30 is better.
PF30 / PFBB30: Same as above, but the bearings are pre-pressed into a plastic or nylon sleeve that presses into the frame. Typically results in easier installation and easier/cheaper frame manufacturing – no precision-machined aluminum insert required. The composite cups that hold the bearings can make up for minor frame intolerances, and they help minimize the creaking that could occur in a BB30 setup.
BB86 or PFBB86: Relies on a slightly smaller bottom bracket shell than PF30, using a bearing size intended for a 24mm steel crank spindle (which would otherwise be used with a standard threaded bottom bracket shell and outboard bearing bottom bracket).
BB386EVO: A newer standard that claims to offer a “best-of-all-worlds-and-compatibility” for future-proofing. Originally, gravel bike bottom brackets were sized around a 68 (or sometimes 73mm) wide standard. BB386 pushed this out to 86mm, the idea being to allow frame manufacturers to create wider, stiffer bottom bracket sections to improve power transfer. This required a longer crank spindle, which was called BB386EVO. While some frames require a BB386 crankset because they have the wider BB shell, a BB386 crankset will usually also work in a narrower BB30/PF30 frame by adding spacers.
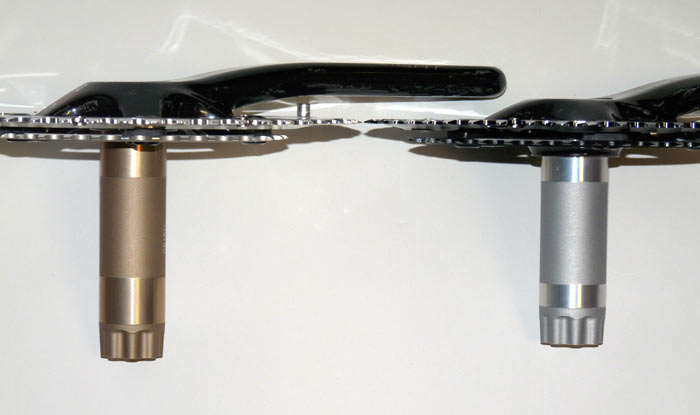
There are others: Trek’s BB90, Cervelo BBRight, Specialized OSBB, and more. If you’re glazing over with confusion, the good news is that companies such as Wheels Manufacturing, Rotor, Praxis, and others have created adapters and special bottom brackets which allow many of these different crank, bottom bracket, and frame standards to play nicely with each other. Be aware that Cannondale’s Ai asymmetric frame designs and bottom bracket layouts sometimes have very limited upgrade options…but they also make some very lightweight, high-end SiSL cranks, too, so that’s only an issue if you absolutely must run a complete Shimano/SRAM/Campagnolo group. In general, the best way to future-proof yourself with an expensive crankset or crank-based power meter purchase is to buy an option with a long crank spindle. You can always use shims or adapters to take up extra spindle length, but you can’t make a too-short spindle work in a wide frame.
The Takeaway: Most gravel bikes today use PF30, BB386EVO, or T47 – with some custom manufacturers sticking to the traditional 68mm English thread. And if you do start developing any play or creaking, upgrade to a thread-together bottom bracket that adds a few grams but mostly eliminates any of the creaking or misalignment issues of press-fit designs. Or check out the one-piece solutions from BBinfinite, which seem to spin for days.
4. NUMBER OF CHAINRINGS AND COGS
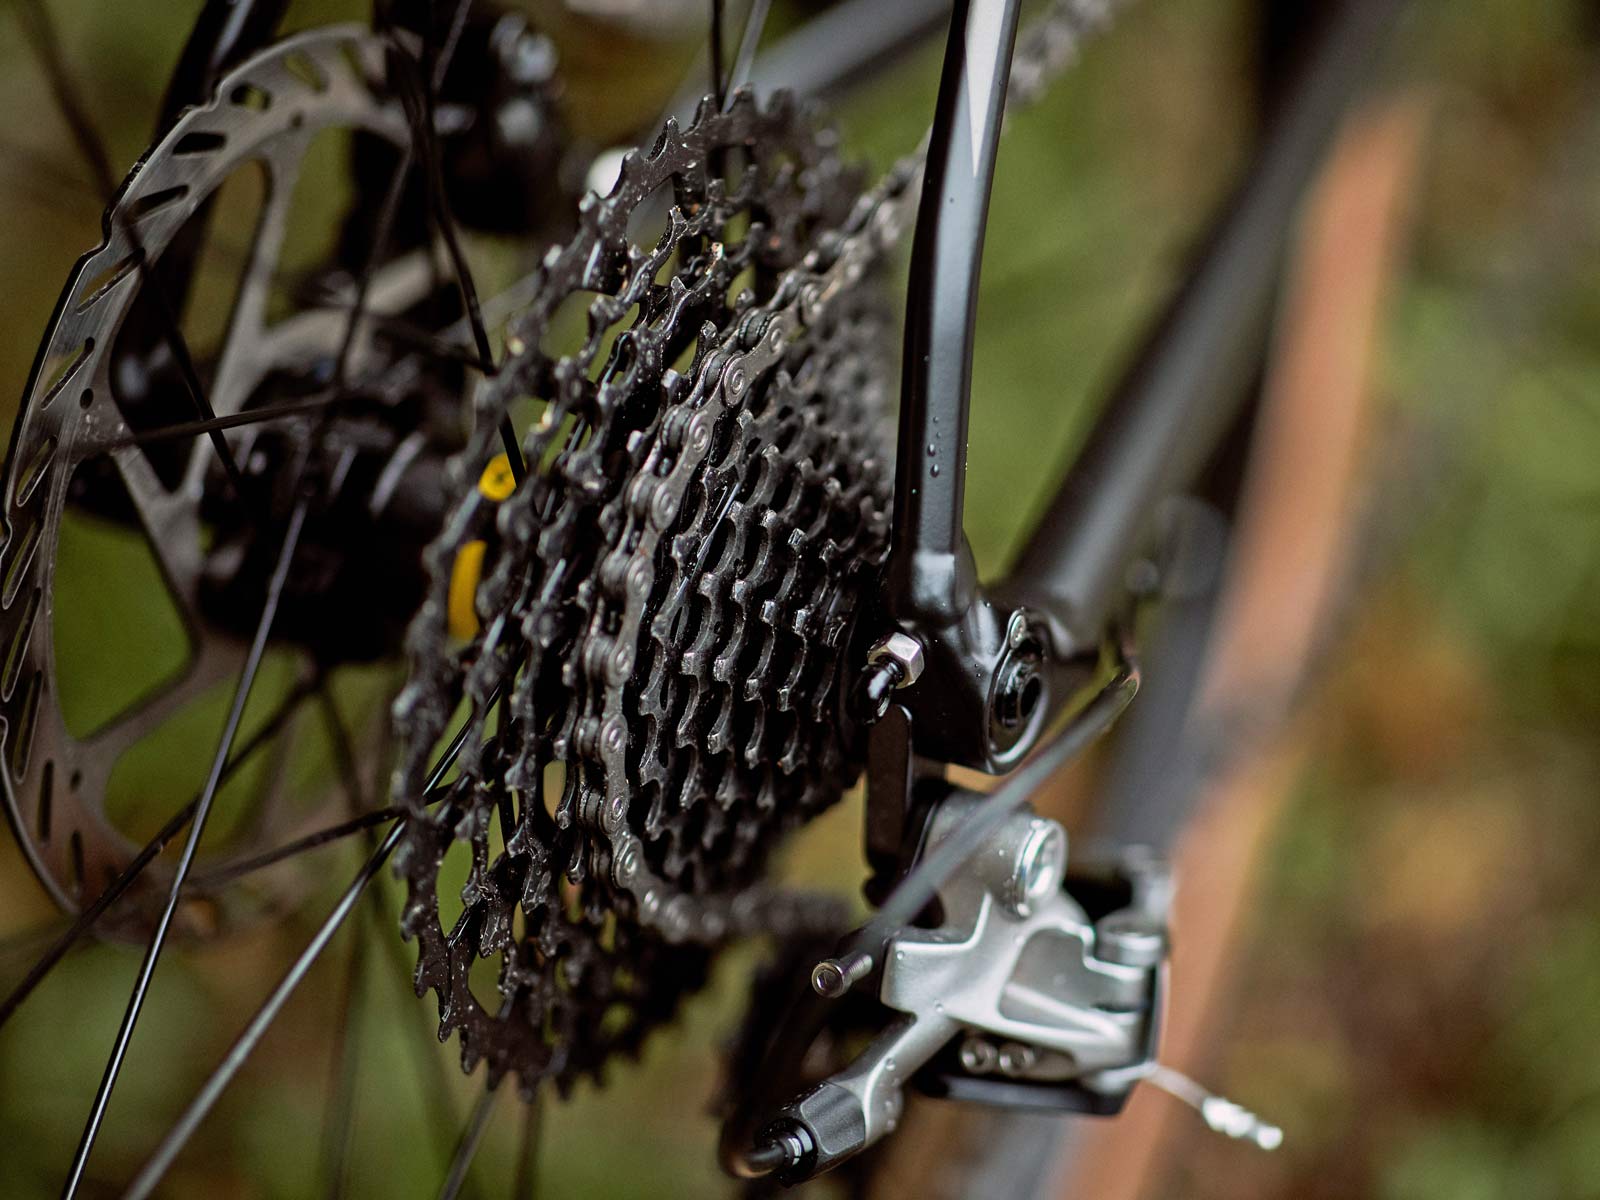
Even if you’ve been away from cycling for a long time, you probably know that it’s par for the course for manufacturers to increase the number of rear cassette cogs every five to eight years. For 2019, most mid-to-high-end gravel bikes have 11 cogs in the rear, and 10-speed has trickled almost all the way down to entry-level. If you’re shopping at a department store, you might still find 8-speed rear cassettes, but virtually everything in a bike shop is now 10 or 11-speed.
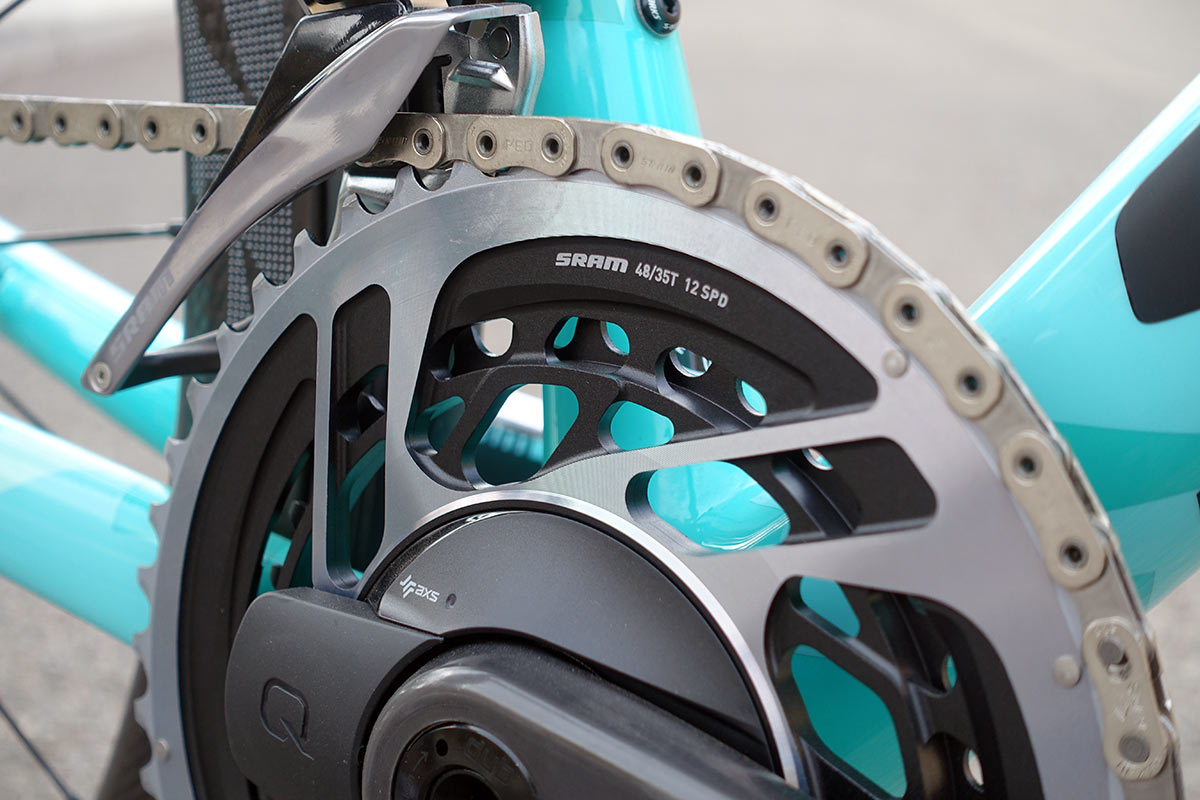
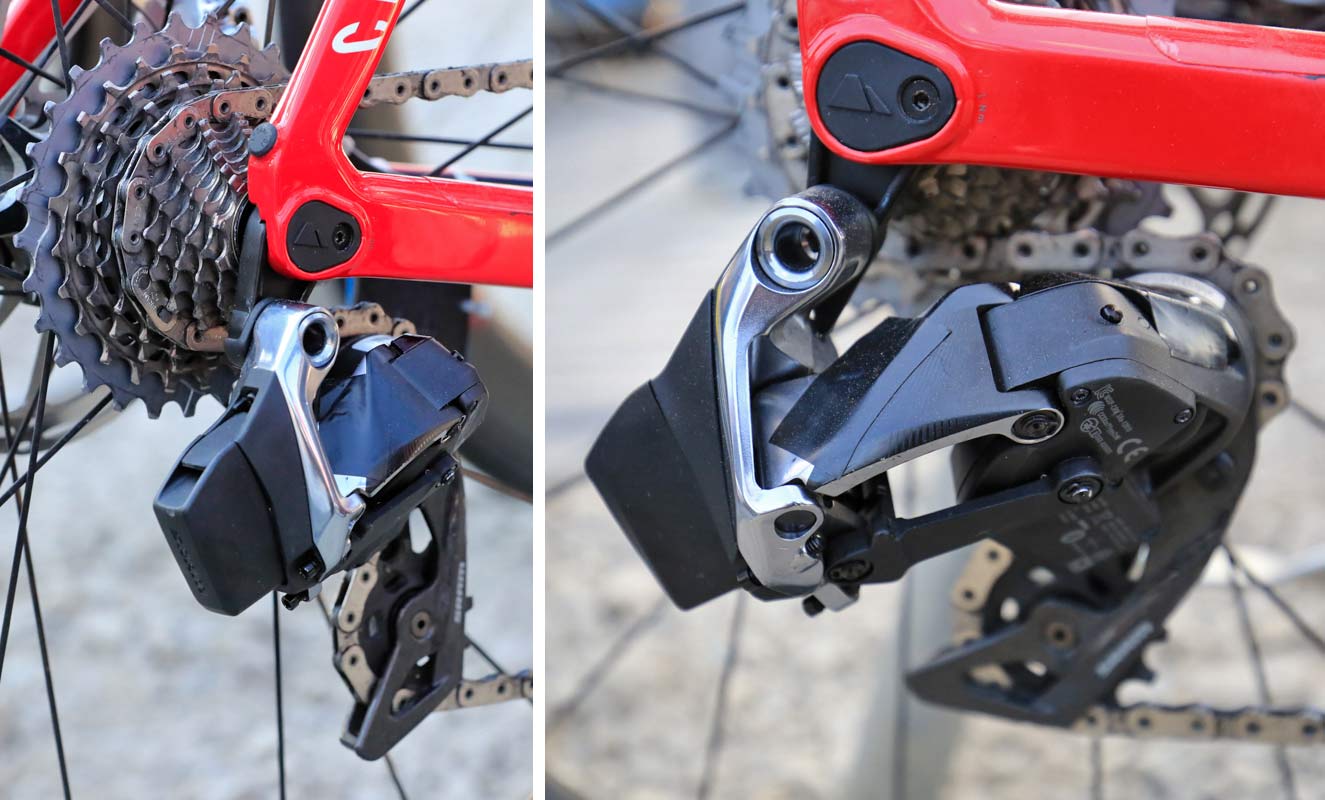
But if you’re looking for the best, 12-speed is already here and growing. Campagnolo introduced 12-speed rear shifting last year, and SRAM just released a wireless 12-speed Red eTap AXS groupset. We expect Shimano to follow suit before the end of the year. For future-proofing purposes, it’s safe to assume that you should buy the highest number of rear cogs that you can afford. And know that 12 is the new standard.
Why? Two reasons. First, more cogs lets the brand have more 1-tooth progressions, which helps you find just the right cadence, which can be especially helpful on rough roads. Second, the bigger end of the cassette can now get bigger, offering you easier gears for climbing without sacrificing the tighter progression on the small end.
It’s also worth noting that the switch from 10 to 11-speed road components required a new, longer freehub body to accommodate all those gears – at least for SRAM and Shimano components. We will cover this in greater depth in the Freehubs section, but be aware that upgrading your current bike to the latest drivetrain may require new or rebuilt wheels, too.
While the number of cogs at the rear of our bikes steadily grows, the number of chainrings has slowly declined. Why? That larger number of rear cogs allowed the gear range to grow – requiring fewer gears up front to maintain an acceptable range overall. In short, a system with two chainrings and 11 or 12 rear cogs could easily have the same or greater range than a system with three chainrings and nine rear cogs. It’s science.
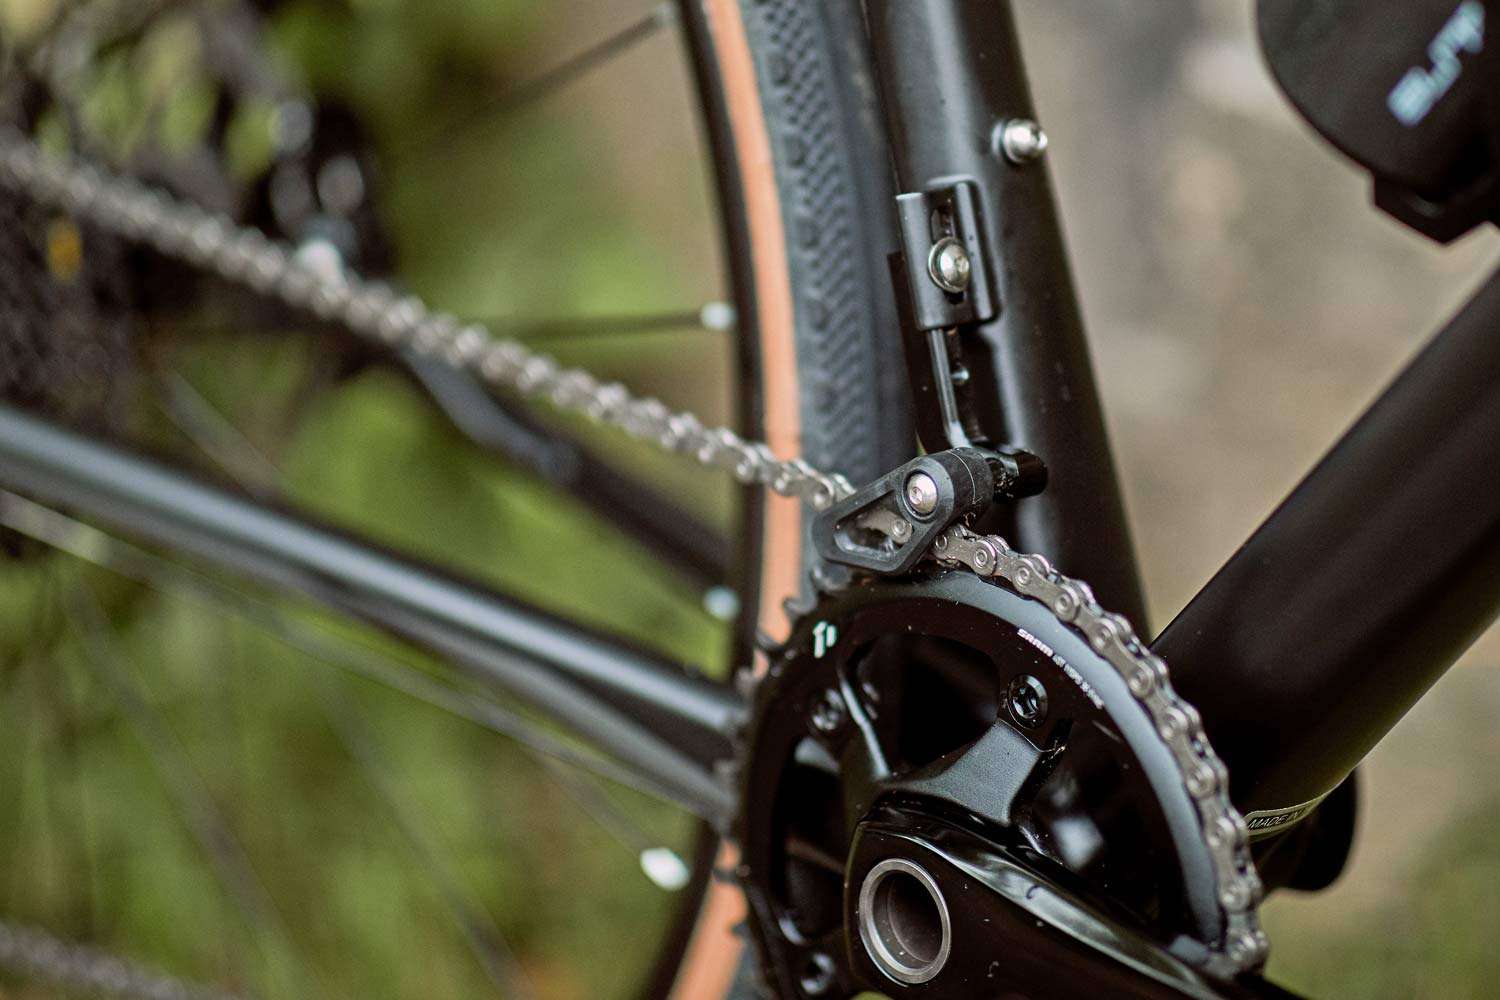
This is one area where the there’s a growing divide in opinion between road and gravel enthusiasts. While double chainring (or “2x”) systems remain dominant in road cycling, single chainring (or “1x”) systems have wide acceptance in gravel. Why? In short, gravel bikes aren’t typically used for fast road bike speeds, reducing the need for a super-wide overall gear range. Second, many gravel riders opt for the simplicity of one shifter and derailleur, reducing the cost and number of potential parts to break.
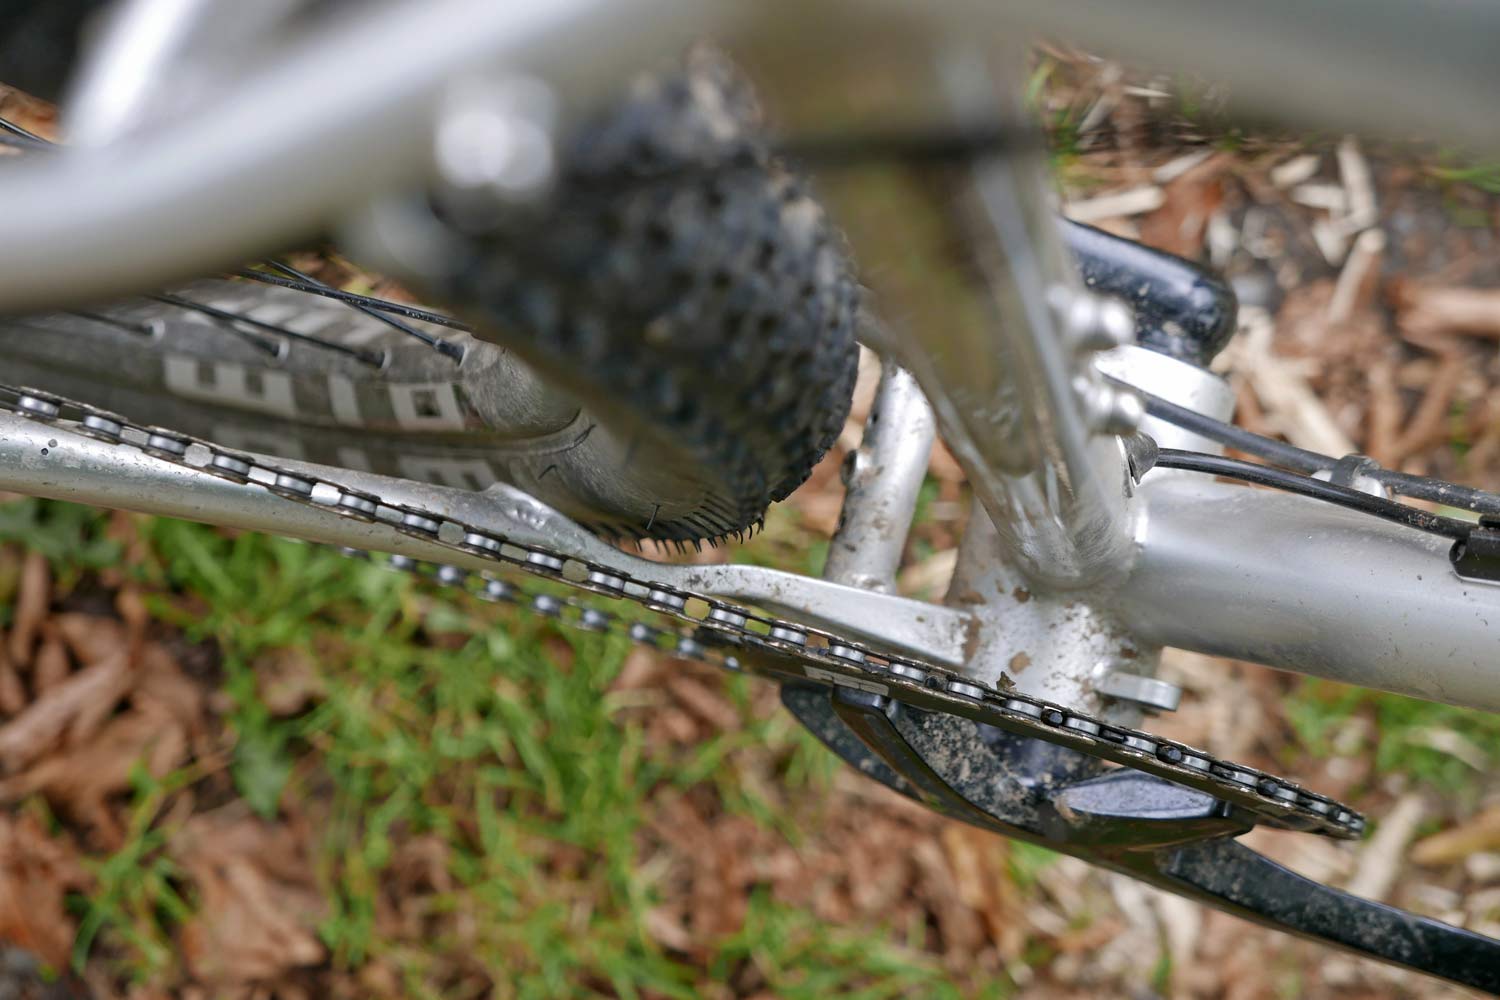
That said, there is still a market for 2x gravel bikes, and this decision largely depends on personal preferences. Do you live in a flat area, want lower cost, and elimination of (potential) front shifting problems? Go 1x. Are you riding huge mountain passes, need massive overall gear range, and prefer tighter-spaced cassette gearing? Go 2x. FSA even has some micro compact chainrings that have crazy-low gearing for multi-day adventures.
5. GEAR SHIFTING METHODS
Once you’ve selected the number of chainrings and rear cassette cogs you want, the next step is to decide how you’d like that shifting to happen. There are three current methods of actuating a gear shift:
1. Mechanical
2. Electronic
3. Hydraulic
Mechanical systems are the most common. Your shifter pulls on a steel cable, which runs along your frame through a cable housing, and eventually pulls on a derailleur – and the magic of shifting happens. Mechanical drivetrains are all made for different budgets, typically offering lighter weight and improved shift quality as you climb the ladder of price. The downside is that the shift cables and housings eventually become gummed up with dirt and debris (a real issue for gravel), requiring their replacement. The Big Three of component manufacturing (Shimano, Campaganolo, and SRAM) all have representation in gravel, but SRAM has gained the most ground of late with the popularity of their high-value 1x systems. Campagnolo was late to the disc brake game, and subsequently isn’t quite as big in the gravel scene.
Electronic shifting, on the other hand, is much newer to cycling. First introduced in the early 1990s by Mavic, it took almost two decades before electronic shifting hit mainstream cycling. Rather than relying on cables to move those derailleurs, each derailleur has its own electric motor.
The benefits of electronic shifting are many. It shifts very consistently, and there are no cables and housings to collect dirt and degrade shifting over time. It requires very little skill to use, and very little effort from your hands to shift. Finally, and perhaps most importantly, it has opened up a world of customization and possibilities with software: customized button functions, automatic front derailleur trim adjustment, and multiple shift button locations.
What about downsides? First and foremost, electronic shifting comes at a premium price. With the abuse that gravel bikes endure, this is perhaps the biggest impediment to increasing the popularity of electronic shifting. Second, while you don’t have to replace shift cables, you do have to charge one or more batteries – the frequency of which depends on the system you buy and how often you ride (but count on every 1 – 3 months, give or take). For serious long-distance adventures, it often isn’t practical to charge batteries or carry the weight of a charger. Finally, while perhaps subjective, it can be difficult to diagnose or fix problems for the shade-tree mechanic, who is more accustomed to adjusting a cable than updating firmware.
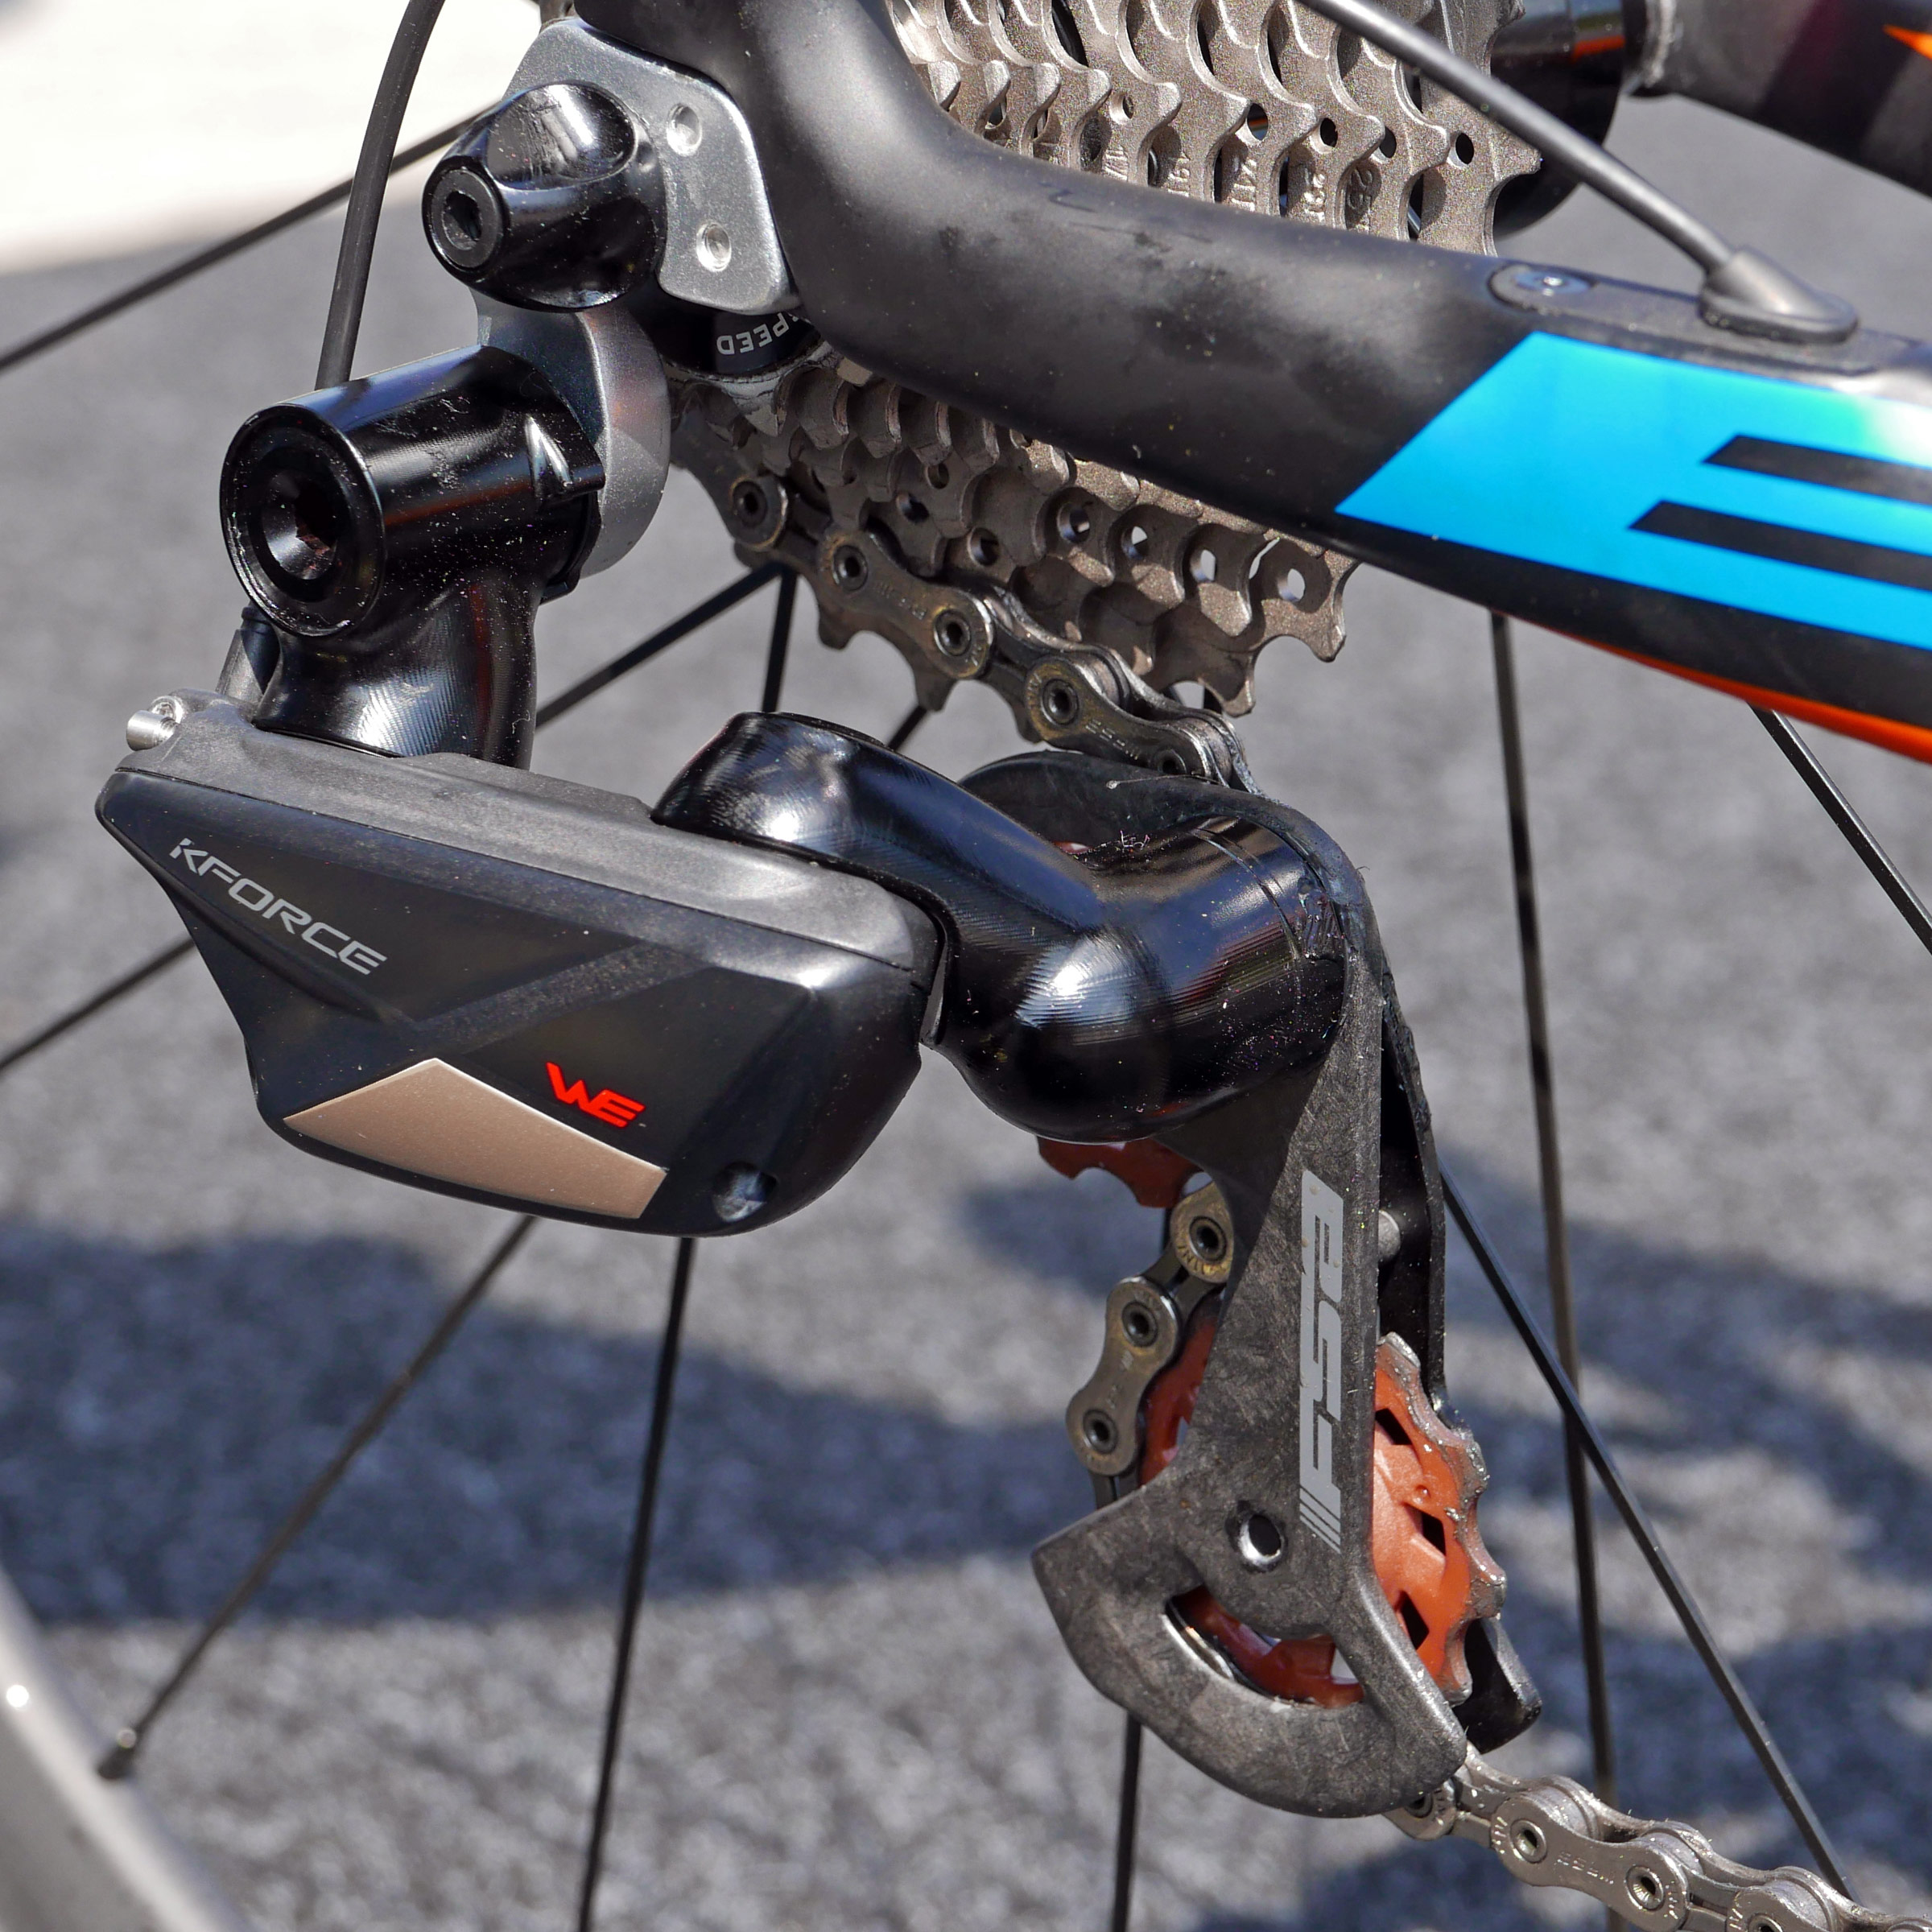
The other choice to make when deciding on an electronic system is whether you want wired or wireless. Currently, the electronic systems from Shimano and Campagnolo are wired, while SRAM’s eTap is wireless. In other words – Shimano Di2 and Campy EPS systems have a physical connection running from the shifters to a single battery to the derailleurs. In contrast, each SRAM eTap component has its own battery (each shifter has its own replaceable coin cell battery, each derailleur has its own rechargeable battery), and shift signals transmit via a wireless signal. Debate about superiority rages on, but the short of it is this: Proponents of wireless shifting praise its clean look and quick installation, while proponents of wired shifting praise its longer battery life and its (theoretically) more reliable hard connections.
Beyond the either-or, wired vs. wireless debate, there’s even an electronic FSA WE drivetrain with a bit of both. The truth is all of them work very well and once you ride one, you’ll almost certainly want one.
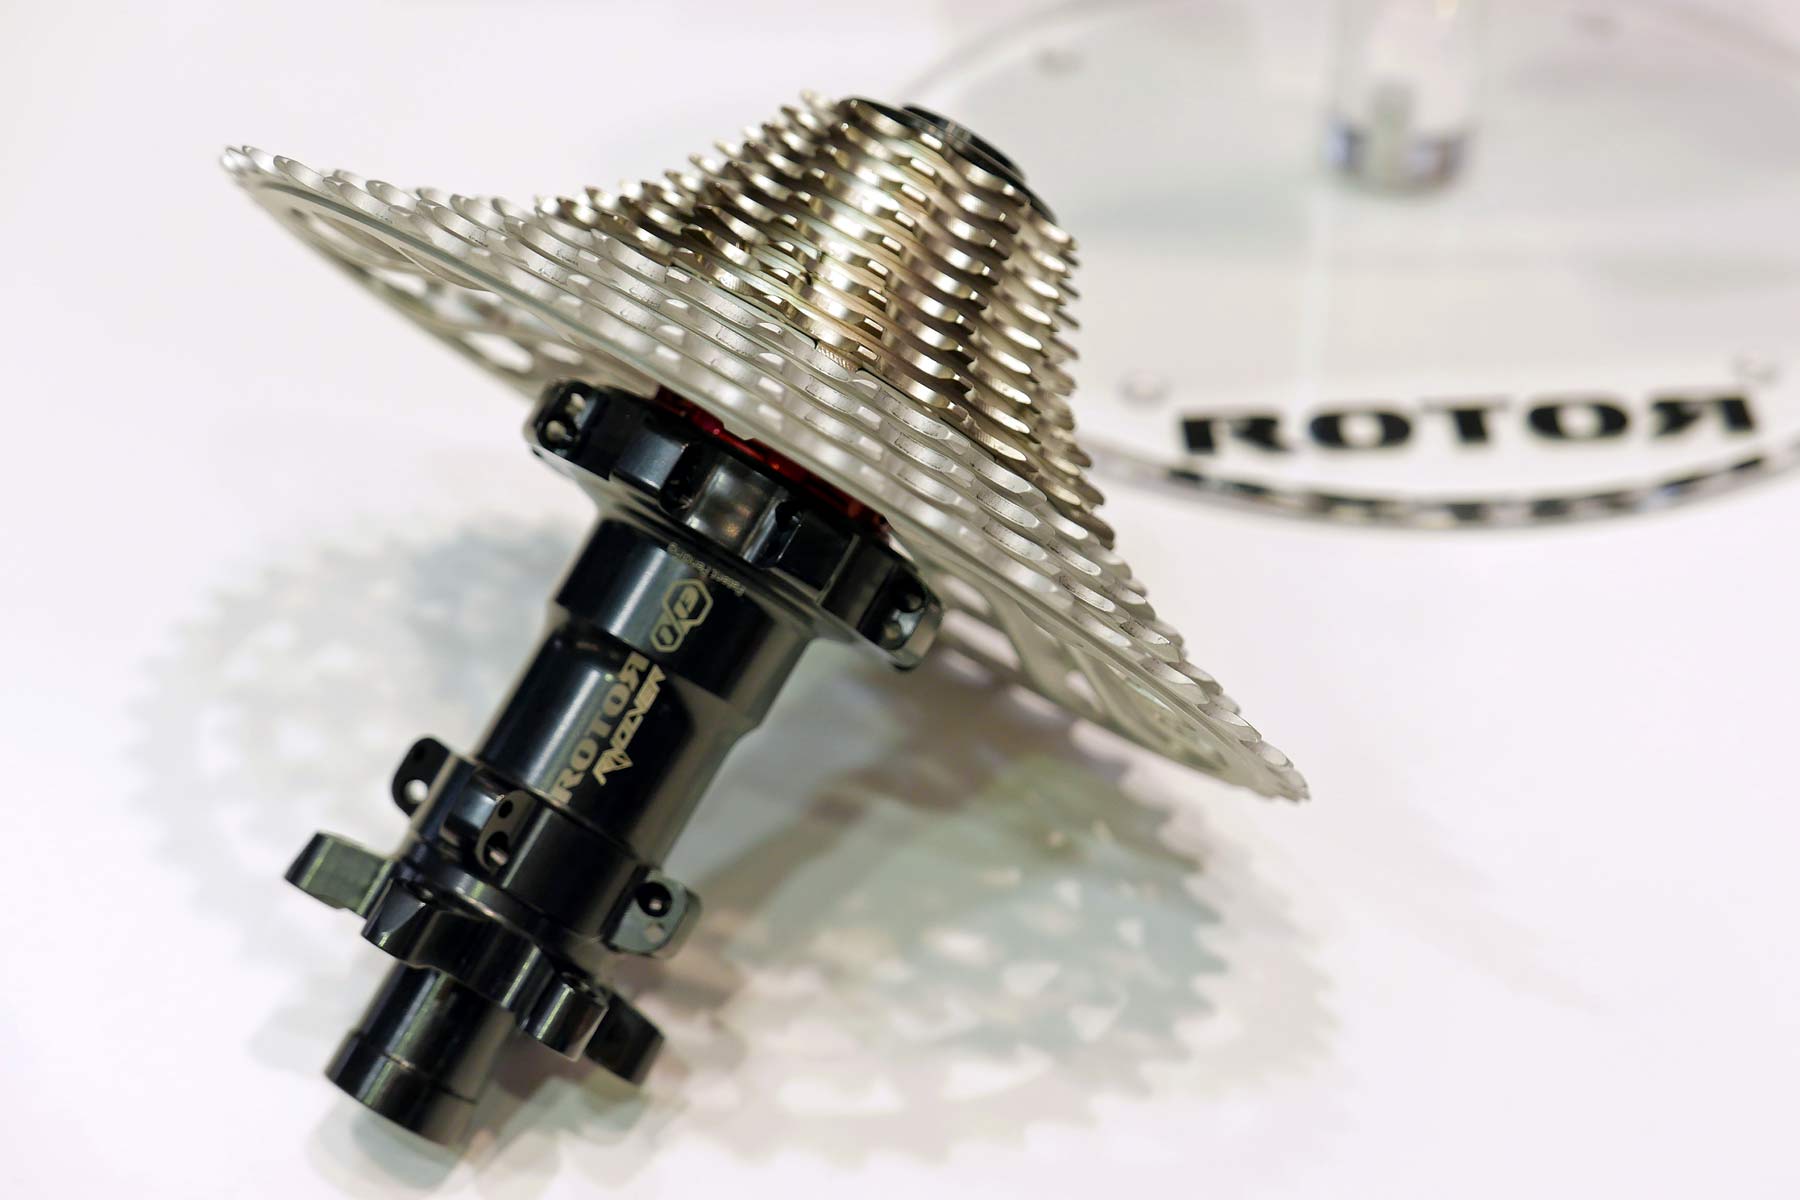
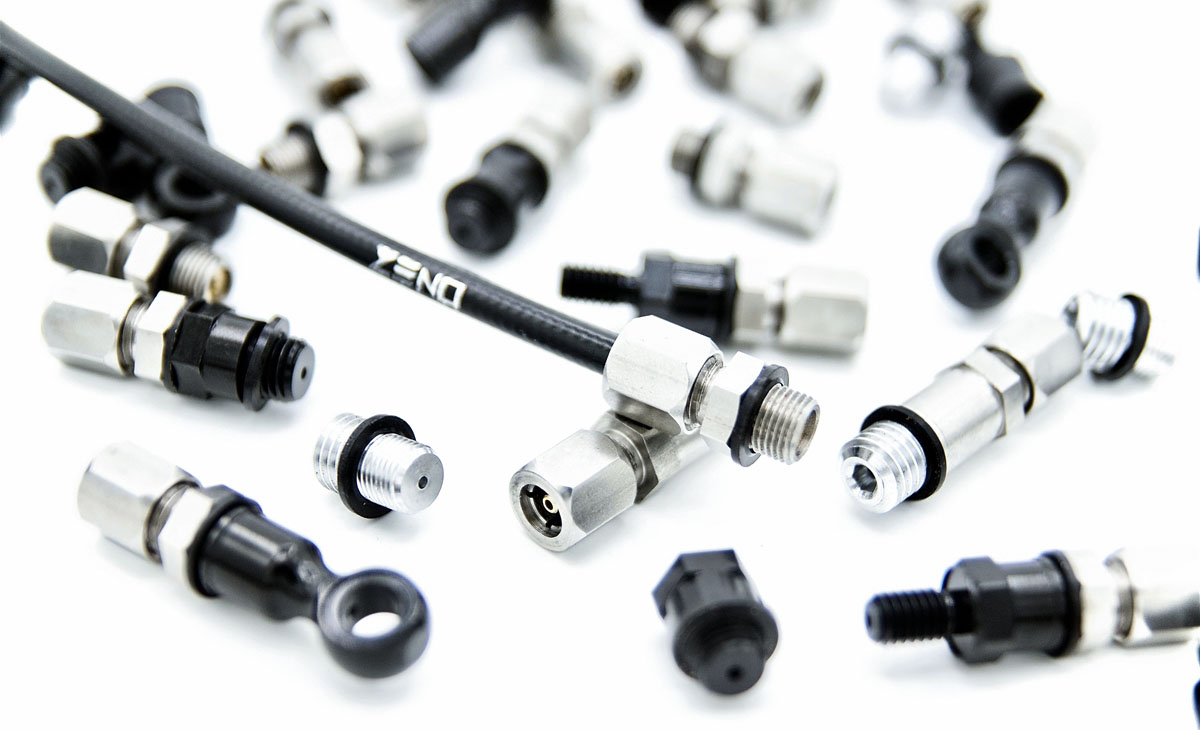
The last method of shift actuation is hydraulic. Currently offered only by Rotor, the Uno groupset uses hydraulic fluid and lines to initiate each shift, similar to how hydraulic brakes work – except that it’s a fully closed system that shouldn’t require maintenance once installed. This system has yet to gain widespread adoption or OEM specification, but touts very light weight and sealed lines that won’t become contaminated by dirt (and no battery to charge). Maybe we shouldn’t mention that their latest version is about to hit the shelf with a 1x 13-speed road/gravel/MTB setup.
Mixing & Matching
Many riders building up their own bikes from scratch, as well as custom builders and a few major bike brands, have taken to mixing road and mountain bike parts to give their gravel bikes a tougher set of parts with wider range on 1x builds (plus the benefits of reduced chain slap from the heavy-duty clutch on MTB derailleurs). These can be great, but be sure to do your research ahead of time, as not all combinations work together. With SRAM, their components with Exact Actuation will work together, and their components with X-Actuation will work together – but the two technologies aren’t cross-compatible. If you prefer Shimano, the Wolf Tooth Tanpan converter will allow you to use a road shifter with mountain derailleur (available in both 10 and 11-speed versions).
If you don’t want to mess with it, however, the good news is that more road and gravel-focused derailleur offer integrated clutches and wide gear ranges, such as the Shimano Ultegra RX rear derailleur, or SRAM’s Force 1 and Rival 1.
Prior to the latest SRAM 12-speed wireless groups, their drop bar levers were not compatible with the Eagle 12-speed MTB parts. Now, with the new electronic AXS groups, all parts are interchangeable so you can mix and match to build whatever Franken-bike you want.
6. BRAKE TYPES & TRENDS
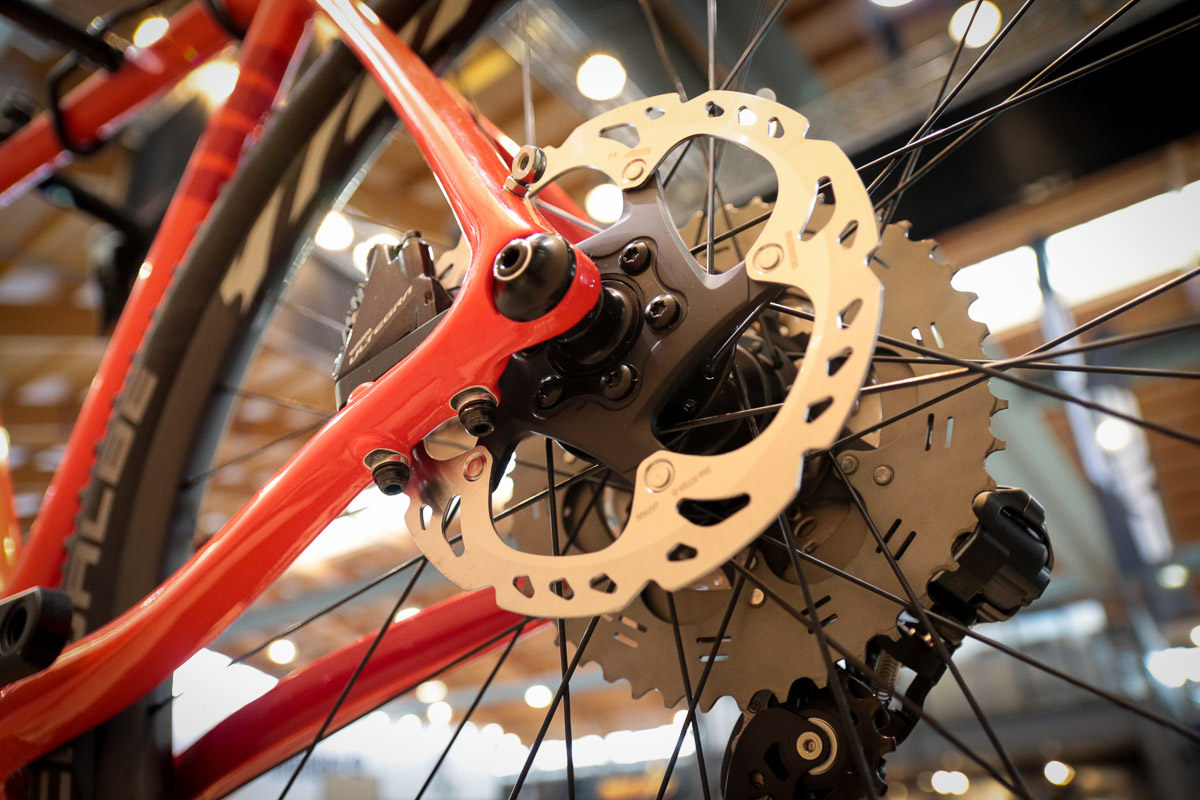
As previously mentioned, while early gravel bikes featured a mix of rim brakes (cantilevers and v-brakes), we now see near-exclusive use of disc brakes. Discs excel in wet, dirty, and freezing conditions – which is what gravel riding is all about. They also tend to require less grip strength, reducing hand fatigue on long days.
Mechanical or Hydraulic?
Disc brakes come in two main formats: mechanical and hydraulic. Mechanical discs operate much like mechanical shifting – a steel cable runs between the brake lever and caliper. These systems are typically price friendly, but don’t offer the modulation and power of a hydraulic system. They tend to be preferred by people who value mechanical simplicity, and the ability to perform trailside repairs for ultra-distance, middle-of-nowhere competition.
Hydraulic systems cost more, but offer improved modulation – the somewhat subjective band of feel between light braking and full wheel lockup. They are also well sealed from the elements, don’t require the cable replacement of mechanical systems, and provide automatic adjustment as brake pads wear down. However, depending on the type of fluid used, hydraulic systems can require fluid replacement as regularly scheduled maintenance. The hydraulic brakes from SRAM use DOT fluid, which absorb moisture over time and must be replaced more frequently than systems using mineral oil. DOT fluid is preferred, however, by those who ride for extended lengths in sub-zero temperatures, due to its low freezing point. Note that ALL hydraulic brake systems require the use of a specifically-made hydraulic-equipped brake lever (i.e. your old Ultegra shifters in the garage are not forward-compatible, but CAN be used with road-specific mechanical brakes).
There are also some hybrid mechanical/hydraulic systems like the TRP HY/RD, which use a standard cable-driven brake lever that pulls on a self-contained hydraulic caliper. This allows you to upgrade your otherwise mechanical bike into a quasi-hydraulic beast.
Rotor sizes for both mechanical and hydraulic road and gravel disc brake systems are 140-160mm. Most modern bikes have settled on 160mm as the standard, or 160mm front, 140mm rear. Larger rotors offer more braking power and better cooling, which is key to keeping their performance from degrading on long descents where you’re more likely to drag the brakes.
What is the Flat Mount standard?
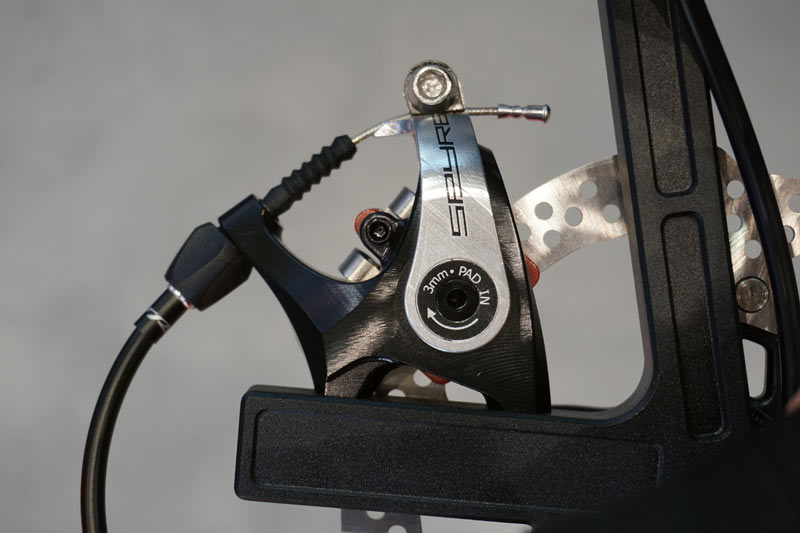
As for attaching those disc calipers to your bike, most newer gravel bikes use the Flat Mount standard, introduced by Shimano in 2014. It offers a cleaner and lighter installation than post mount or ISO mount (which were really just pulled from mountain bikes, anyway), and this is the future of gravel bikes. Note that there are some adapters that allow the use of a post-mount caliper on a flat-mount frame or fork, but NOT the reverse due to geometric limitations. If you’re shopping for lower-budget mechanical brakes that are flat mount compatible, the choices are slim, with the TRP Spyre standing out among its peers.
It’s again worth noting that almost all gravel bikes equipped with disc brakes also come with thru-axles, which tend to offer more consistent wheel installation and rotor location than quick release skewers.
What about rotor mounting standards?
Original disc brake gravel wheels have roots in mountain biking, so they rely on the same two standards for rotor mounting – 6-bolt and Shimano Center Lock. The former relies on (surprise!) six small bolts to attach the rotor, while Center Lock has a splined interface and lockring – similar to what you’re used to with rear wheel freehubs. Both are used today, with Center Lock growing in popularity due to the ease and speed with which you can swap rotors (a big bonus for traveling with a bike box). Bonus: Center Lock hubs are also usually lighter, though the rotors themselves are a little heavier, so it’s basically a wash.
Note that thru-axles require a special thru-axle-specific lockring, which typically requires a bottom bracket tool for installation – the same as you’d use on any standard outboard bearing BB. Finally, if you find yourself in a situation with a Center Lock hub and a 6-bolt rotor (or vice versa), rest assured that there are adapters available which work great and carry a minimal weight penalty.
7. WHEELS & TIRES
Wheels and tires are the meat of what makes a gravel bike so different from a road bike (or even a cyclocross bike from ten years ago). Only a few years ago, gravel wheels were all 700c diameter, with 30 – 40mm tires. Alloy wheels hit lower price points, while carbon occupied the high-end. Rim brake bikes often used off-the-shelf road wheels, while disc bikes used 29er mountain bike wheels. My, how things have changed…
Today, we still have 700c wheels, but there’s a new kid in town – 650b (a.k.a. 27.5”). This revived touring bike wheel size has been given new life, and is smaller in diameter than 700c. What’s the deal? Using a smaller 650b wheel with a large 47mm tire results in an overall diameter that’s equivalent to a 700x30mm tire – but with a much wider footprint and pillow-like cushion at low pressure. Many of the new crop of gravel bikes allow for the use of either wheel size, giving you the ability to tune your wheel and tire performance any way you like – skinny and fast for road riding, all the way to full-on mountain bike rubber for serious mud and bushwacking.
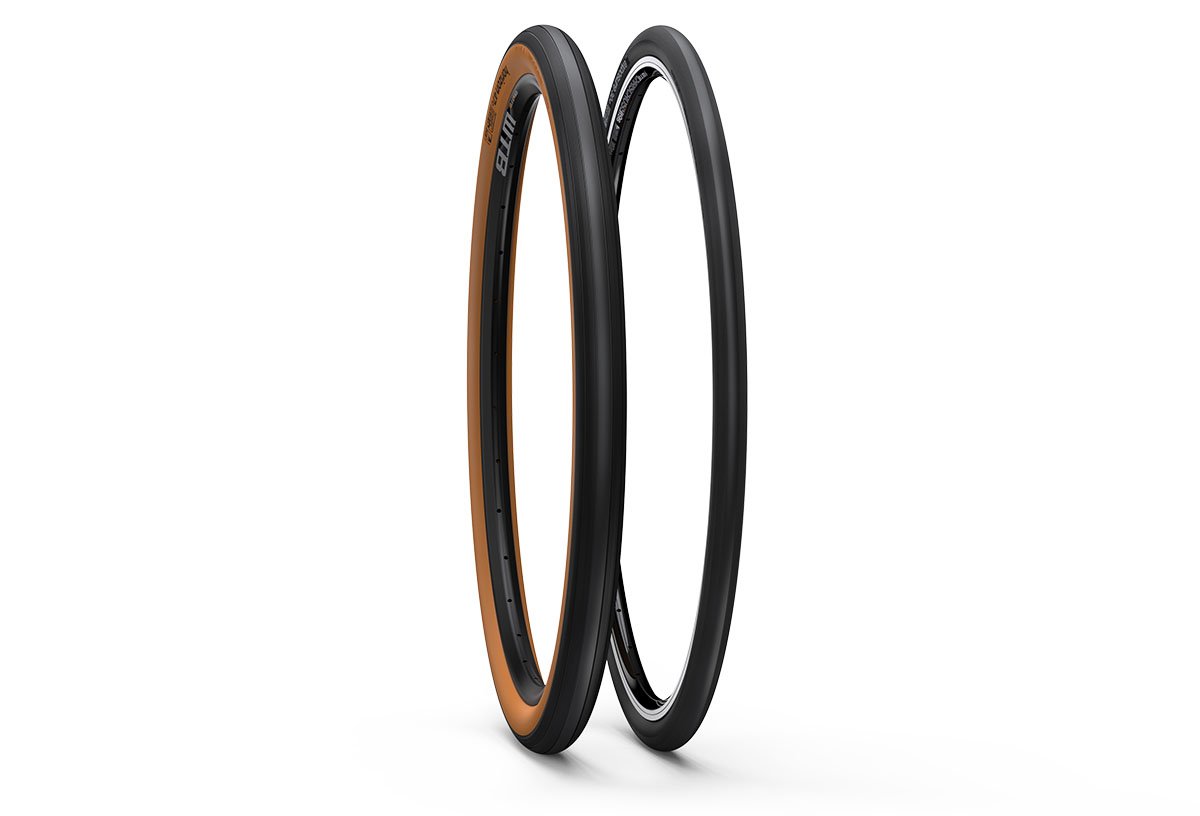
It’s important to note that, because the outside diameter of a fat 650b tire is roughly the same as an average 700c gravel tire, the smaller wheel size is not really about fitting smaller riders (in contrast with road and triathlon, where smaller wheels are used with skinny tires to reduce toe overlap and allow for low handlebar positions on small frames). That said, there’s a small handful of 650b bikes and moderate-width tires that are aimed at the vertically challenged, such as the 650b Surly Straggler.
Tread Patterns
The tread pattern is of huge importance for gravel cycling, with potential conditions ranging from smoothly paved sections to large irregular gravel and deep mud. In general, you can follow the conventional wisdom from the world of mountain biking. The smoother the course and sunnier the day – the less tread you need. As conditions worsen, it’s wise to move to light file treads, to moderate treads, to the widest, knobbiest hunk of rubber you can fit in your frame and fork.
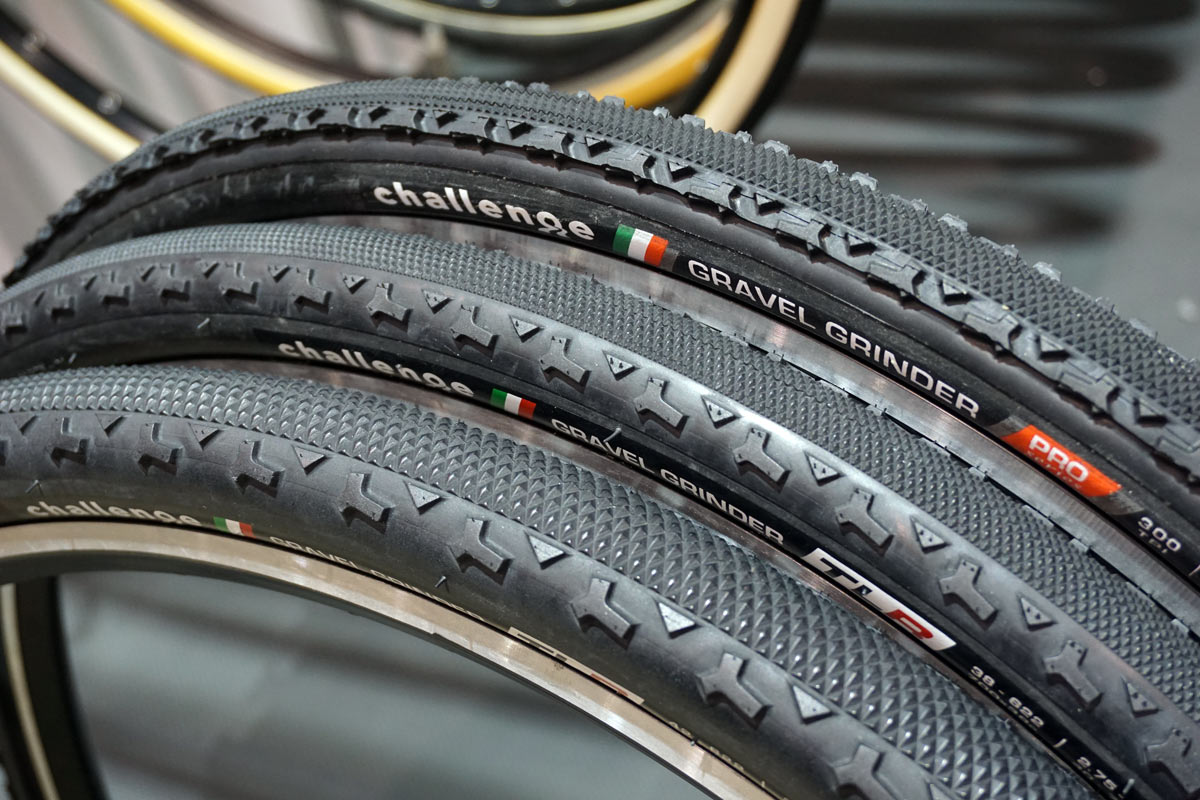
Of course, personal preferences will vary, and you’ll probably need to experiment here. When in doubt, start with a set of moderate tread tires, or something with a smooth(ish) center and knobby edges, such as the Challenge Gravel Grinder (700c) or WTB Byway (650b) – these aim to give you reasonably fast rolling combine with secure cornering on loose surfaces in one package.
Tubeless-Ready Wheels & Tires
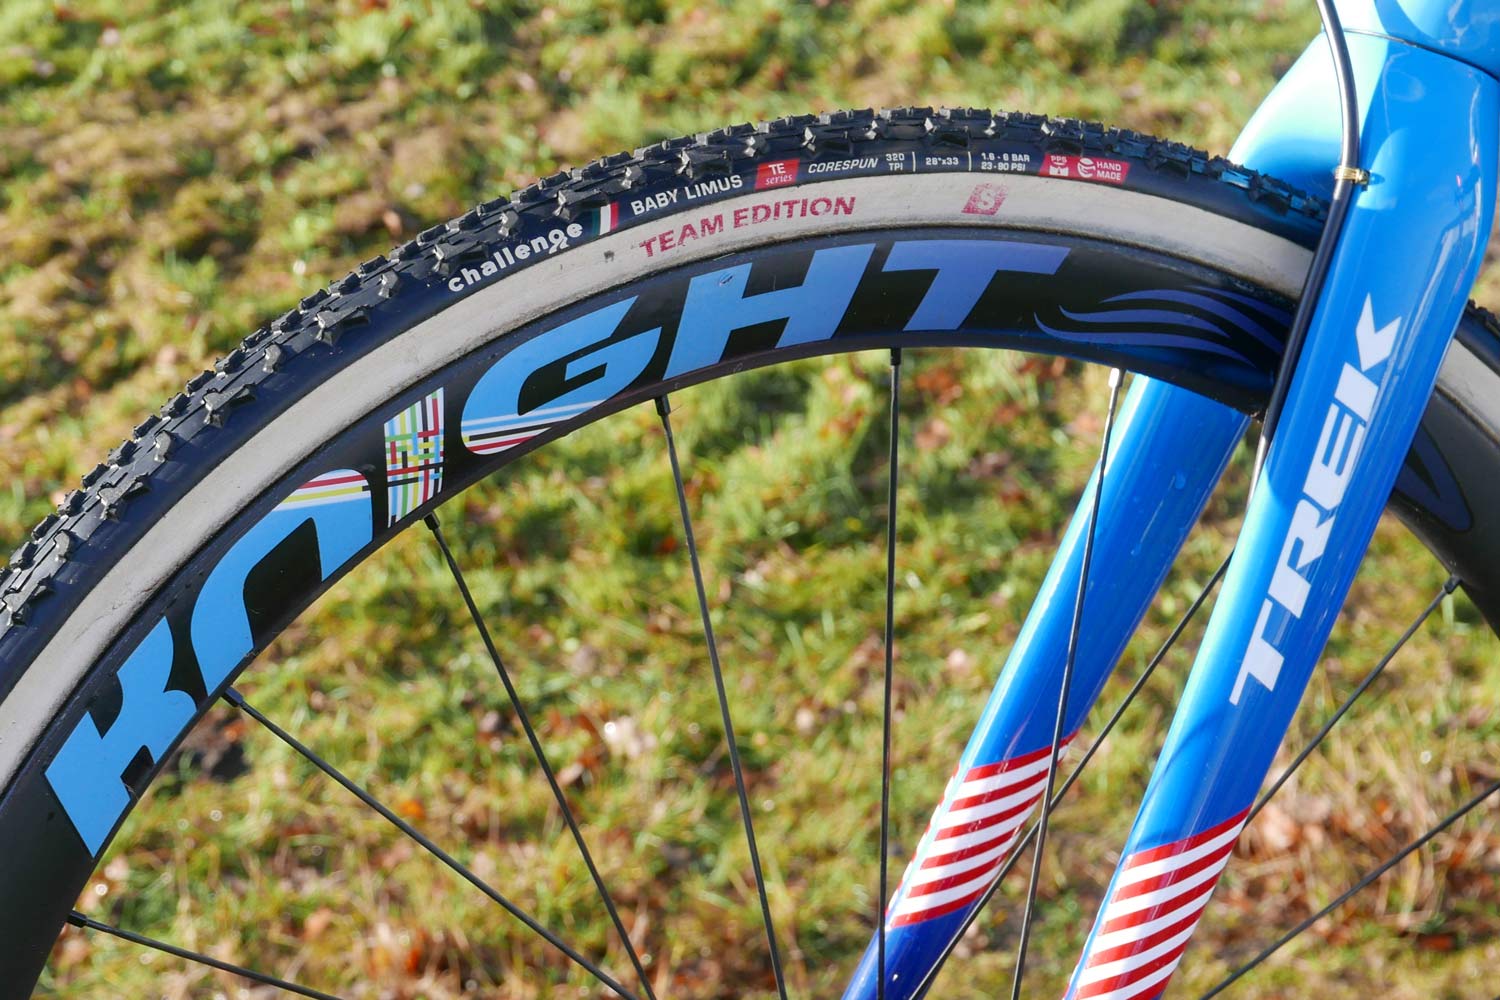
Regardless of rim material or brake type, the hottest trend these days is tubeless tire compatibility. Like your car tires, these are set up without an inner tube inside. While it has taken many years for tubeless tires to find their legs in road cycling, tubeless is the standard in mountain biking, and heavily favored in gravel. While some road disc wheels strictly to the Road UST standard (and could be used on a gravel bike), most gravel-specific wheels simply promote a tubeless-friendly design that includes a sealed rim bed with no spoke holes – or a sealing tape to cover the spoke holes. Internal rim designs also feature a channel and “shelf” design to help lock tire beads into place upon inflation, unlike traditional curved rim designs from previous decades.
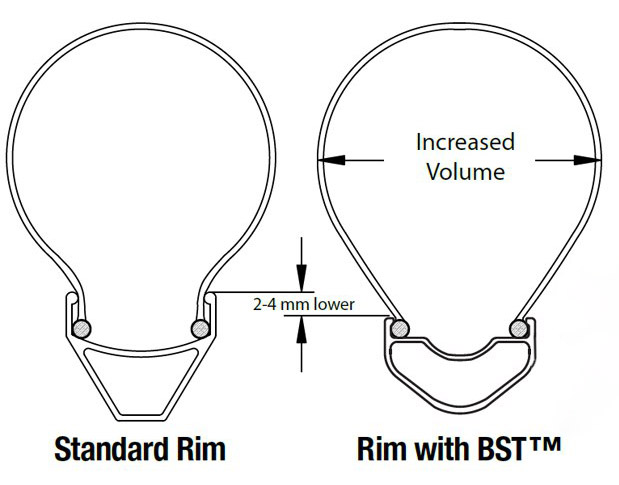
Regardless of whether or not you use an inner tube, this update to internal rim design slightly changes the procedure of removing or installing a tire. In order to more easily remove or install the tire beads, it’s always best to first push them to the center of the internal rim channel – where the diameter of the wheel is smaller. If one side of the tire bead sits up on the larger-diameter “shelf”, it’s going to be much harder to get that second bead on or off the rim.
Should you go tubeless?
Almost certainly – but here are a few things to consider:
Potential weight savings: Tubeless-ready tires are typically heavier than traditional clincher tires, but most or all of the weight gain is offset by the fact that you lose the inner tube. Often, even with sealant, the system weight is lighter with tubeless. Some rims even allow the use of non-tubeless tires to be set up tubeless (like Stan’s NoTubes), offering a supple, lightweight, performance-oriented setup…buuuut, tires not specifically marked as “tubeless-ready” will likely not be as airtight, either requiring more sealant to keep air in, or more frequent pump ups. Or both. Most modern gravel tires are tubeless ready, though, so chances are whatever you choose to roll on can easily be set up that way.
Improved rolling resistance: While we can’t generalize and say that ALL tubeless gravel tires roll faster than ALL gravel tires with inner tubes, the data is trending to show that tubeless tires roll fast – especially if you have a rim that allows a standard non-tubeless clincher to be set up tubeless.
Puncture protection: “Tubeless Ready” means a tire needs tire sealant inside to make it air tight. As in, they’re not “Tubeless Complete”, they’re just easily converted to tubeless. The benefit is that the liquid seals a puncture on-the-fly without you ever needing to remove the tire (or even stop your bike). Note that sealant dries over time and you must periodically add more to the system.
A faster, more comfortable ride: For those of you who like to run lower tire pressure, the lack of an inner tube means that you almost can’t pinch flat (and if you impact something hard enough to pinch flat the tire itself – your wheel is likely damaged, too). Lower pressures make for a more compliant, comfortable ride. And, somewhat surprisingly, tests have proven that lower pressures actually roll faster, too.
Low risk investment: Your new bike’s wheels and tires might already be Tubeless Ready (TR), but most new bikes ship with tubes inside. Check the bike brand’s website if the dealer doesn’t know. Bontrager, Hutchinson, Kenda, Schwalbe, Maxxis, Specialized, and more all have TR road tires, and more bikes are shipping with TR wheels, valve stems included in the box. You may only have to add sealant. Don’t like it? Just put a tube back in.
It’s the future: Did we mention that tubeless is the future?
What about Tubulars?
While tubular wheels and tires (also called ‘sew ups’) continue to be used in elite cyclocross racing, you won’t find too many people using them for gravel. With an emphasis on long-distances, rough surfaces, and being self-sufficient, tubular wheels and tires are not very practical for the application. While you can load them with liquid tire sealant, a large puncture requires the complete replacement of the tire. Not only is this a headache, but it also requires carrying a spare tire, which weighs quite a bit more than a spare inner tube. The take-home? Leave it to the professionals who are willing to risk it all for a small performance gain.
Rim & Tire Widths
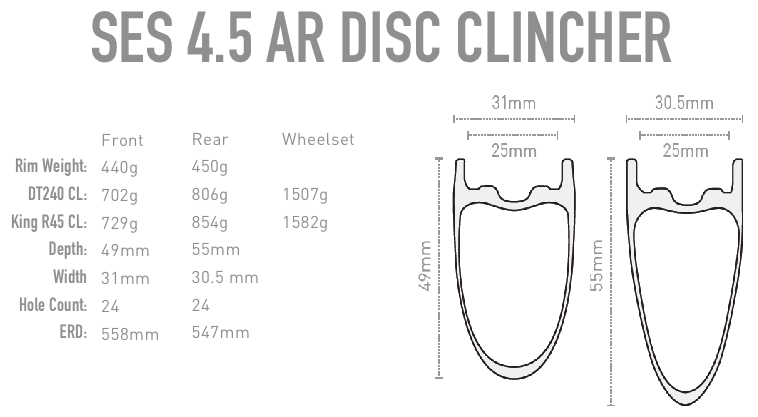
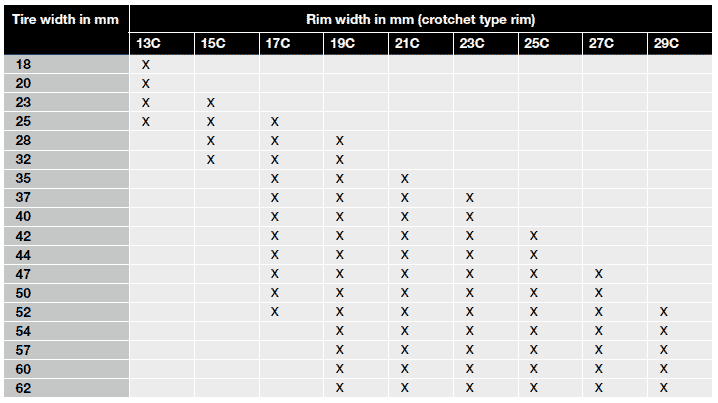
Regardless of wheel diameter, they continue to grow in width. Original gravel wheels used road rims with an internal width of 13 – 15mm. These days, the normal range for road bikes is 17 – 21mm, and gravel bikes are now stretching this further. External rim widths have grown from a norm of 18 – 20mm, to the modern range of 22 – 25mm… and now even hit 30mm+ widths. For example, the ENVE SES 4.5 AR Disc has a massive 25mm internal width and 31mm external width.
Both are important numbers, and here’s why: Internal width is what will inform the tire’s actual shape and width once mounted and inflated. External width is what needs to fit inside your frame or brakes – on the off chance you’re using v-brakes or cantilevers.
Wider rims tend to do a few things:
• Better match the rim and tire width, improving aerodynamic performance (yes, this is even becoming an issue for gravel bikes)
• Straighten out the sidewalls of the tire for better cornering stability
• Increase tire volume, allowing for lower tire pressure, leading to improved ride comfort
That last point is an important one, because wide rims can change the effective width of your tire – because labeled tire sizes are still based on old clincher rim widths. In other words, your “32mm” tire might actually inflate to 35mm or more when used on a rim with a large internal width. Keep this in mind when buying tires: it’s not the labeled size that counts, but the actual inflated size. There is some movement towards defining ideal rim-and-tire width ratios, but they’re nowhere close to being called “standards”.
Choosing a Tire Width and Construction
• Wheel diameter: Remember that wide 650b tires have an outside diameter similar to smaller 700c tires… a bike that fits 650b x 50mm tires will likely NOT fit 700c x 50mm tires. When in doubt, (double) check the recommendations from your frame manufacturer.
• Terrain and conditions: Rough and loose surfaces call for larger tires with a more aggressive tread. Smooth-and-fast dirt roads might allow for lightweight slicks. This is one area that experimentation will be necessary, so leave room in your budget for more than one tire choice.
• Ride distance and risk tolerance: Are you riding for an hour – or for a two week adventure? How much do flat tires bother you? Are you willing to take on risks for a reward? Only you can answer these questions. Typically, longer distances and lower risk tolerance call for beefier tires.
• Future-proofing: We don’t know how big gravel tires will grow. Don’t buy a new gravel bike without clearance for at least 700 x 42mm tires, the size that’s basically become the default for all-purpose gravel riding. Some bikes tout clearance for a 29×2.1 mountain bike tire, which is big, but good for really rough courses or when you might want a little extra floatation (think mud or snow). As always, it’s better to have and not need, than to need and not have.
8. FREEHUB STANDARDS
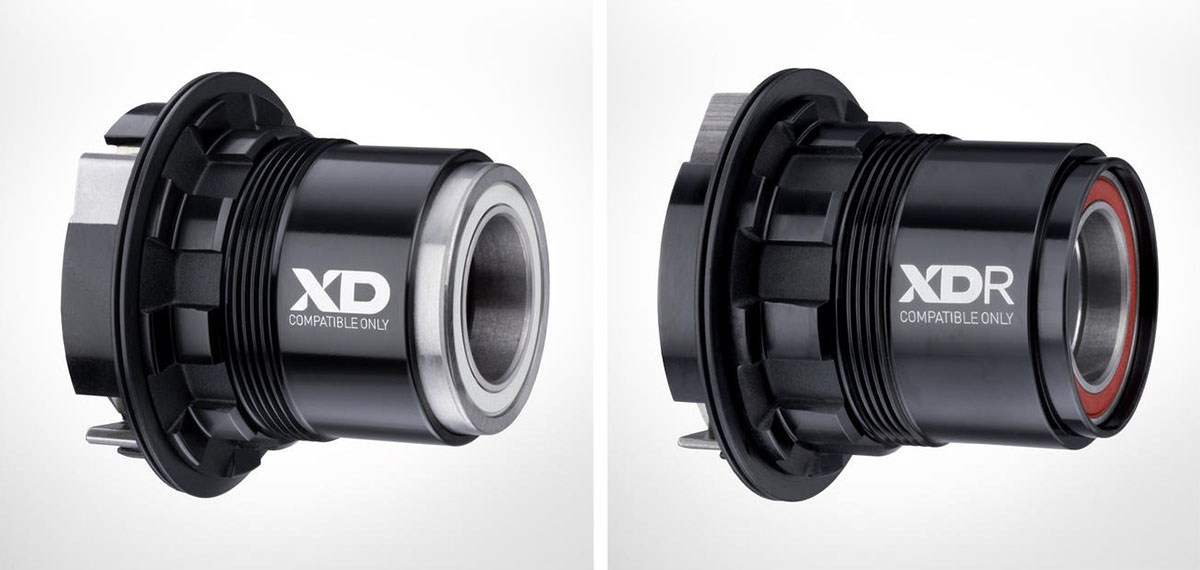
A freehub is the modern method for attaching a cluster of gears to your bike, featuring a splined interface and fastening mechanism. The most common freehub standards haven’t changed much, but there are some notes worth explaining. First and foremost, the traditional Shimano HyperGlide (HG) freehub design (above, right) is still around as a common choice, surviving after a brief appearance of a deeper-splined 10-speed-specific freehub that didn’t last.
The biggest change occurred in 2013, when Shimano introduced 11-speed rear shifting, requiring 1.8mm of length to be added to the existing Hyperglide design. New 11-speed wheels are backward compatible with 9 and 10-speed, but the reverse isn’t always true depending on your hub manufacturer. Read: Your old wheels might not work with the newest drivetrains. But by “old”, we mean anything more than 5 years old. Since then, most hub and wheel manufacturers have built around the 11-speed dimensions.
SRAM offers cassettes using both the Shimano HG 11-speed standard, and their own XD and XDR systems – which allow for a 10-tooth small cog (the HG freehub is limited to an 11-tooth cog). XD was originally introduced for single chainring mountain bike drivetrains, while XDR is slightly longer to match the length of the longer 11-speed Shimano HG road freehub (and offers compatibility with the latest 12-speed systems). With the popularity of single chainring drivetrains for gravel, it’s time to get familiar with SRAM XD/XDR if you aren’t already.
Meanwhile, Campagnolo has stayed with their same spline pattern & width for quite some time, and most wheels survived the 11-speed switch with relative ease. Even their latest 12-speed components do not require a new freehub. That said, as of this post’s publication, Campy doesn’t have a wide range cassette that would meet modern gravel riders’ expectations.
Fortunately, most current hubs have the ability to swap in HG, XDR or Campagnolo freehub bodies. So, if you did decide to swap groups or upgrade in the future, chances are pretty good you’ll only need to swap freehub bodies and not your complete wheel.
9. COCKPIT STANDARDS AND TRENDS
Cockpit? We’re talking about handlebars, stems, and seat posts.
While road bikes are trending towards extreme integration (internal routing through bars and fork steerer tubes), one-piece bar/stem combos, and integrated mounts, gravel tends to stay a bit more basic. While technology is certainly increasing, it’s common to see reliability and durability valued over saving every last gram.
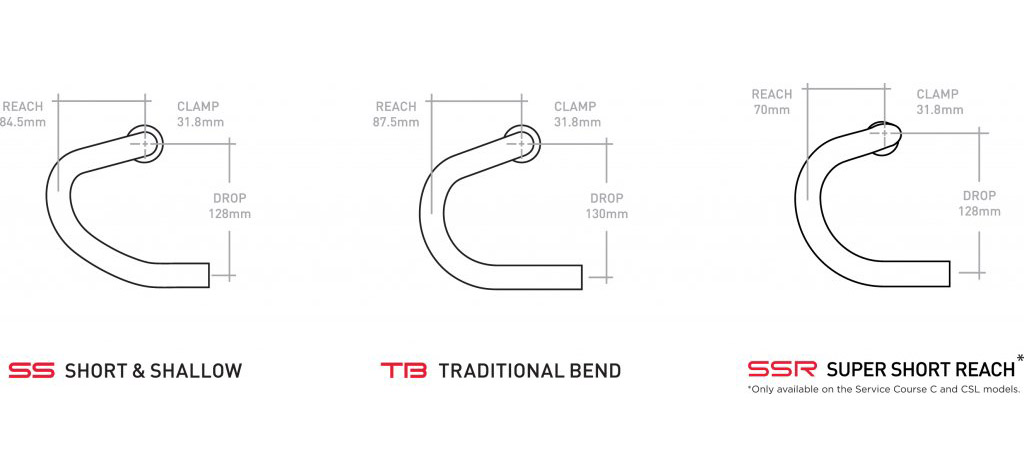
Similar to road bikes, gravel has embraced short and shallow handlebar drops. There is no exact standard as to what this means, but most feature a drop measurement of around 125-128mm, with a reach of ~70mm. These tend to provide a more realistic drop position that people will actually use, whereas super deep (traditional) drops often lead to riders use the bar hoods almost exclusively.
We’re also seeing an influx of flared drops of varying degrees, allowing for more control, comfortable hand positions, and less arm/hand interference with the top of the bar when riding in the drops. While road bikes tend to have modest degrees of flare, some gravel bikes go extreme, with very wide-and-shallow drop bars. Ultimately you’ll have to try them to know if you’ll like them, but it seems that the kids these days love their handlebars as extreme as their mustaches and flannel shirts. As a bonus, wide-flare bars also help prevent smashing your knees into the bar drops when you’re taking it to full-rad on rough trails.
Stems moved from 26.0mm to 31.8mm diameter in the early-mid 2000’s, improving lateral stiffness. Note that both road and mountain bikes had adopted this new shared standard, whereas older mountain bikes used a 25.4mm bar that was NOT cross-compatible with road’s 26.0mm.
In 2011, Deda introduced a new 35mm diameter bar and stem, further improving stiffness. 35mm handlebars own a good bit of the mountain bike market now, but have yet to catch on en masse for gravel. The upside is that it is markedly stiffer without adding much weight, so it’s great for powerful riders and sprinters. The downsides are that upgrade options are limited, and, 35mm bars require a new out-front computer and accessory mounts, but K-Edge and others make compatible options. Oh yeah, and they can be super stiff.

A word on bar tape…
Most new bikes ship with alloy handlebars, which even on the road can transmit a lot of vibration to your hands, causing numbness and fatigue. Gravel ups that exponentially, so if you’re not one to upgrade to a carbon fiber handlebar to mute the bumps and vibes, then you’ll definitely want to upgrade your bar tape to a thicker, gel-backed tape. Some brands even offer kits that have gel pads that adhere to your bars then get taped over.
…and now let’s talk setup
Assuming you’re coming over to gravel from the road side, you probably have a certain angle you like your brake hoods to sit. With gravel, it’s worth trying a few different angles, most likely bringing them up slightly. Why? Because on rough descents, this will make it less likely that your hand could slip over the raised portion on the front of the hoods. But perhaps more importantly, you may find that the shift paddles can hit your fingers when braking hard, which limits how much braking force you can apply, which could cause you to wipe out. Hard. We speak from experience. And SRAM and Shimano shift paddles vary in position behind the brake lever, and even vary between their mechanical and electronic models. It’s worth testing different hand and lever positions before tearing down a steep gravel and rock-strewn hill.
In the seat post department, most gravel bikes use good ol’ round posts, in contrast with the road market’s penchant for aerodynamic shapes. 27.2 remains popular due to its more compliant ride than larger 30.9 and 31.6 sizes. Most bikes running Shimano Di2 are now using seatpost batteries stuck inside the bottom of the post. If you’ve never used that groupset, make sure your mechanic shows you how to detach it and where the charging port is on the junction box – sometimes they’re hidden inside the frame… or even the handlebar!
Some gravel bikes are shipping with a short-travel dropper post, too. And the better of those are integrating it by using a left-hand shift lever to actuate it since the 1x drivetrain otherwise eliminates that shifter’s utility.
We also went through a several year phase of cuttable seat “masts”, which integrate a post into the frame itself, and rely on a unique saddle rail clamp that can side up and down a few centimeters (sometimes, just millimeters) on the mast for fine adjustments. These proved difficult for travel and fitting in bike boxes, and also created struggles in the event that you want to sell your bike to someone that doesn’t have the same saddle height as you. You can still find a few improved versions of this, such as Trek’s seat mast cap on their Checkpoint gravel bike, which affords much more adjustability than early iterations.
10. SUSPENSION
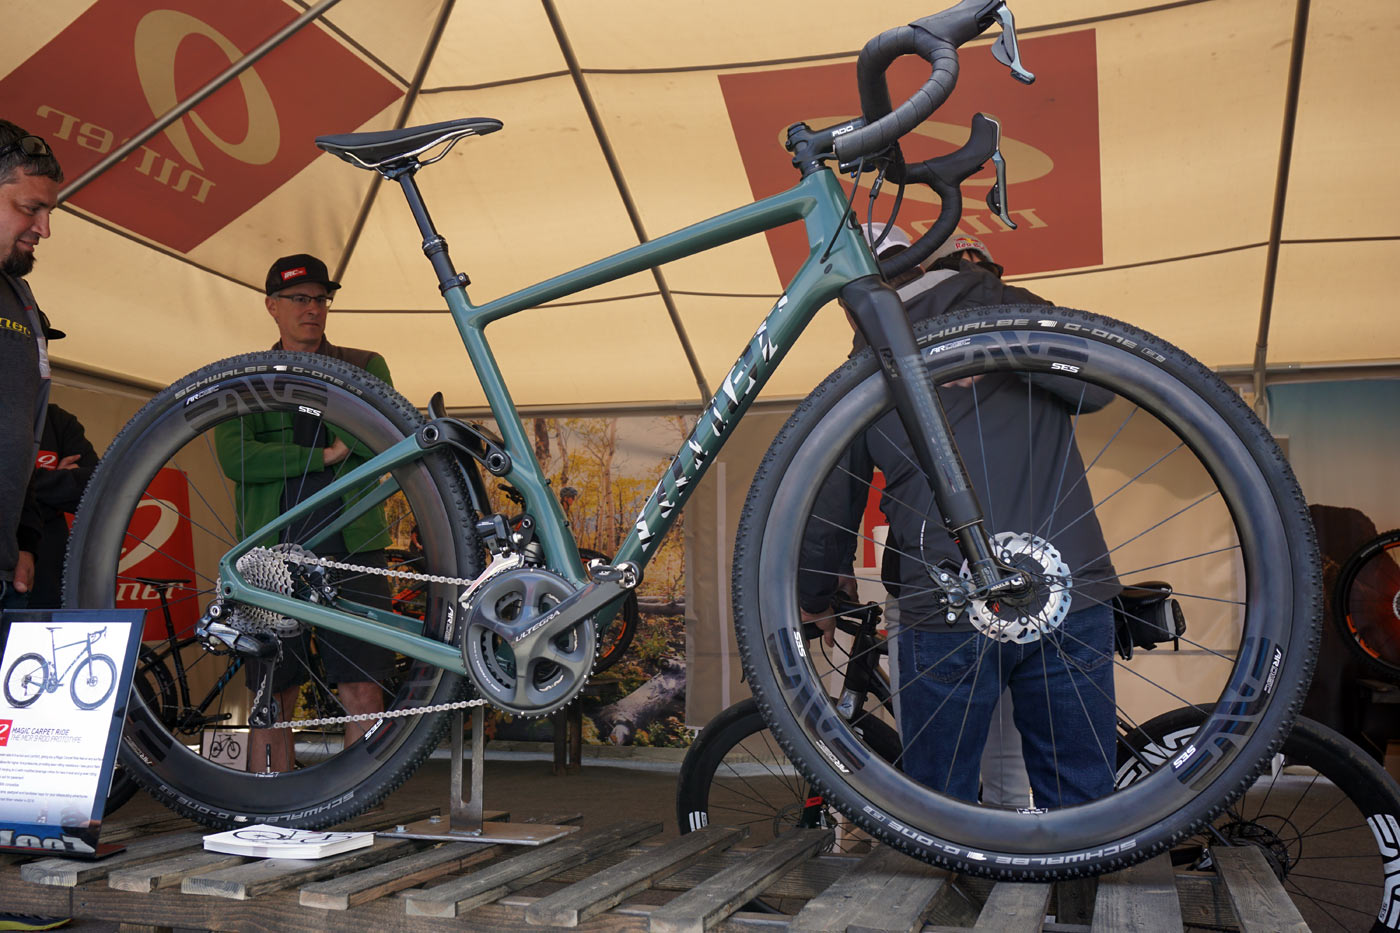
The other wild-west aspect of gravel bikes is the inclusion of various front and rear suspension systems. While not standard equipment, suspension continues to be explored, tested, and improved. There are head tube shocks such as the Specialized Future Shock, rear soft-tail frames, lightweight leaf spring forks, and even full-on short-travel front suspension forks. Still confused? Let’s dive into the details to explain further…
In addition to wheels and tires, the growing segment of suspension is a key differentiation between gravel bikes and road bikes. While we’re seeing more micro suspension and vibration-reducing elastomers on road bikes, gravel bikes take it a step further with beefier, longer-travel designs (though they’re still much shorter-travel than your typical mountain bike).
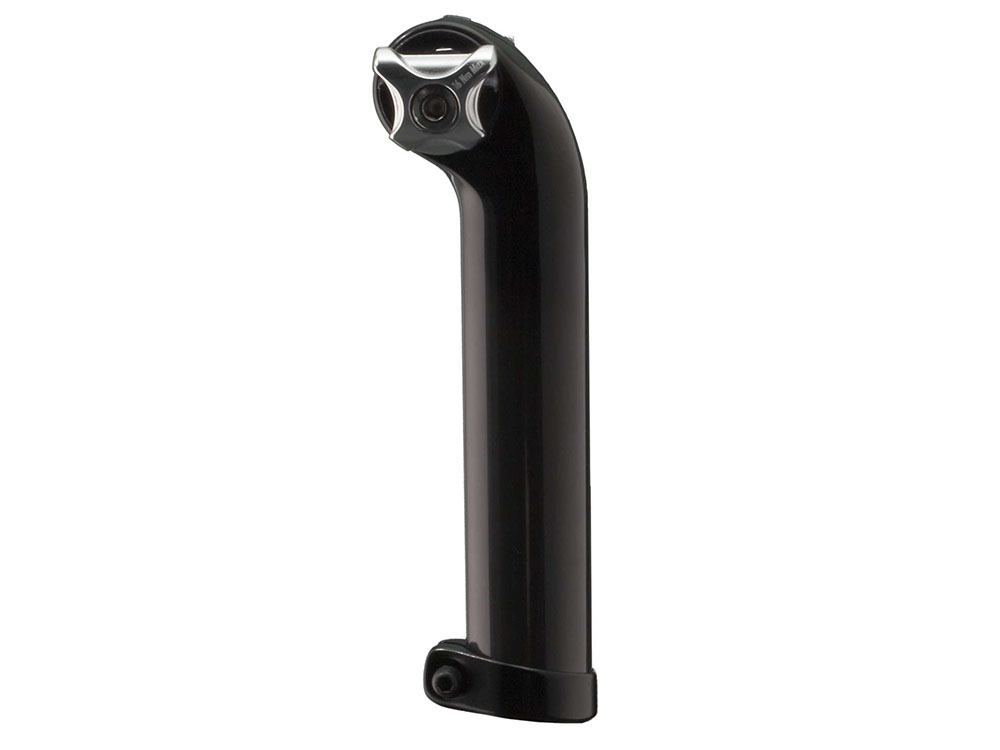
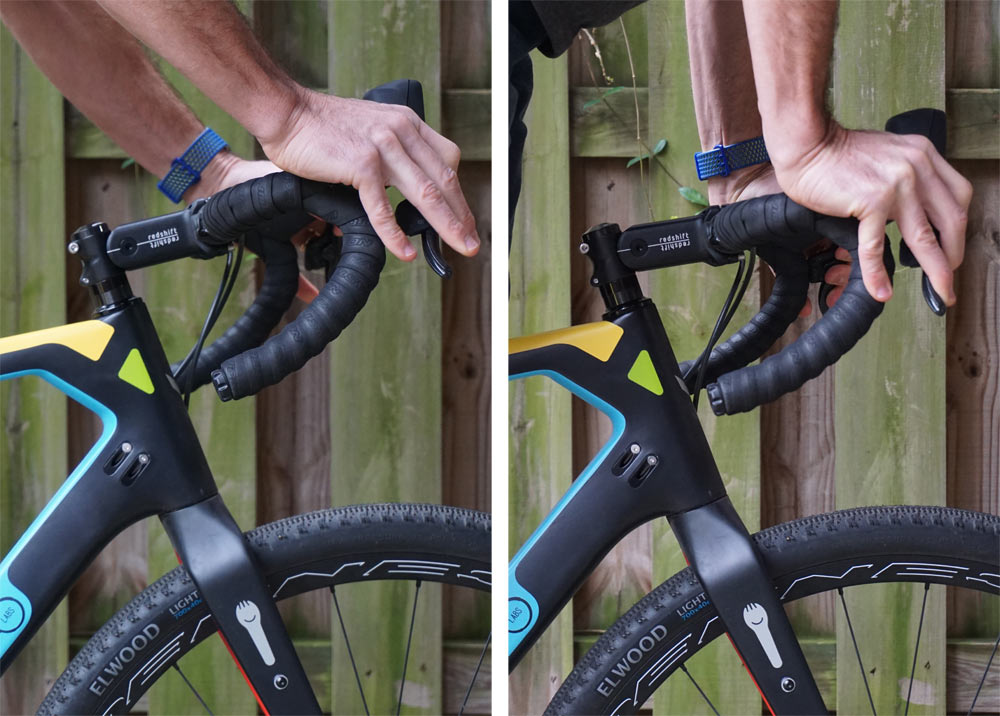
On the mild end of the spectrum, you’ll find road-like vibration-reducing carbon fiber layups, or elastomers that are integrated into the frame or fork. If you want to upgrade a fully rigid bike with vibration damping or short-travel suspension, there are some fantastic options like the Redshift stem and Cane Creek Thudbuster seat post – taking the edge off the rail, while keeping your wallet intact.
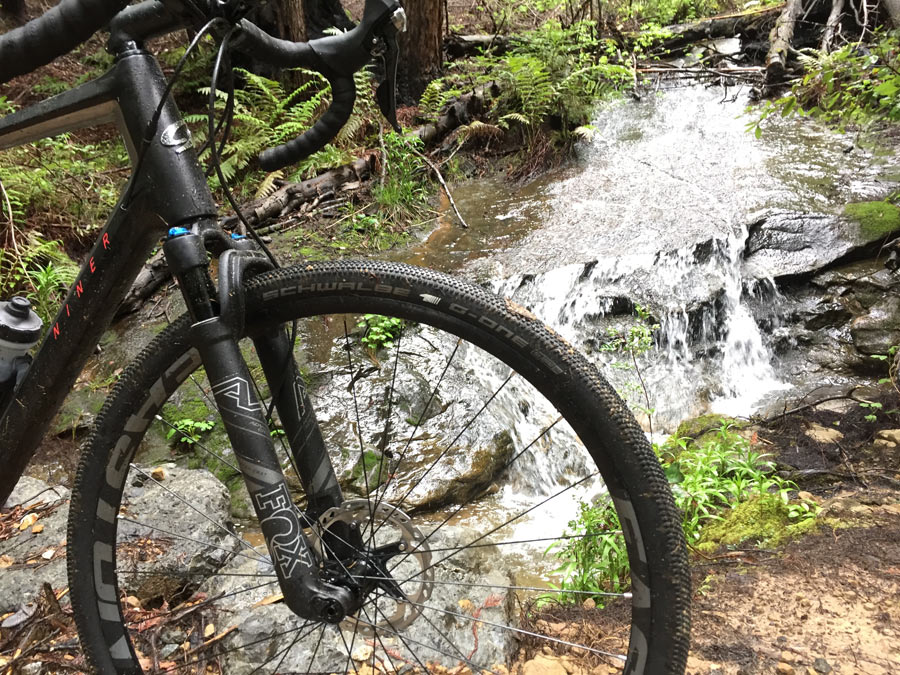
Beyond vibration-damping or elastomer designs, we step into the world of true short-travel suspension. Some are integrated to the head tube, such as the Specialized Future Shock (note that a voluntary recall was issued, so give your Specialized dealer a call if you own one). Some have very simple leaf-spring designs, like the Lauf True Grit fork. Others have “real” suspension in the fork itself, using MTB-like designs with less travel. For example, the Cannondale Slate has a 30mm travel Lefty fork, and the Fox AX gravel fork has 40mm of travel.
Is suspension absolutely necessary on a gravel bike? It’s not, but it’ll help you stay fast and comfortable, especially on rough terrain. Whether or not you’ll benefit from the extra Cush at the expense of added weight depends on your riding conditions and tolerance for bumps. Note that, like mountain bike suspension, these parts need care and feeding to remain in tip-top condition. In other words – the correct maintenance schedule is more than “never”.
11. Fork Standards
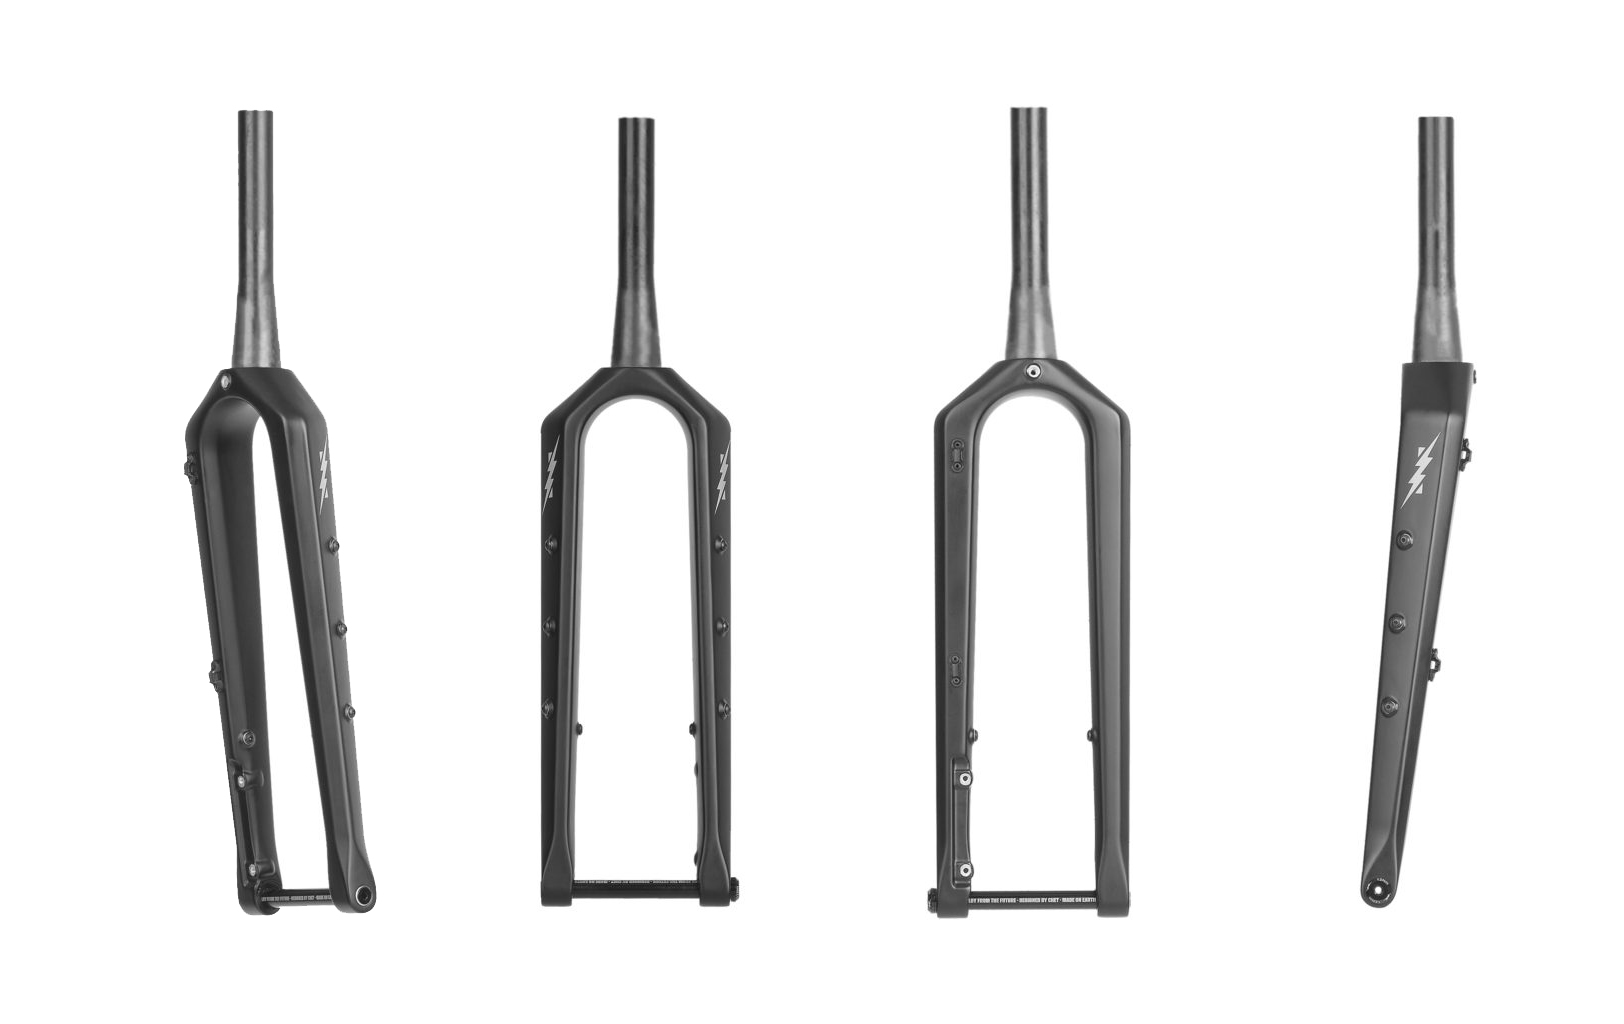
Fork standards have evolved quickly for gravel bikes. Whereas road bikes still feature a fair amount of straight 1-1/8″ (1.125 inch) steerer tubes, gravel has quickly adopted tapered steerer tubes due to their increased stiffness and strength. Most tapered designs rely on a 1-1/8″ upper bearing with a 1-1/4″ or 1-1/2″ lower bearing – the latter being more common on disc brake-equipped bikes which can most benefit from the added stiffness. Note that there are a few oddballs out there such as Giant’s Overdrive system, which uses a 1-1/4″ upper bearing and requires a special handlebar stem.
Tire clearance is growing in general, after being plagued by some older bikes that would only fit 35mm tires. This is an area where we can confidently say that bigger is better; more clearance will future-proof your purchase. As mentioned in the Wheels & Tires section, we’d be hard pressed to recommend buying a gravel that won’t fit 700x40mm tires in 2019.
We’re also seeing more hidden fender, rack and accessory mounts, using threaded inserts molded into the fork and frame dropouts. The bike looks super clean without fenders or racks, but can work as a great commuter or wet weather bike, too. Or bikepacking or light touring bike!
We are also seeing a resurgence of popularity for Dynamo lights – some of which even offer integrated USB charging ports for your other devices (i.e. mobile phone, GPS, etc). That’s right – you can convert your lunch into leg power – and use that power to charge your phone. These are typically add-on items, but a few forks are coming with wire routing already there.
12. Frame Geometry
We’ll close with perhaps the most important aspect of any gravel bike – the frame geometry. While much of bike geometry was mastered decades ago, gravel is a wide segment with several nuances of geometry and fit.
In general, gravel bikes tend to have a longer wheelbase and higher handlebars than a road bike – often coupled with wide handlebars for better control when the going gets rough. Keep in mind that while the head tube of a gravel bike might not be longer than a road bike, the longer fork axle-to-crown measurement means that your handlebars will almost certainly be a bit higher than a road bike.
Perhaps the biggest debate in gravel geometry is regarding bottom bracket height – typically measured as the vertical distance between the wheel axles and the bottom bracket. Some go low, such as the Specialized Diverge with 85mm of drop, and some go high, like the Trail Donkey 3.0 from Rodeo Adventure Labs, featuring only 65mm of drop.
How do you know what’s best for you? Lower bottom bracket heights lead to better stability and cornering, at the expense of ground clearance. High bottom brackets clear the rough stuff better, at the expense of stability. Keep in mind that tire size will influence your effective BB height, so don’t stray too far from the stock tire diameter unless you really know what you’re doing (and are okay with the effects you’re having on the handling of the bike).
But what bike should I buy?
As always, our best recommendation when trying to decide which bike is best for you is to go test ride as many as you can. Many bikes share similar specs at a given price point, and each brand has their own marketing jargon for often very similar features. The easiest way to cut through it all is to go ride them and find the one that fits you best. Try both 650b and 700c, and always keep in mind how much the tire size, construction, and pressure can influence how each bike rides. If a bike is riding rough, it could be as simple as reducing the pressure by 10psi. If you ride on smooth surfaces a lot, but a bike feels slow, you might just need to add a few psi. Be sure to communicate your needs to the shop to steer you in the right direction.
There you have it! We hope this guide has offered you some value and education, and will steer you towards a smart purchase in 2019 and beyond. Stay tuned for our Mountain Bike Guide, and check out recent our Road guide!
