Cycling power meters have come a long way, with reliability and accuracy improving, and prices continually dropping. There are now power meters for every type of bike, from affordable to pro-level expensive, with multiple ways to mount them to your bike.
In this post, we’ll cover the different types of power meters you can buy, the pros and cons of each, which features are important, and answer questions about accuracy, battery life, and more.
Whether you’re comparing power meters for road, gravel, triathlon, or mountain bikes, this is everything you need to know about a cycling power meter before you buy one…
What types of power meters are there?
There are four types of power meters currently on the market. There used to be rear hub power meters, but those have largely disappeared because most riders want a lightweight, high-end wheel without having to custom build one around a specific hub. Handlebar-mounted devices are another alternative that use wind & speed to calculate power, but we haven’t tested them, so for this article we’re focusing on the most commonly used bicycle power meter options:
- Spider-based power meters
- Crankarm power meters
- Spindle, or axle, power meters
- Pedal power meters
What type of power meter you pick is based on component compatibility, frame clearance, and whether you want single-leg, combined leg, or independently measured right-and-left leg power data. We’ll cover the differences in measurement types below, but first here’s a description of the different types of power meters, with pros and cons for each:
Spider-based power meters
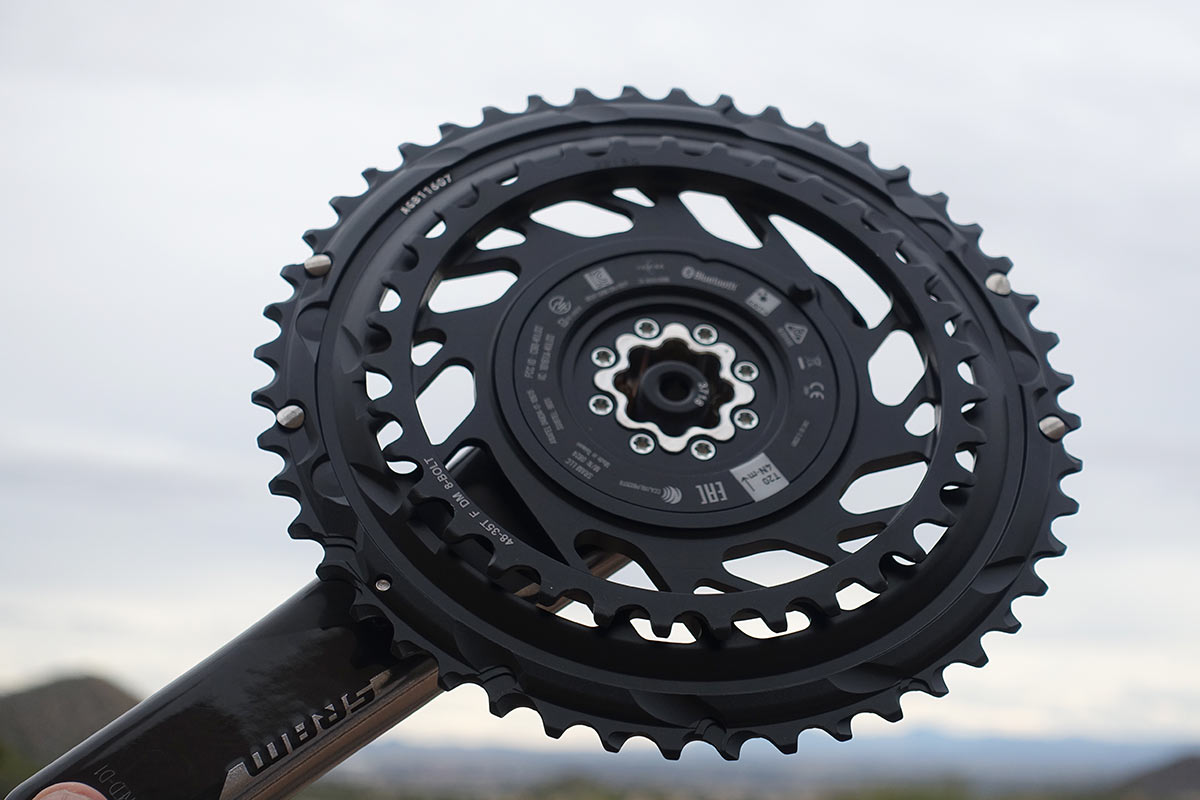
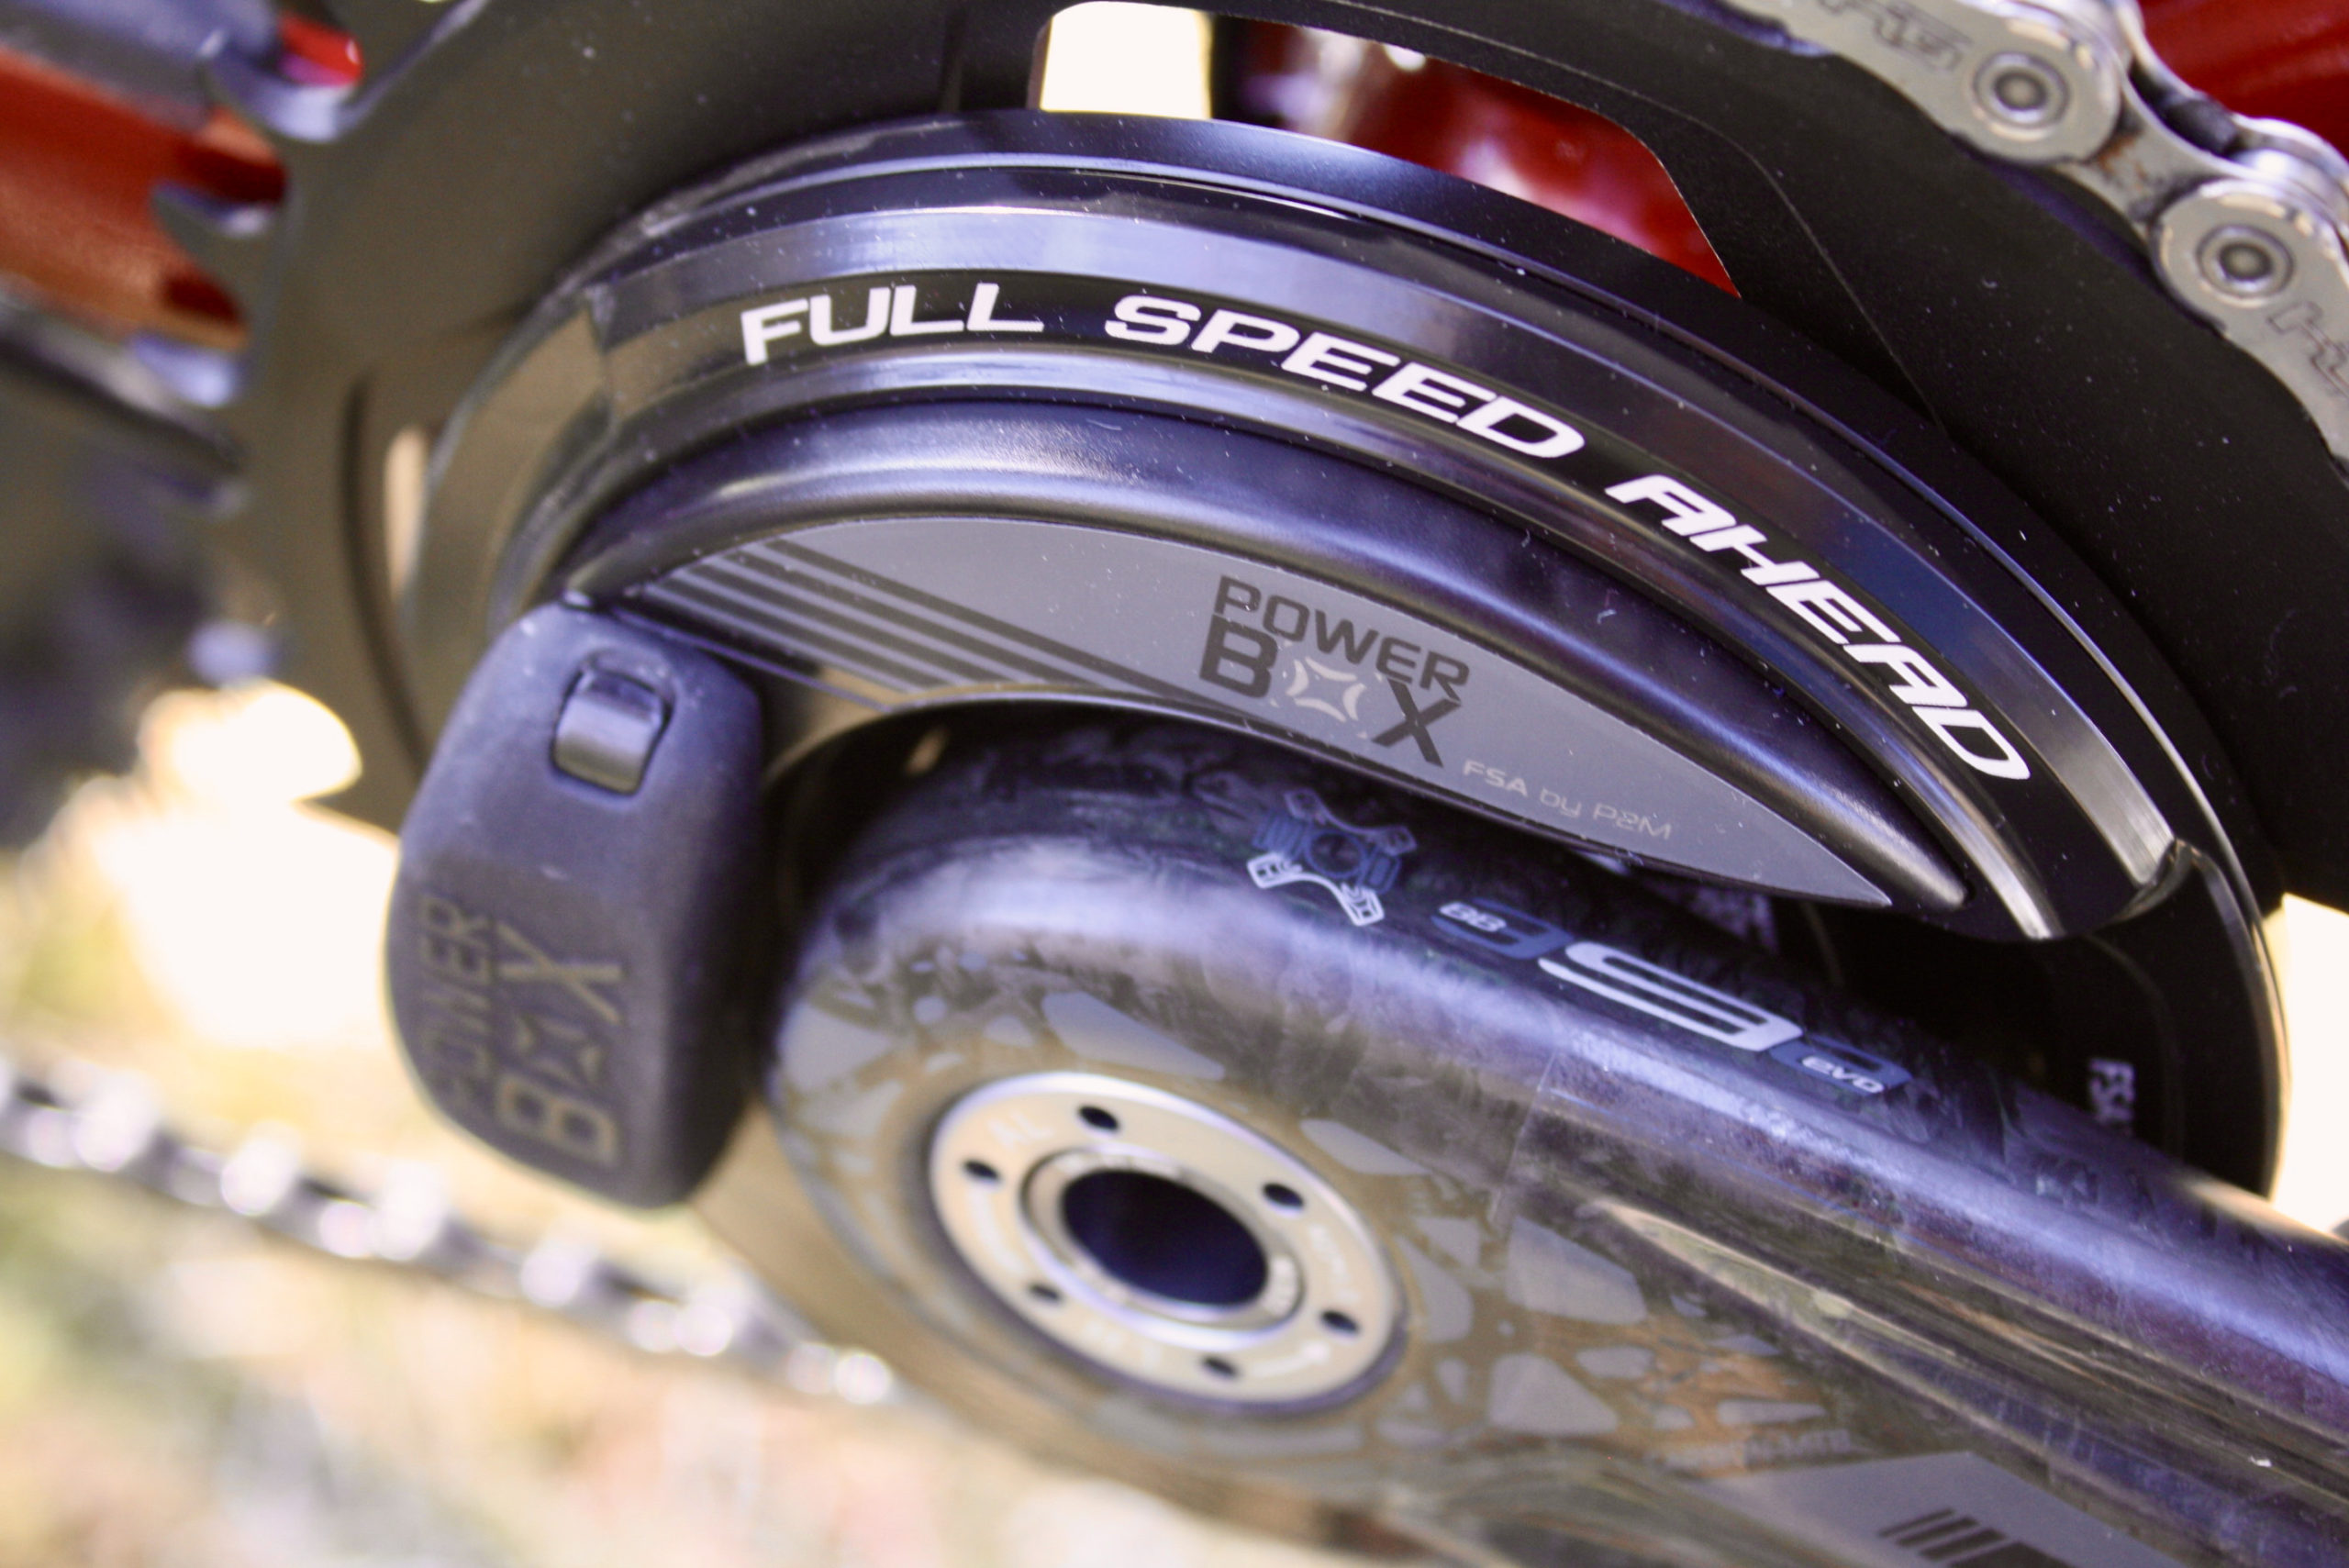
Power meter spiders are the most common, seen on almost every bike in the World Tour. This power meter takes readings from the spider where the load and torque cells measure the crankset’s force.
Because the spider sits between the cranks and the chainrings, they can measure all of the force coming from both crank arms, so it’s capturing both legs’ output. But because it’s not using separate strain gauges for each side, it relies on software to figure out what which leg is doing what…but most don’t even try to separate left from right, they just show a total power number.
Most common in this range are SRAM/Quarq, FSA PowerBox, and SRM. These options are widely regarded as very accurate, yet more expensive than crank arm-based power solutions.
Crank Arm based power meters
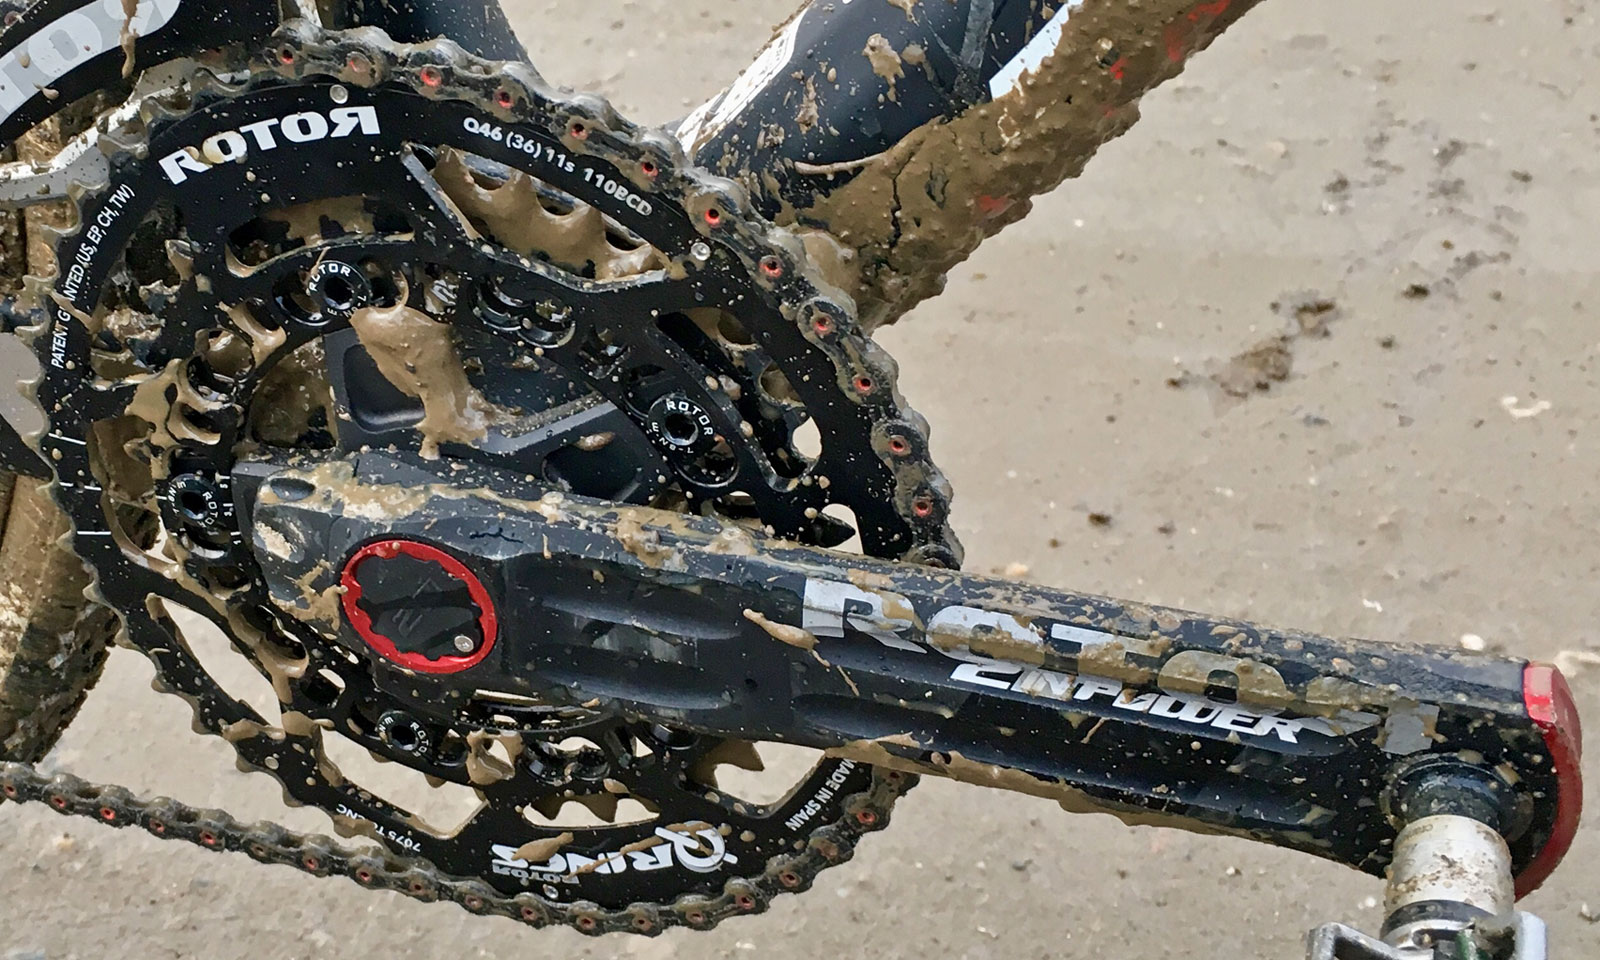
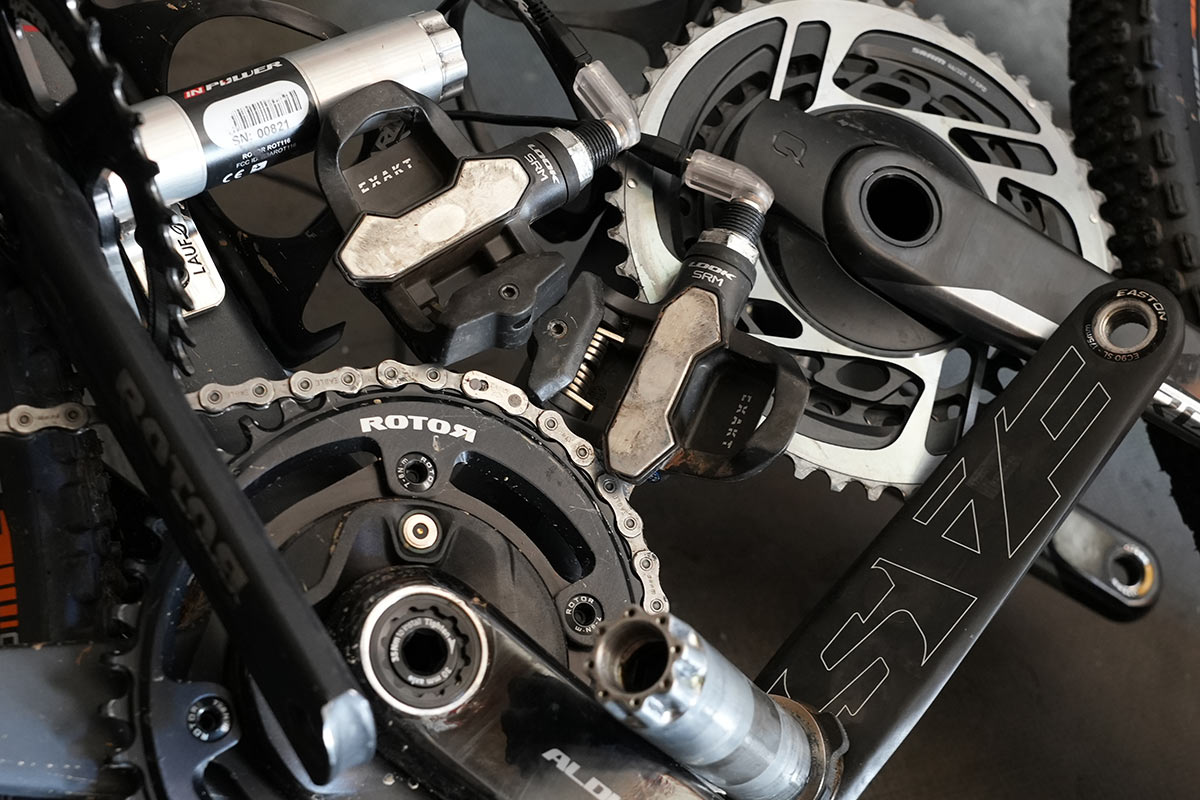
Here, you’ll find a two variations on power meters measuring forces on or inside the crank arm. Rotor’s 2INpower hides the electronics and strain gauges inside the crank arm and are among the sleekest options available.
But most other crank-based power meters use a strain gauge stuck to the inside of the left-side crank arm…
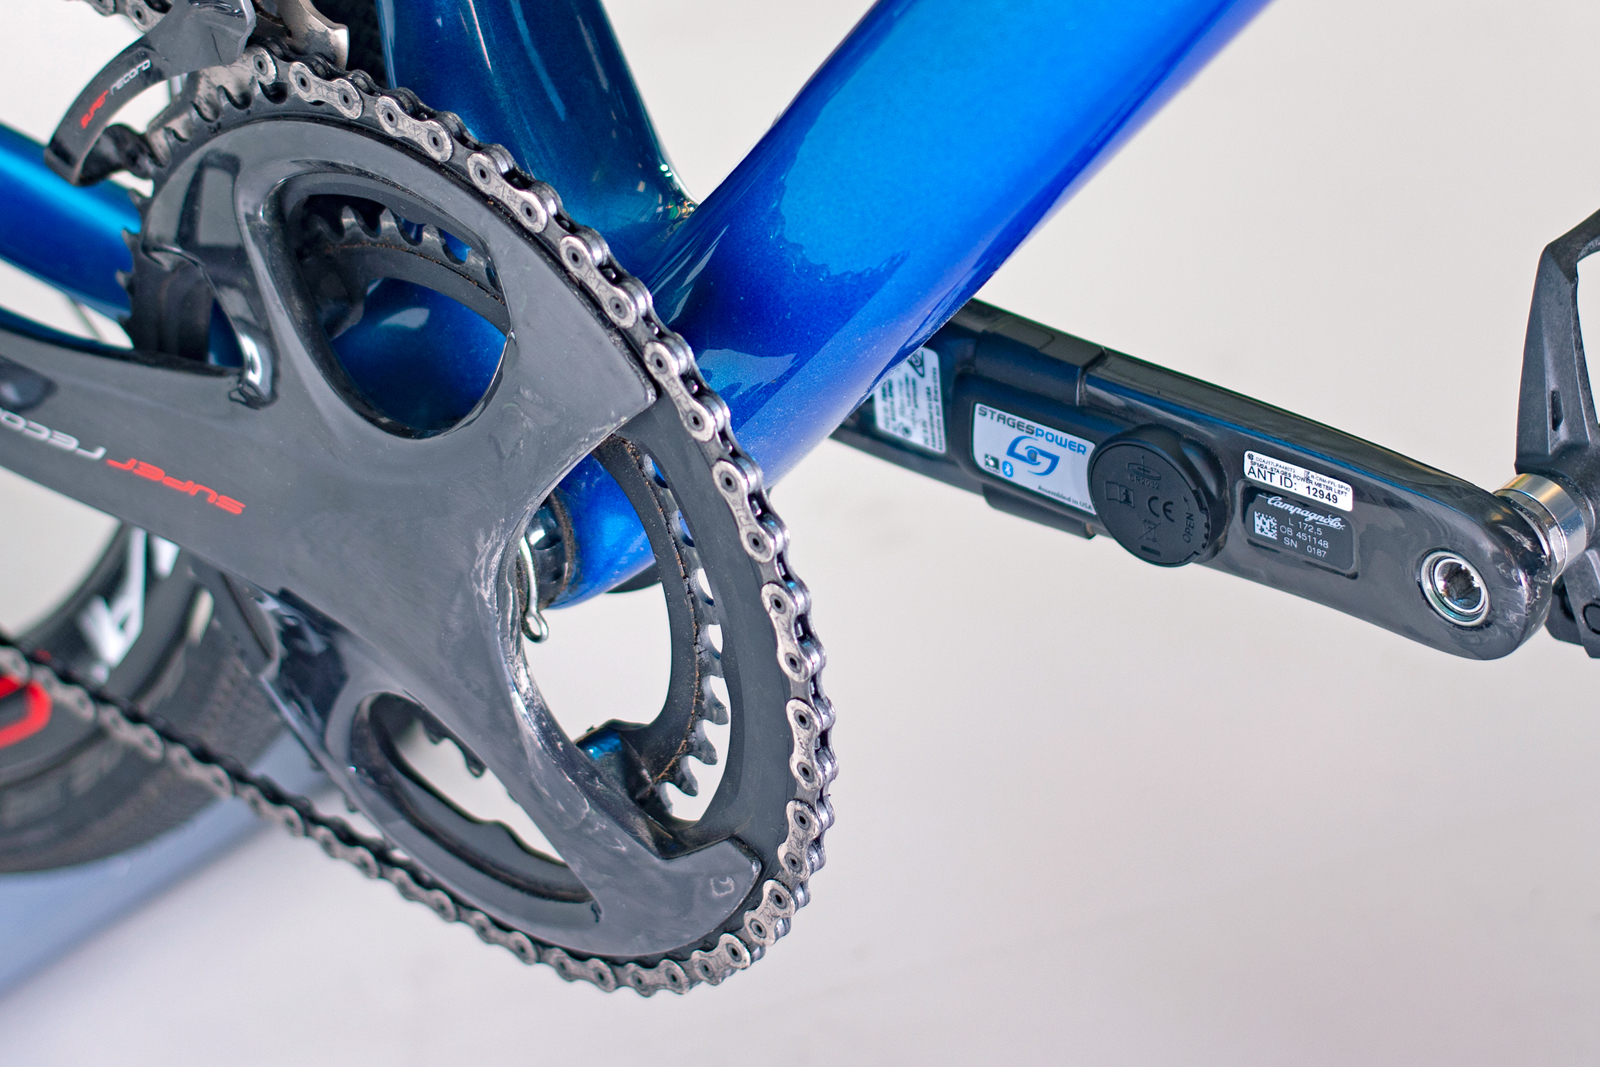
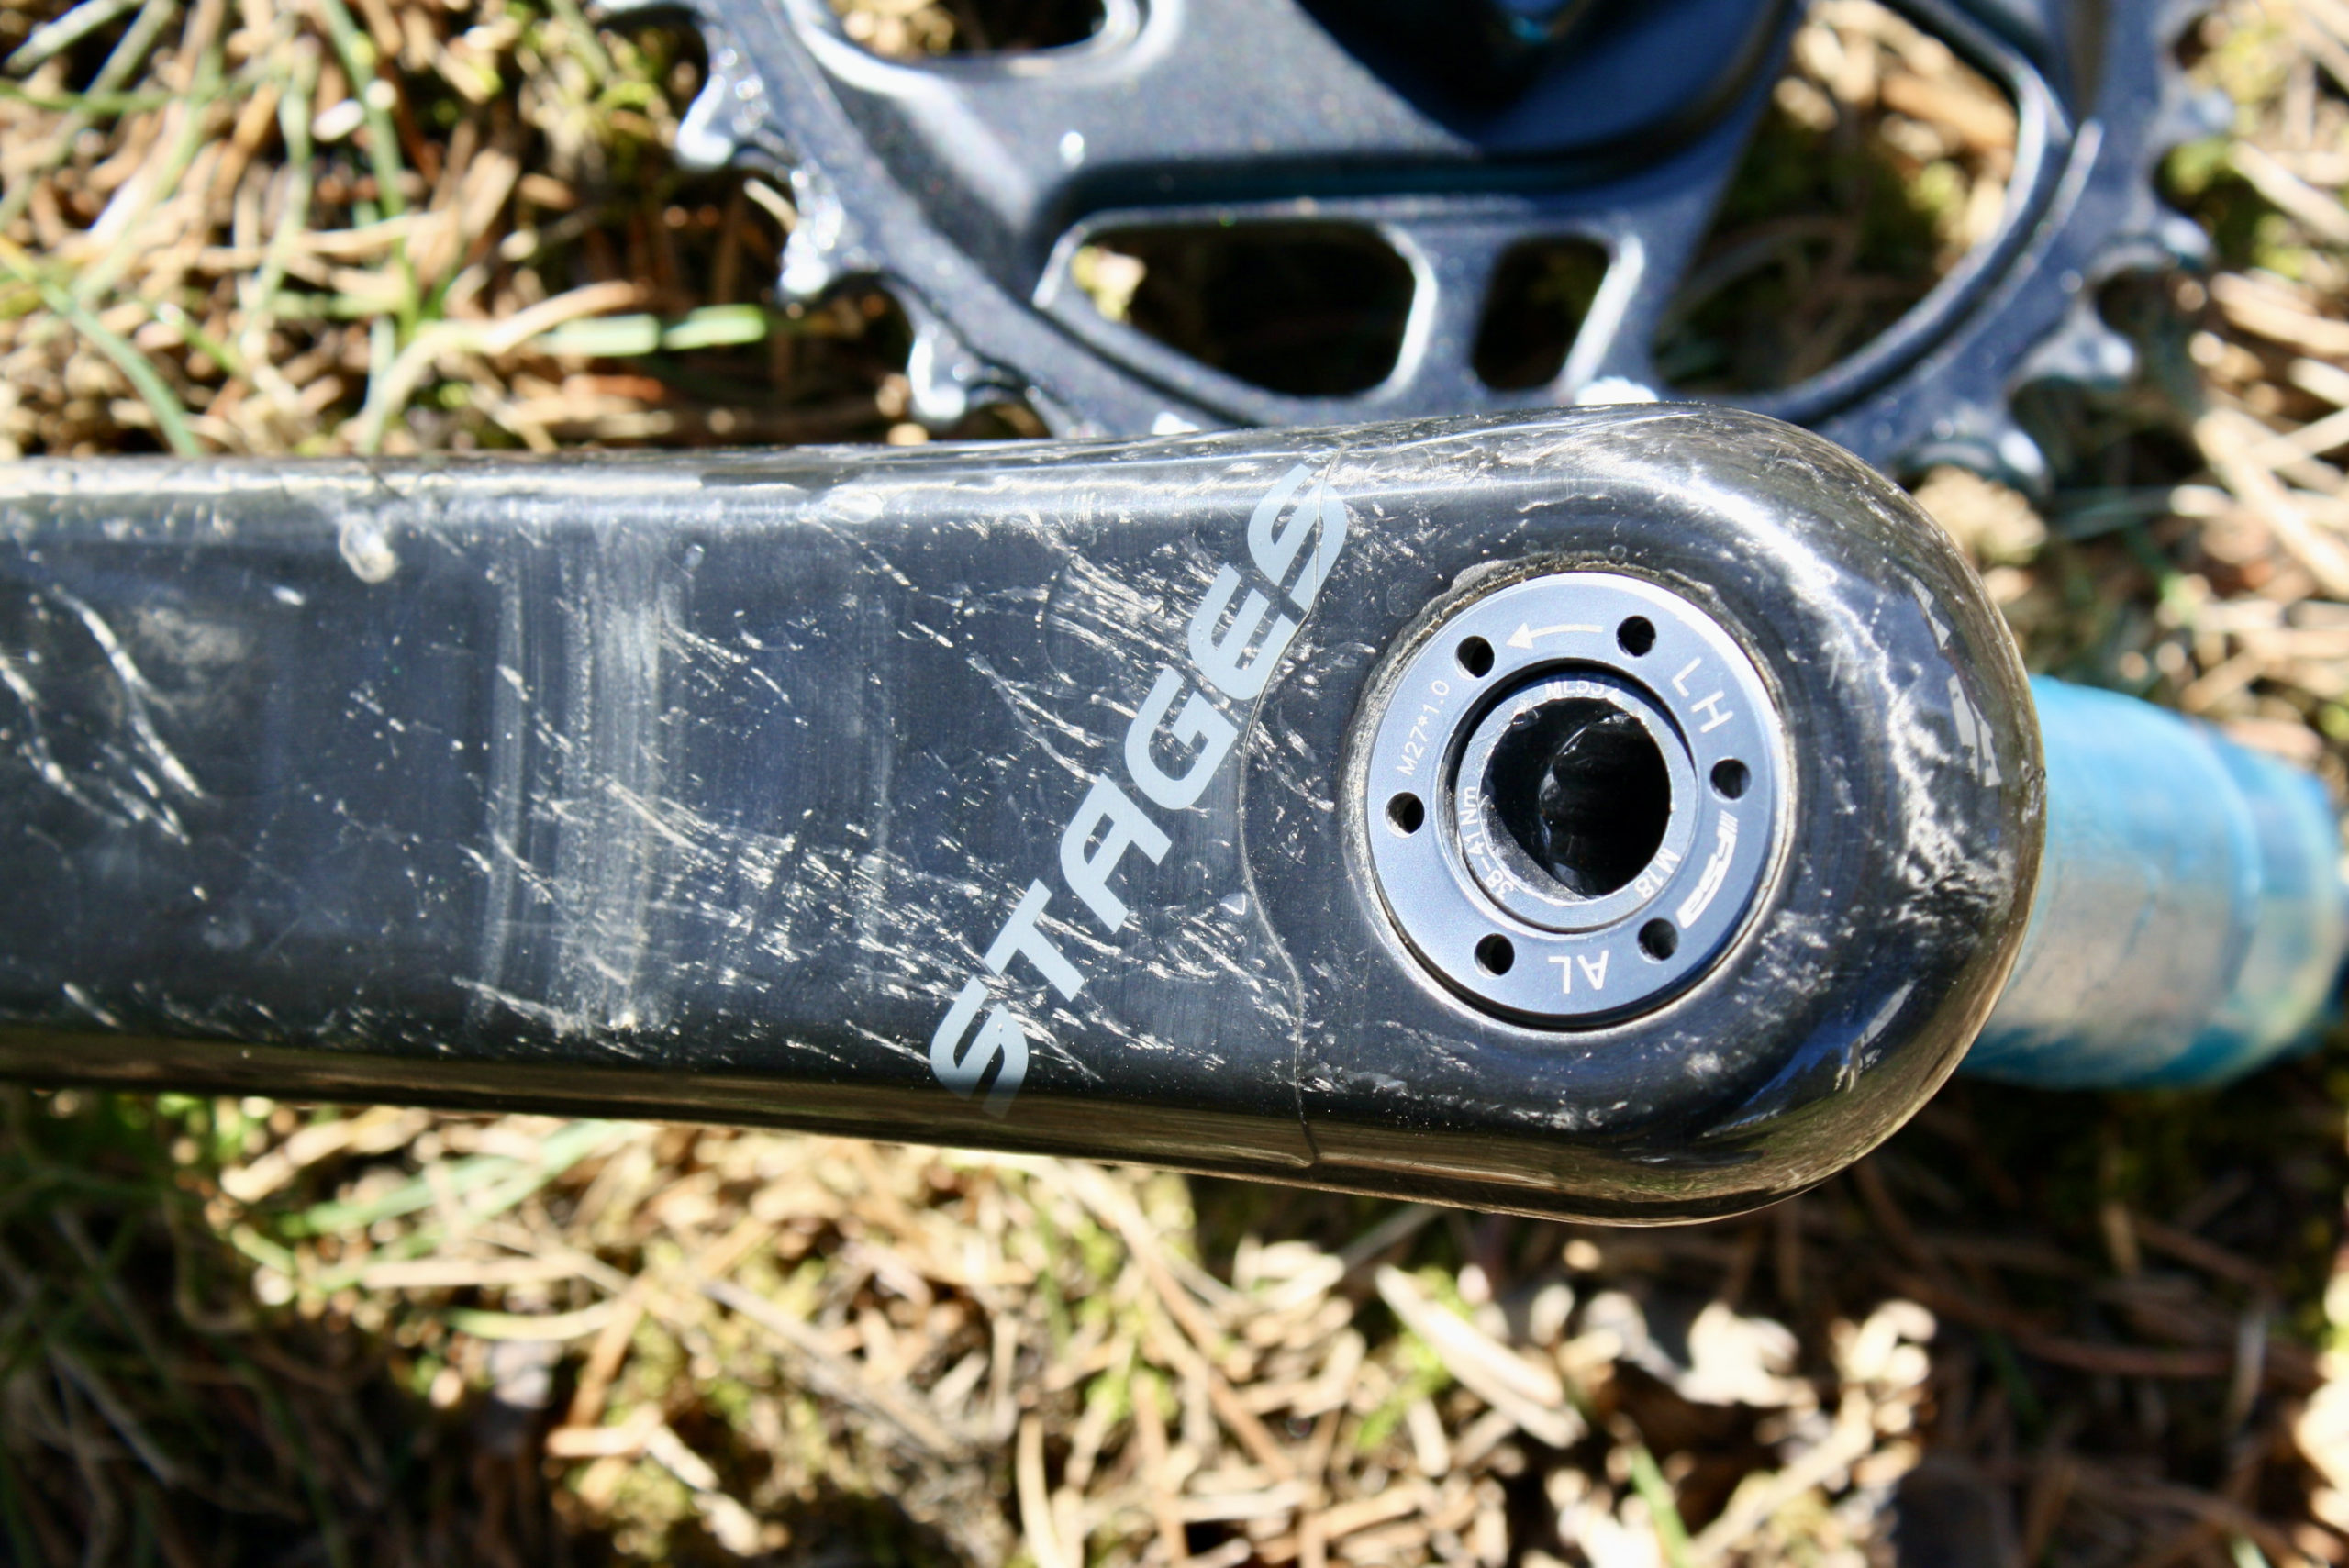
Stages (shown above) and 4iiii are the top aftermarket brands for add-on power meters, offering kits for most popular alloy (and some carbon) crank arm brands and models.
They measure the power with a strain gauge that measures the deformation of the crankarm under power. These are an inexpensive way to upgrade an existing crankset and add a power meter, and there are even a couple of options for adding true left-and-right separate power measurements.
Though lighter than a spider-based option, this type can have frame clearance issues and compatibility problems – so measure carefully.
You’ll have to send off your crank arm off for installation, which means a week or more of downtime. Or, they’ll sell you a new crank arm with a power meter pre-installed, which leaves you with a used extra that’s kinda worthless (4iiii offers a trade-in/recycling program for the used cranks).
Spindle/Axle-based mountain bike power meters
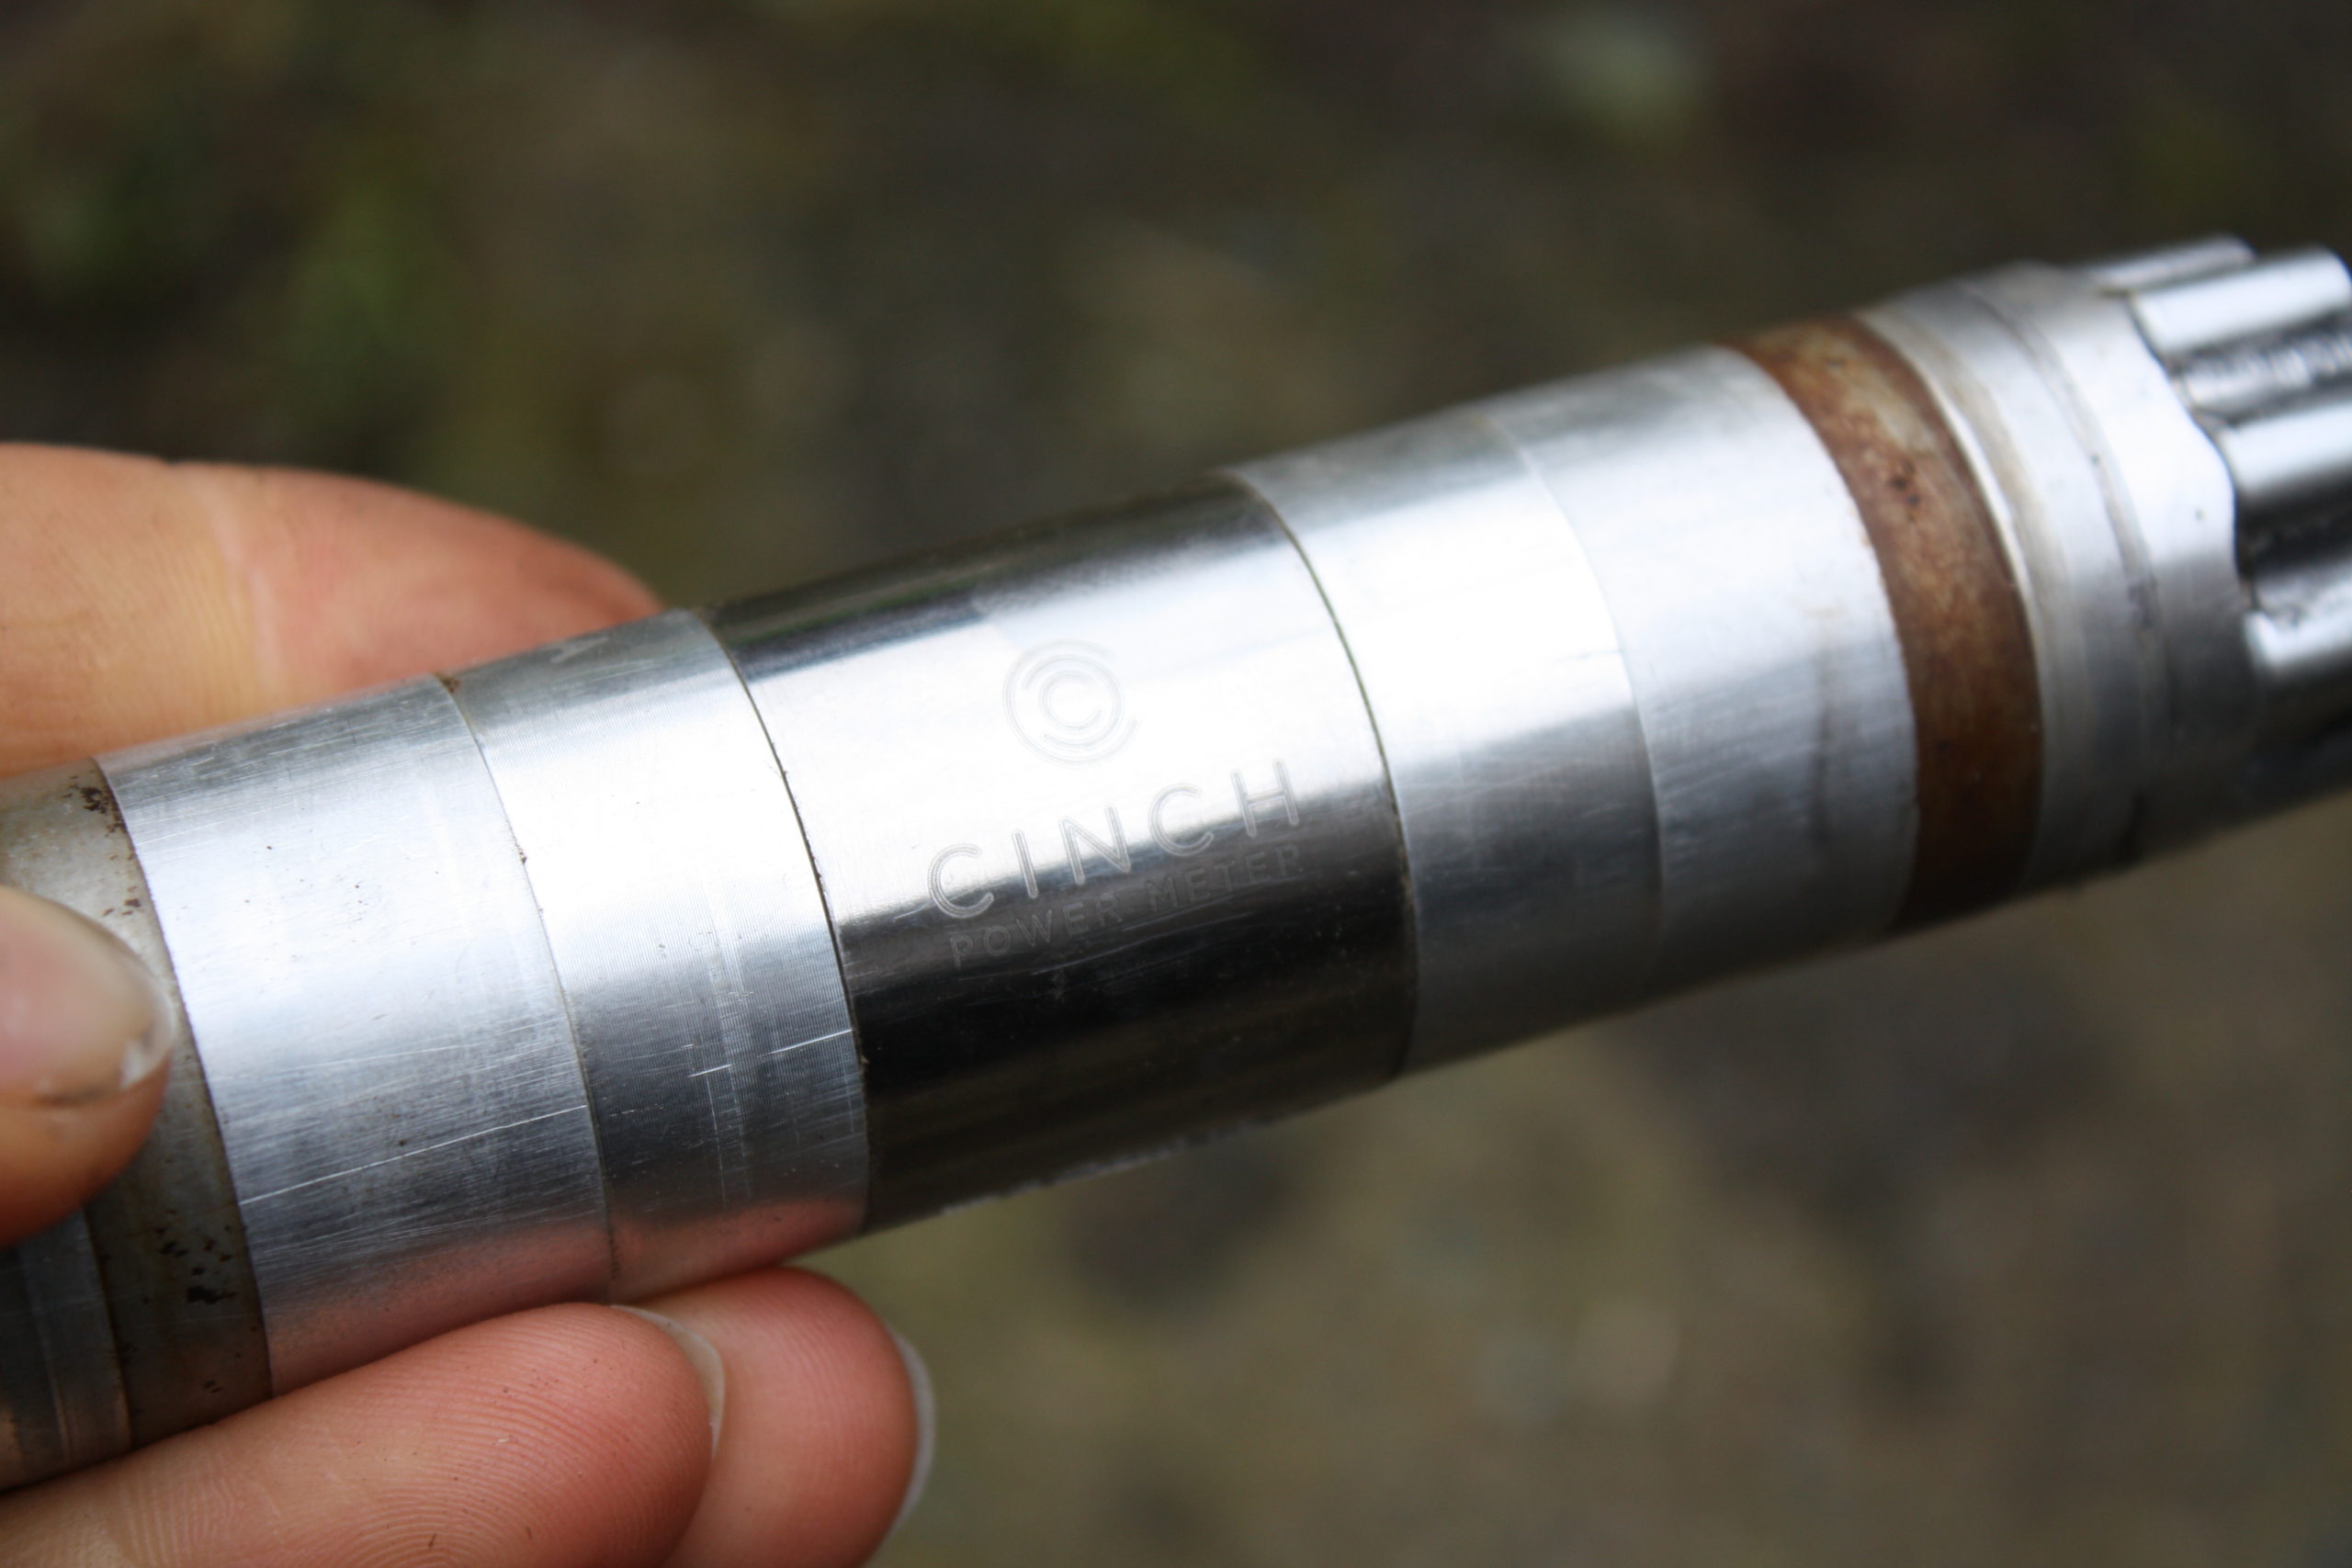
Great for weather protection and super light, spindle-based power meters hide the strain gauges, battery, and electronics inside the axle of the crankset. More room for batteries often means longer run times, but they require some sort of antenna protrusion to send the signal to your cycling computer. And they can only capture left leg output.
Rotor’s 2INpower cranks use a spindle plus in-arm pairing to create a dual-leg measurement. SRAM’s Rival AXS road group has a spindle power meter option, too. Race Face and Easton offer a modular system that lets you easily add their CINCH power meter to any of their road, gravel, or mountain bike cranksets, making it one of the easiest ways to add power if you’re already running those brand cranks.
Pedal based power meters
Powermeter pedals are perhaps the easiest way to add power to any bike, and there are options for road, cyclocross, gravel, triathlon, and mountain bikes, and everything in between.
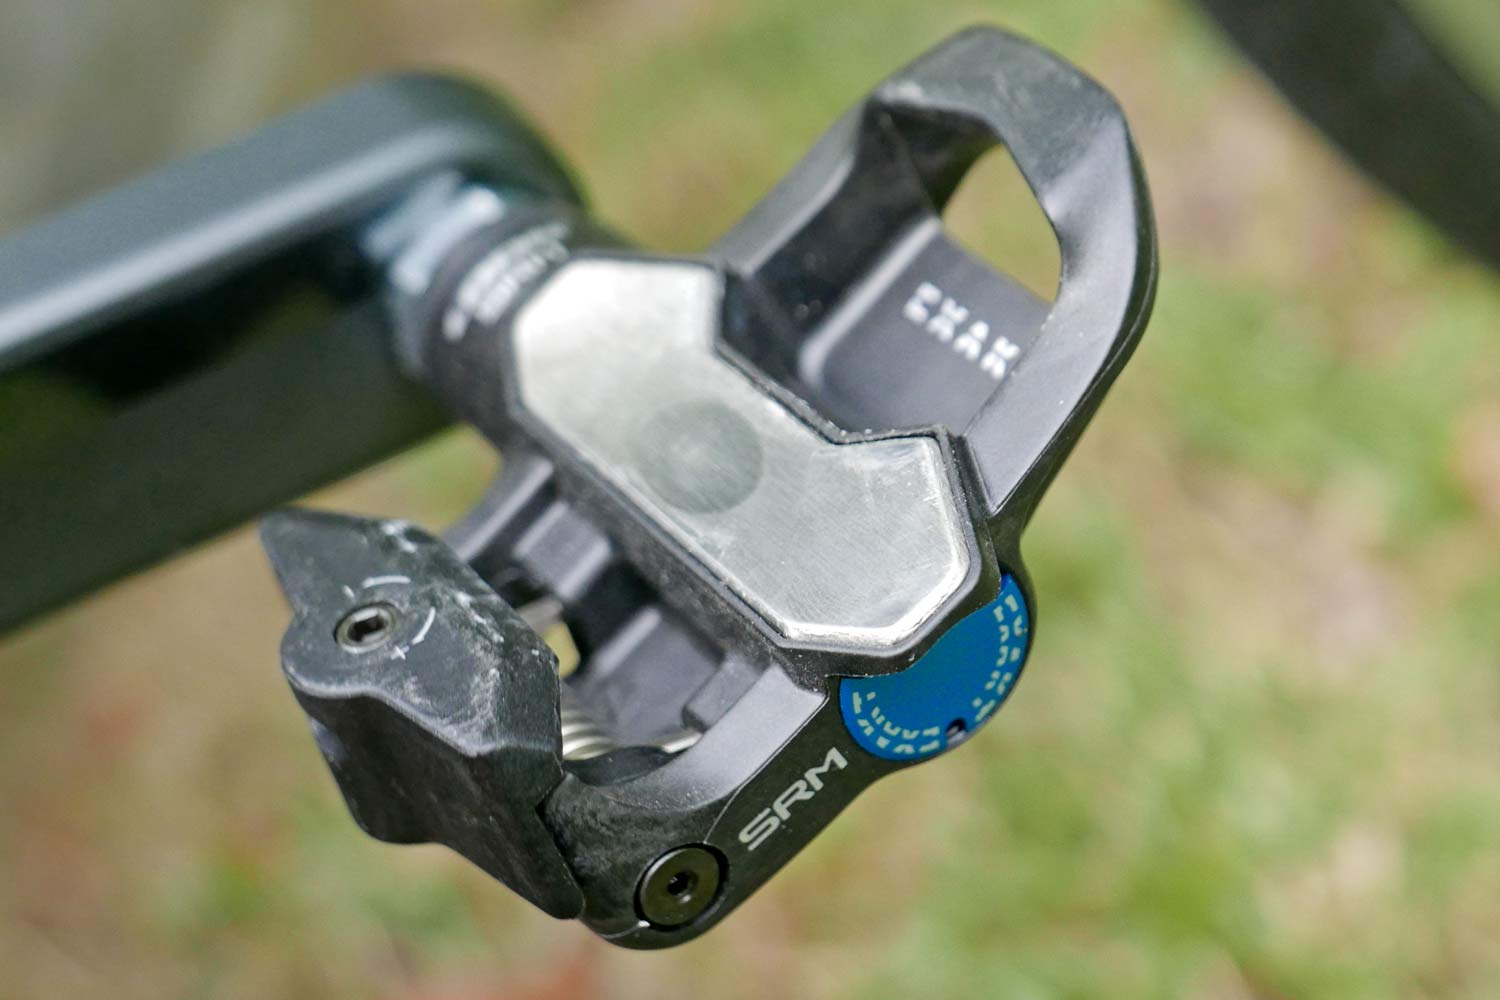
The strain gauges are hidden inside the spindle (axle), so they usually add a bit of stack height since the axle and/or pedal body has to be thicker. SRM and Garmin are the two major brands offering power meter pedals, but a few boutique brands have them, too. SRAM recently acquired PowerTap, so look for them to reboot that pedal soon.
The upside is you can buy one set of pedals and move your power meter between bikes. Older models used dongle-like antennas, but modern versions hide the antenna and all electronics inside and are much easier to install…just note that some models use a lock-nut to position the axle in a certain orientation to the crankarm and misaligning that up will result in not-at-all-accurate power readings.
How do cycling power meters work?
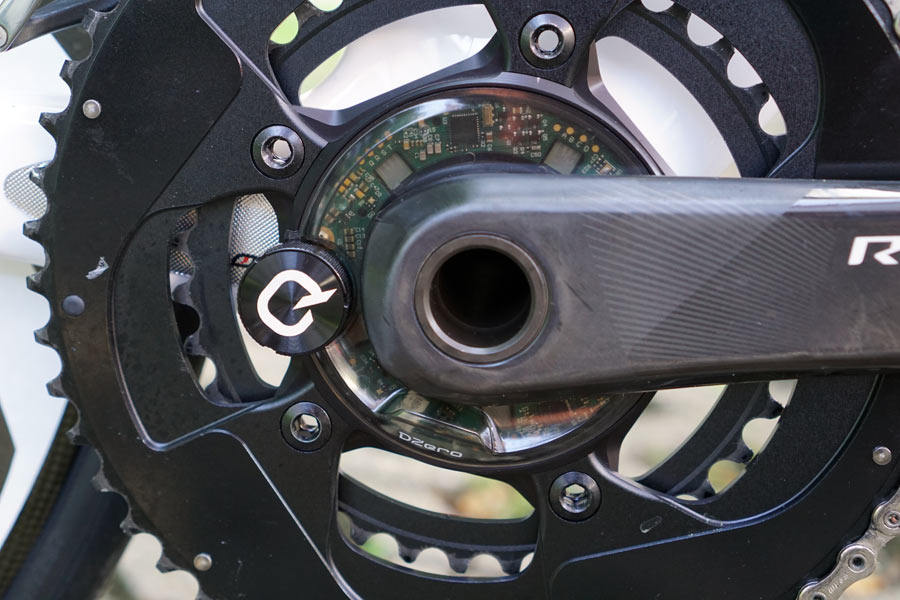
Regardless of which type you get, every type of cycling power meter works by measuring the force of your pedal stroke against the resistance of moving the bike forward.
The differences are in where they measure it, whether it’s in the pedal, spider, spindle, or crank arm. But they all use essentially the same mechanism: A strain gauge.
More accurately, they use multiple strain gauges, allowing them to measure force at different points in the crank’s rotation. The strain gauges are usually attached to a rigid piece, like your crank arm or the inside of a spindle. There, they can measure minute deformations in the material as you pedal.
So, yes, you’re actually stretching, torquing, and bending those cranks and spiders and axles as you pedal. You can’t see it, but the strain gauges are so sensitive, they can measure it. The manufacturer knows how much force is required to deform it a certain amount, and uses that data to calculate your power based on how much the part is being deformed.
Circuitry and software then turn that data into a number that can transmit via ANT+ or Bluetooth (or both) to your cycling computer, smartphone or fitness watch. Bonus points in that most of them will also transmit your cadence, too.
How accurate should a power meter be?
Most brands claim accuracy between +/- 1% for crank-based power meters, and the tolerance can go out as much as 2-3% for less expensive options.
Asking how accurate you need it to be, though, is a bit of a trick question, because the real answer is “it doesn’t matter” as long as you stick with the same one. As long as you’re buying a high-quality brand and product (like those listed in our Buyer’s Guides), the better question is “which one best fits my bike, my needs, and my budget?”
No matter which power meter you land on, the most important aspect is consistency. The best power meter is the one you use day in and day out. Switching from unit to unit or brand to brand introduces variability that makes it harder to accurately compare training sessions and track progress.
What about using power for indoor training?
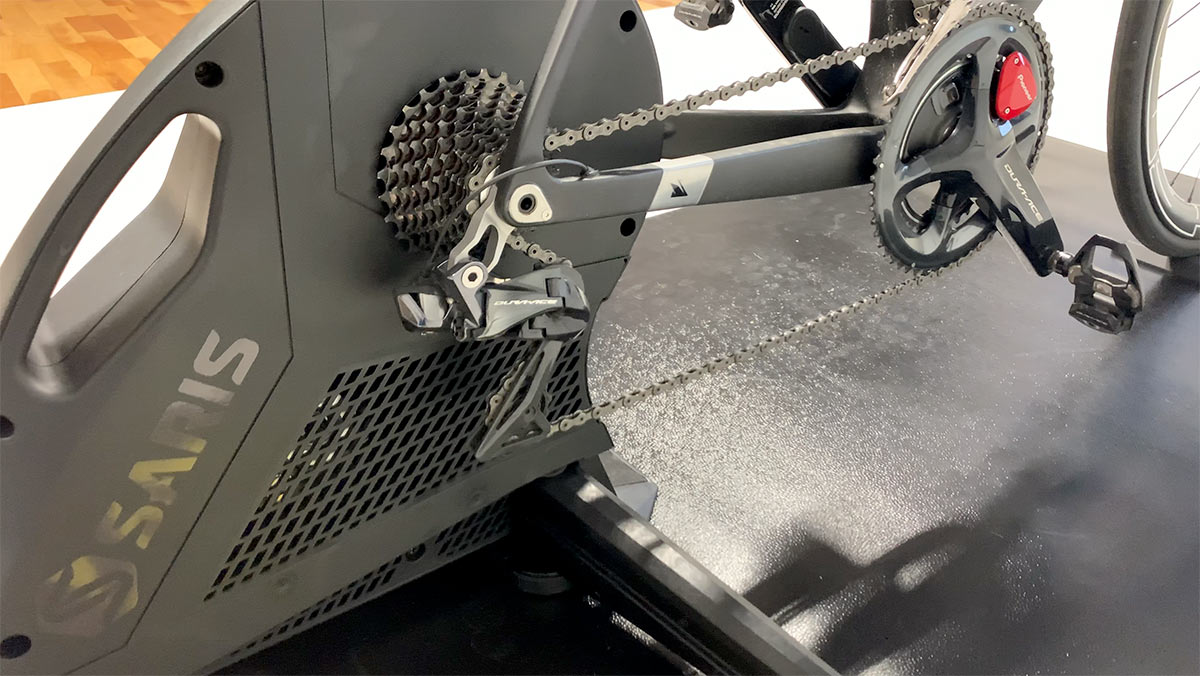
If you’re training indoors, too, know that your smart trainer’s power measurement is going to be (possibly dramatically) different than your bike’s power measurement. If you’re Training (with a capital “T”) for real, it’s probably best to put your power meter-equipped bike on the trainer and use that to track performance even if you’re relying on your smart trainer to control resistance or online avatars.
Do I need separate left/right power measurement?
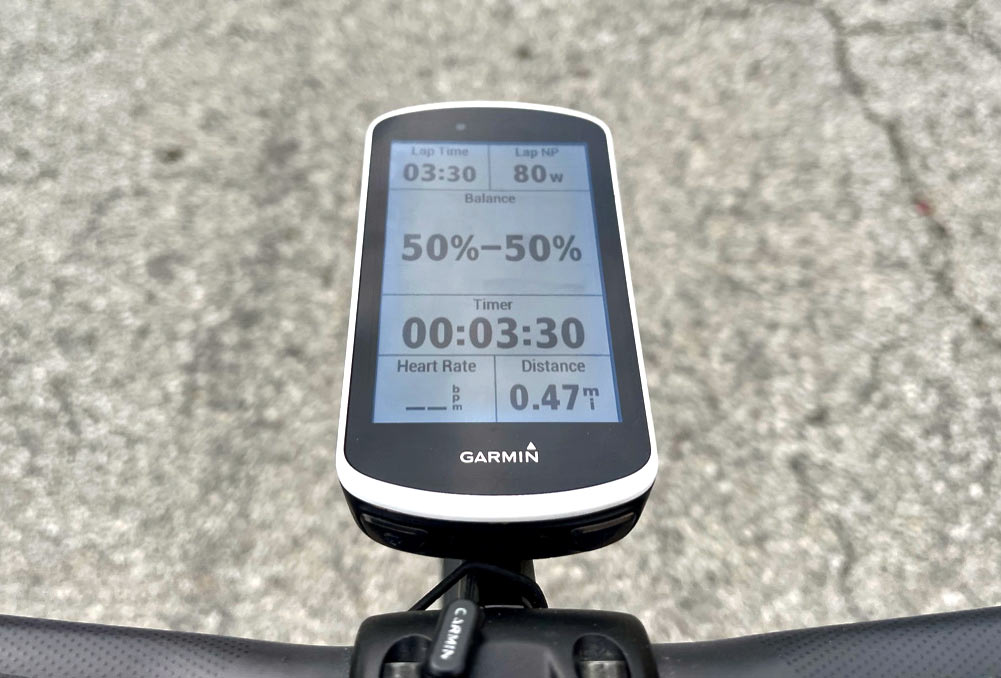
Many power meters are only really measuring the output of one of your legs, usually the left. This works because the software simply doubles that number to give you an estimated total power output. It’s simple, and is still a very useful number.
Spindle-based power meters are only able to measure your left leg’s output because only the left (non-drive) side forces are transmitted through that piece. And if your crank-arm power meter is stuck to (or inside) the left crank arm, it’s only measuring the left leg’s power output.
The downside to single-leg power meters is they won’t show any differences between your legs. Most of us have a dominant leg, but if you don’t know which leg is weaker, or by how much, then you won’t have the data to help strengthen your weak side and restore balance to the universe bike.
If isolated right and left leg power metrics are important to you, look for meters like the Rotor 2INPower or the pedal-based options. These units have separate sensors on both the right and left sides of the unit and deliver truly distinct power readings. This can be a great way to track pedaling technique or measure recovery after an injury, too.
What about pedal stroke analysis?
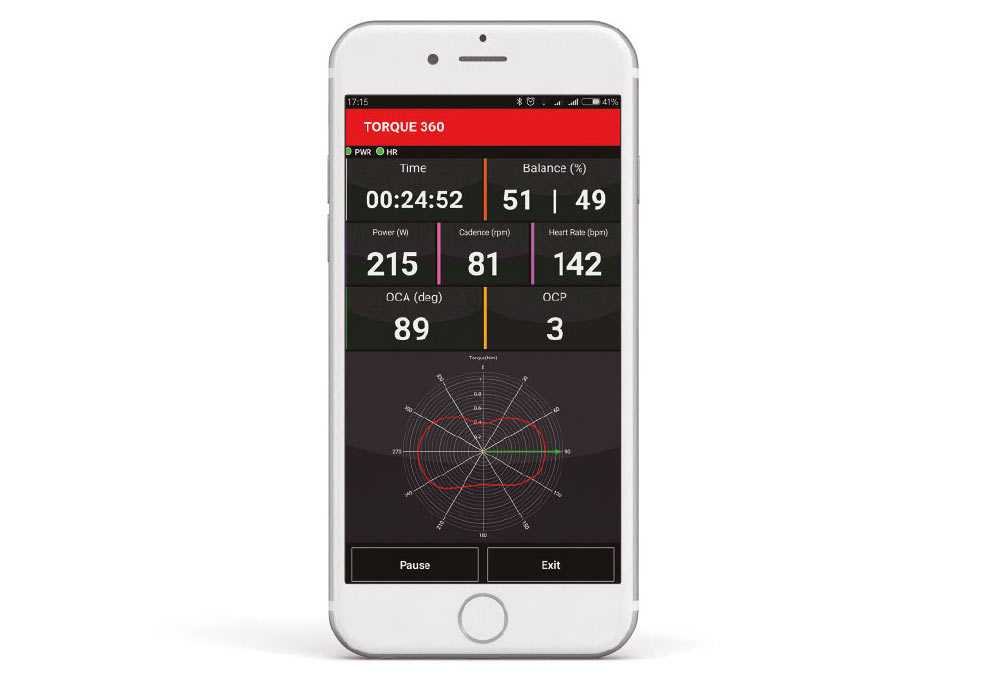
Higher-end power meters do more than just measure your power output. Additional strain gauges and electronics, paired with more advanced software, can tell you a lot about your pedal stroke.
Most of our power comes on the downstroke. There’s a tremendous dropoff in the amount of force we’re able to put into forward motion at the top and bottom of the pedal stroke. In some positions, we’re might be creating negative force that’s counter productive.
But with the right data, we can see where those weak spots are and work on improving them with better pedaling form. Look for features like:
- Torque: Measured in different ways, it can show you how much power you’re applying at different spots around your pedal stroke so you can pinpoint where you’re weak. Better systems provide more granular data, and some can even show the direction of your force compared to the direction of the pedal’s movement. For example, if you’re stomping downward at top and bottom of your pedal stroke, your force is actually mostly perpendicular to the pedal’s movement, so it’s wasted energy.
- Pedal Smoothness: How evenly your power is applied all the way around the crank arm’s rotation.
How do I calibrate a power meter?
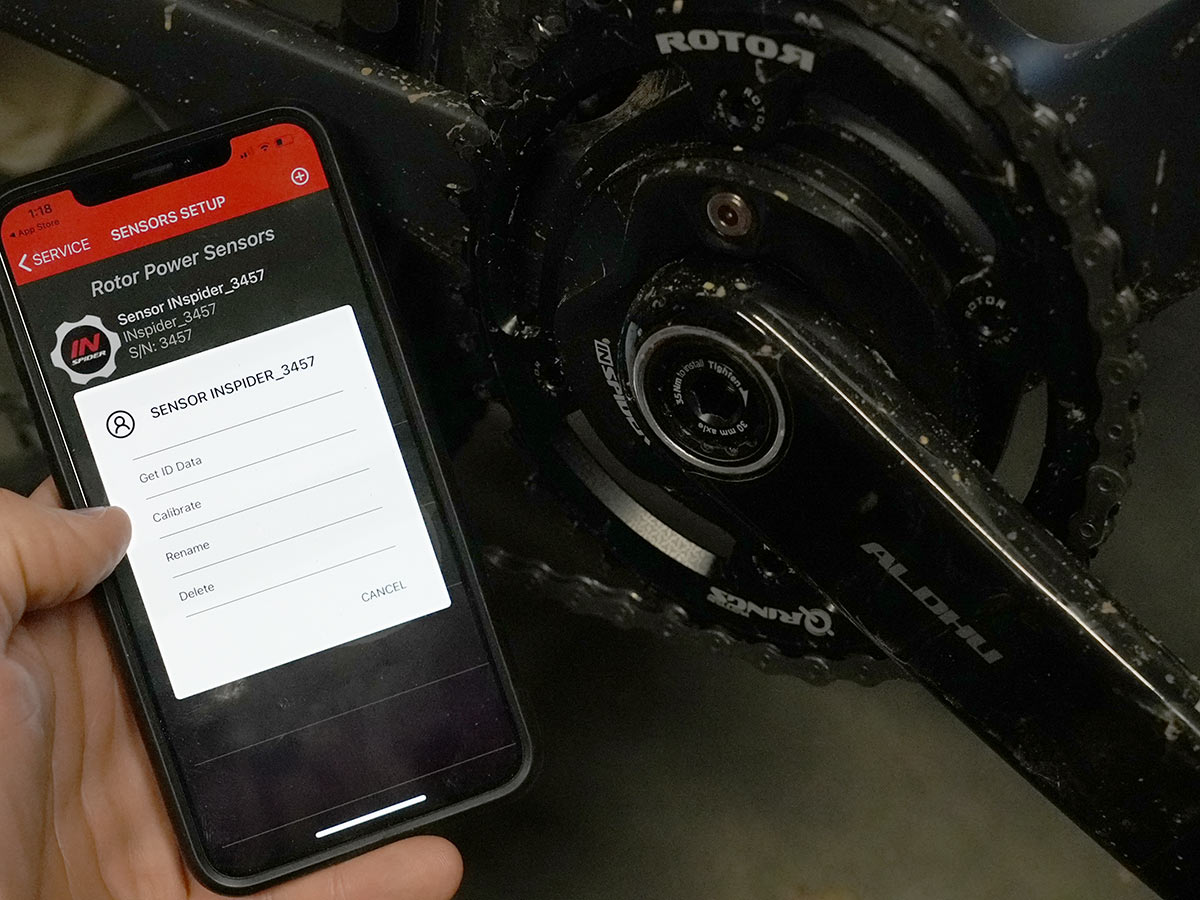
Current power meters are almost all calibrated through a companion smartphone app, or compatible cycling computers, and the process is as simple as opening the app and selecting the “Calibrate” function.
Calibrating a power meter simply tells it where its “zero” point is so that it knows what strain the weight of the pedal and anything else is placing on the meter before you apply any force. It also takes air pressure (elevation) and temperature into consideration, as these things can affect the strain gauges ever so slightly.
You’ll need to do this when you first install the power meter. After that, it’s a good idea to occasionally calibrate it to make sure it still has an accurate idea of “zero”. Other times you should calibrate include:
- When you change pedals
- When you change chainrings
- When you change cranks or any part of your drivetrain
- When you haven’t ridden the bike in a while
- When you charge or change batteries in the power meter
- When temperature or elevation have changed dramatically
Most modern power meters automatically correct for temperature and other environmental changes during your ride, so you shouldn’t ever need to calibrate mid-ride. That said, if the numbers just don’t seem right, recalibrating is usually the quickest fix. If that doesn’t do it, it’s probably time to change/charge your power meter’s battery.
How much do power meters cost?
Depending on the features you want, cycling power meters can range from $350 up to about $1,800. The difference is features – single or both crankarm readings, accuracy, weight, and whether you’re adding one part to an existing drivetrain or replacing an entire crankset.
- Crank arm: Add-on models like Stages & 4iiii are at the low end of that price range, starting around $350, but their prices go up based on which model of crank arm is attached to the power meter. Integrated crankarm power meters, like Rotor’s, start around $700.
- Spindles: Race Face/Easton CINCH power meter spindles start at $599 for the spindle only. Rotor’s INpower system includes the crank arms and starts at $699 without chainrings.
- Spiders: Powermeter spiders typically range from $850 and up. Quarq (which is owned by SRAM but makes models for other brands’ cranksets and chainrings, too) offers some of the most affordable power meter spiders. They’ve even started bundling them in with non-replaceable chainrings, which means you simply swap out the entire system when the chainrings wear out.
- Pedals: Powermeter pedals start around $650 for single-sided options and jump to about $1,200 for dual-sided kits. The nice thing is you can start with the left pedal and then add the right as budget allows. If you routinely ride multiple bikes and want power meters on all of them, these make the most sense.
Power Meter Buying Guides
So, which type and brand should you buy? We’re adding road, gravel, and mountain bike power meter buyer’s guides, here’s what’s live now:
- Mountain Bike Power Meter Buyer’s Guide
- Road Bike Power Meter Buyer’s Guide (coming soon)
- Gravel Bike Power Meter Buyer’s Guide (coming soon)
- Triathlon Power Meter Buyer’s Guide (coming soon)
What questions do you have about cycling power meters? Leave ’em in the comments and we’ll answer them!
