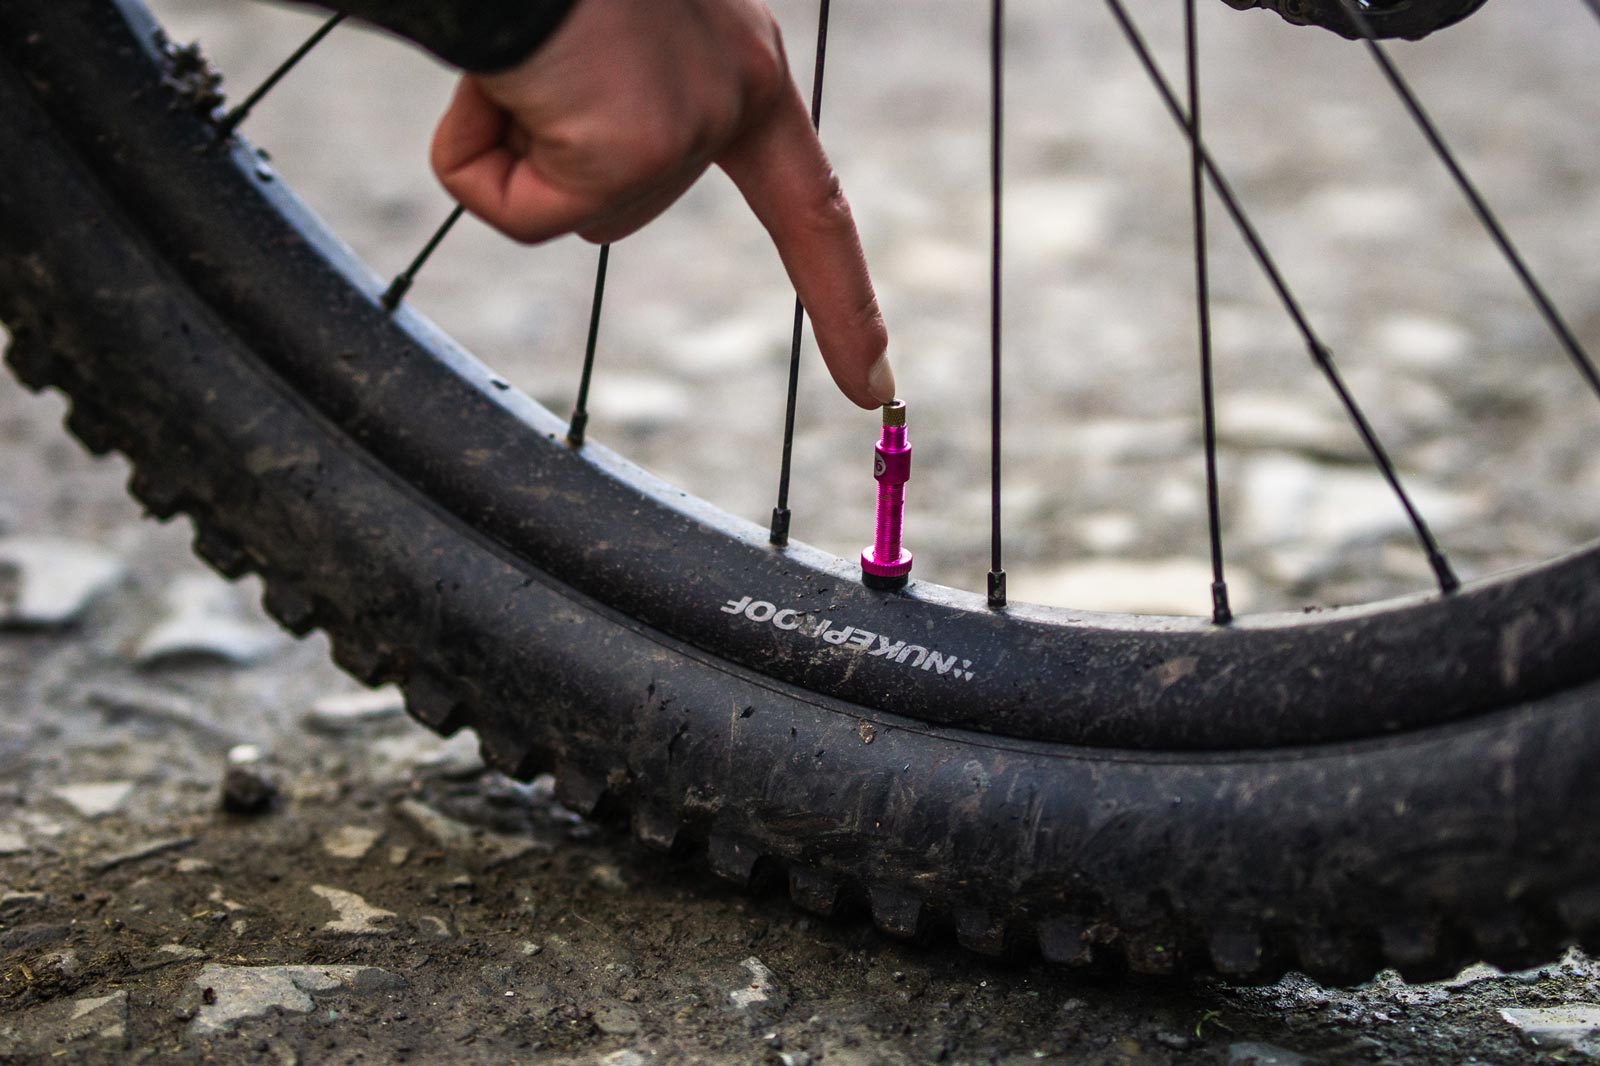
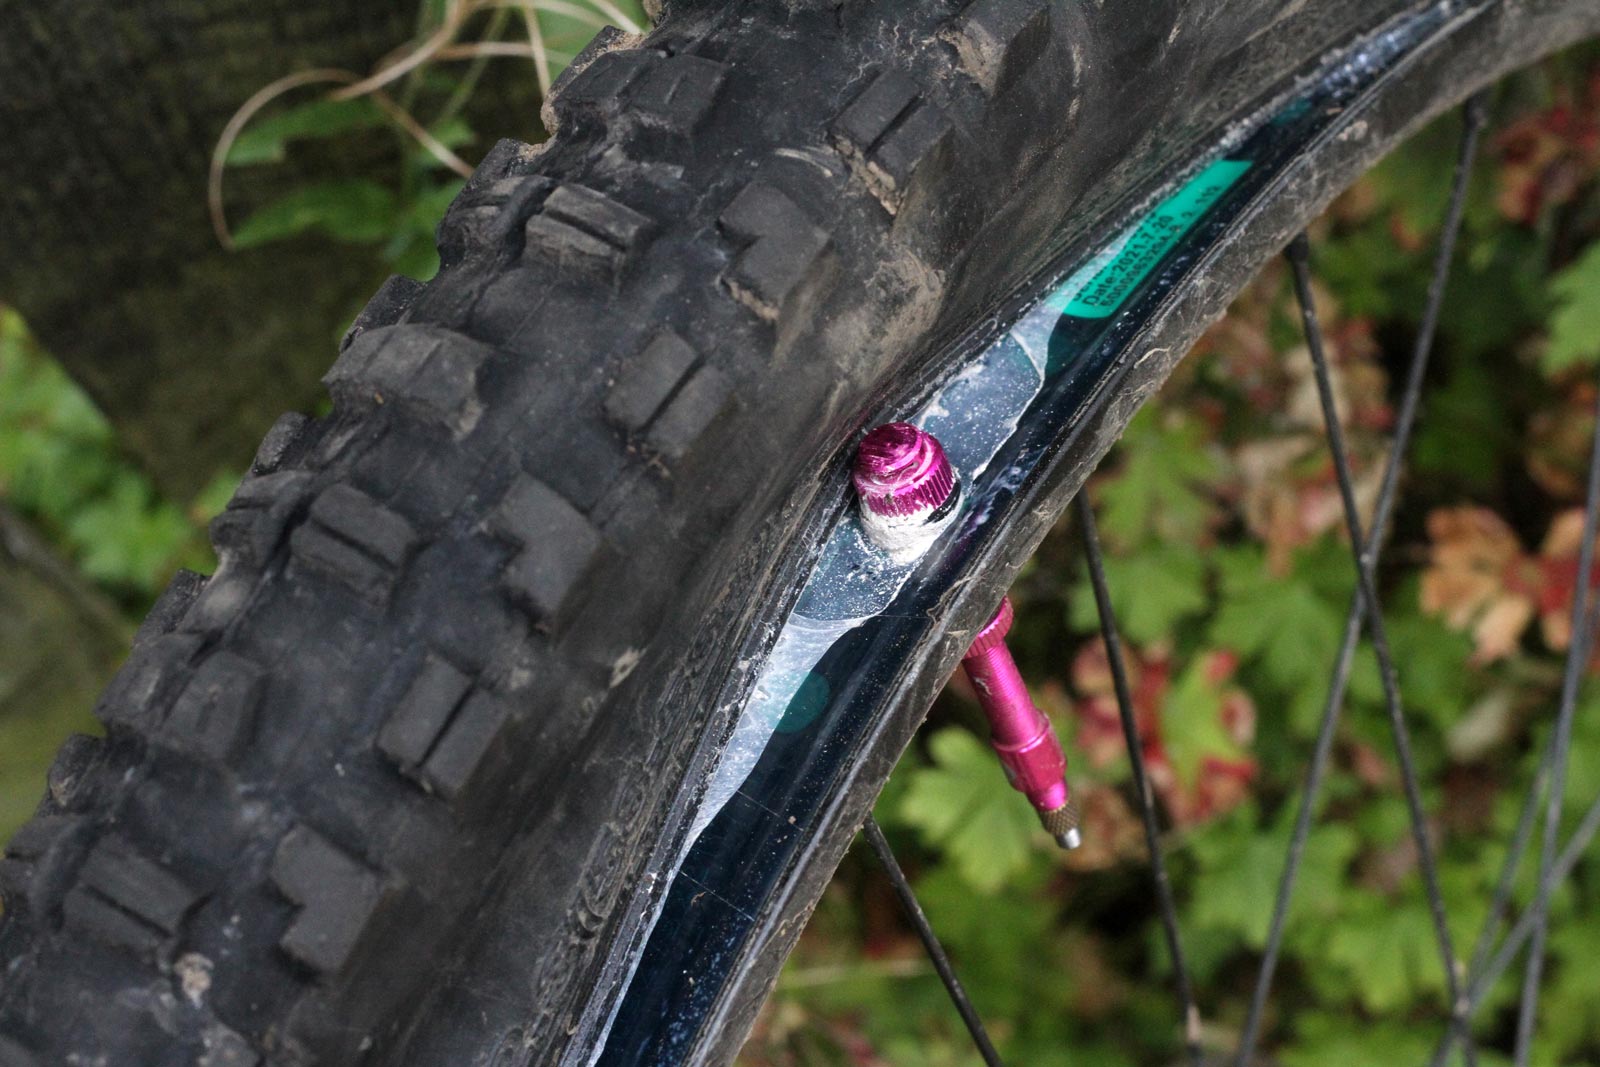
76 Projects were first to market with a new Hi Flow No Clog Tubeless Valve, though we only caught wind of it after release of the Reserve Fillmore, another tubeless valve with the “Hi Flow No Clog” tagline. The 76 Projects offering is, by some margin, the more affordable of the two, retailing at £24.50 ($29 USD) for the pair. It’s available in three different length options for rims of varying depths, and each set comes with a bunch of spacers so you can tailor it to your specific rim depth.
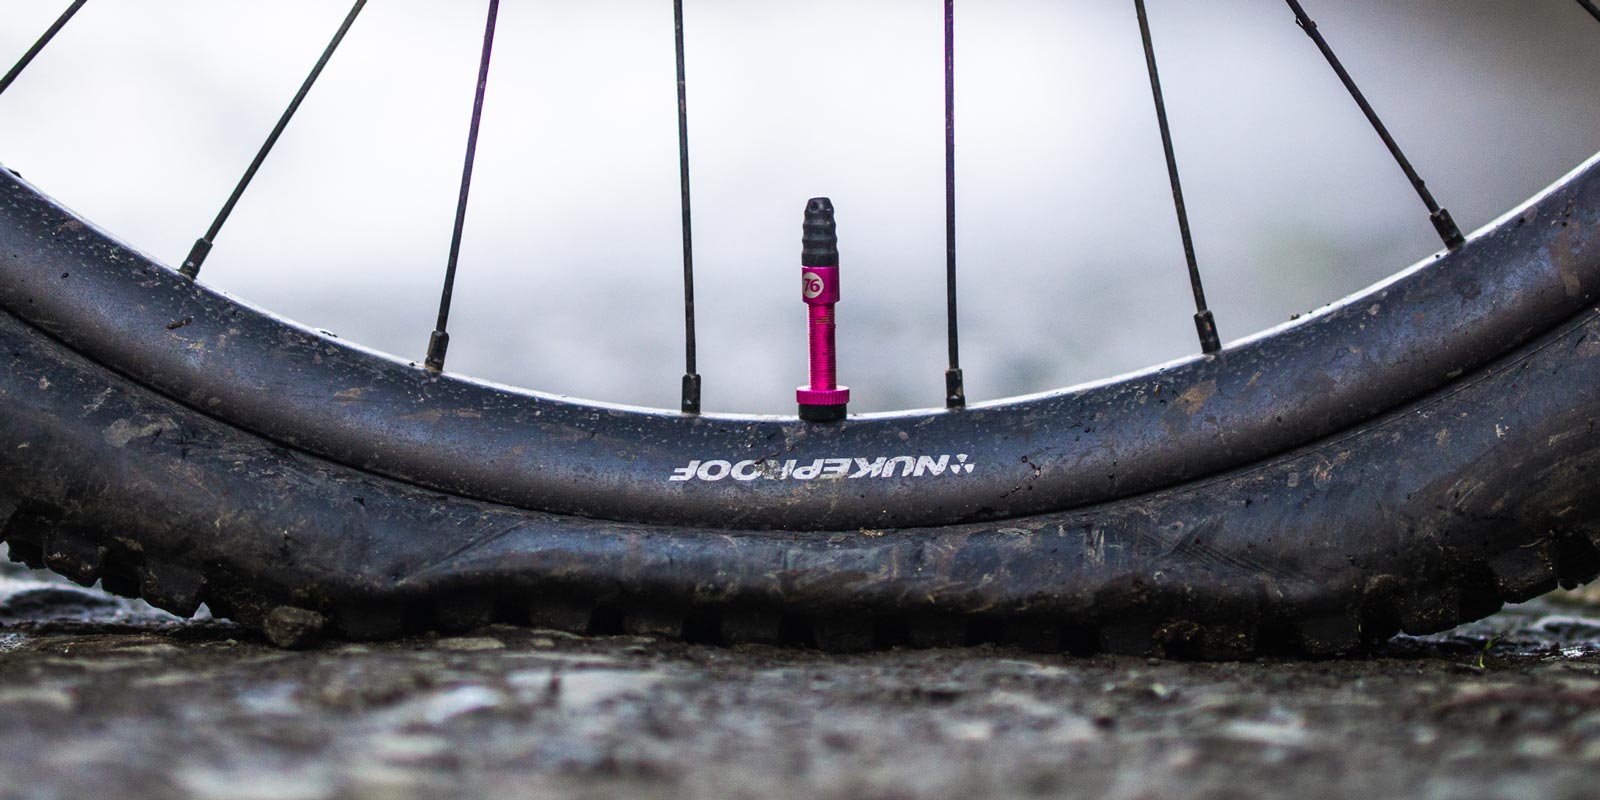
The classic Presta Valve, though sufficient for tubeless setups, isn’t ideal. They have a tendency to clog up with sealant, making post-burp sealant refills and post-puncture re-inflation a bit of a pain. A blockage can also make it difficult to unscrew the Presta head, not ideal when you want to perform a quick check of your tire pressures before heading out. The blockages can be dealt with by removing the valve core and cleaning out the offending sealant, but that takes time. We all want to spend more time riding our bikes, not maintaining them.
The 76 Projects Hi Flow No Clog Tubeless Valve seeks to solve this problem with a design said to eliminate the possibility of clogging. The higher volume shaft should be less vulnerable to clogging, and it is also said to permit 4X the airflow of a Presta Valve – without the need to remove the core. We got a set in for testing to see if the claims hold up to reality.
Review: 76 Projects Hi Flow No Clog Tubeless Valve
I initially installed the 76 Projects Hi Flow No Clog tubeless valve on a Nukeproof Horizon V2 Wheel with a Maxxis Minion DHRII tire. Orange Seal is my go-to choice of tubeless sealant – that and WTB’s TCS tubeless sealant were used while testing out this new Hi Flow valve.
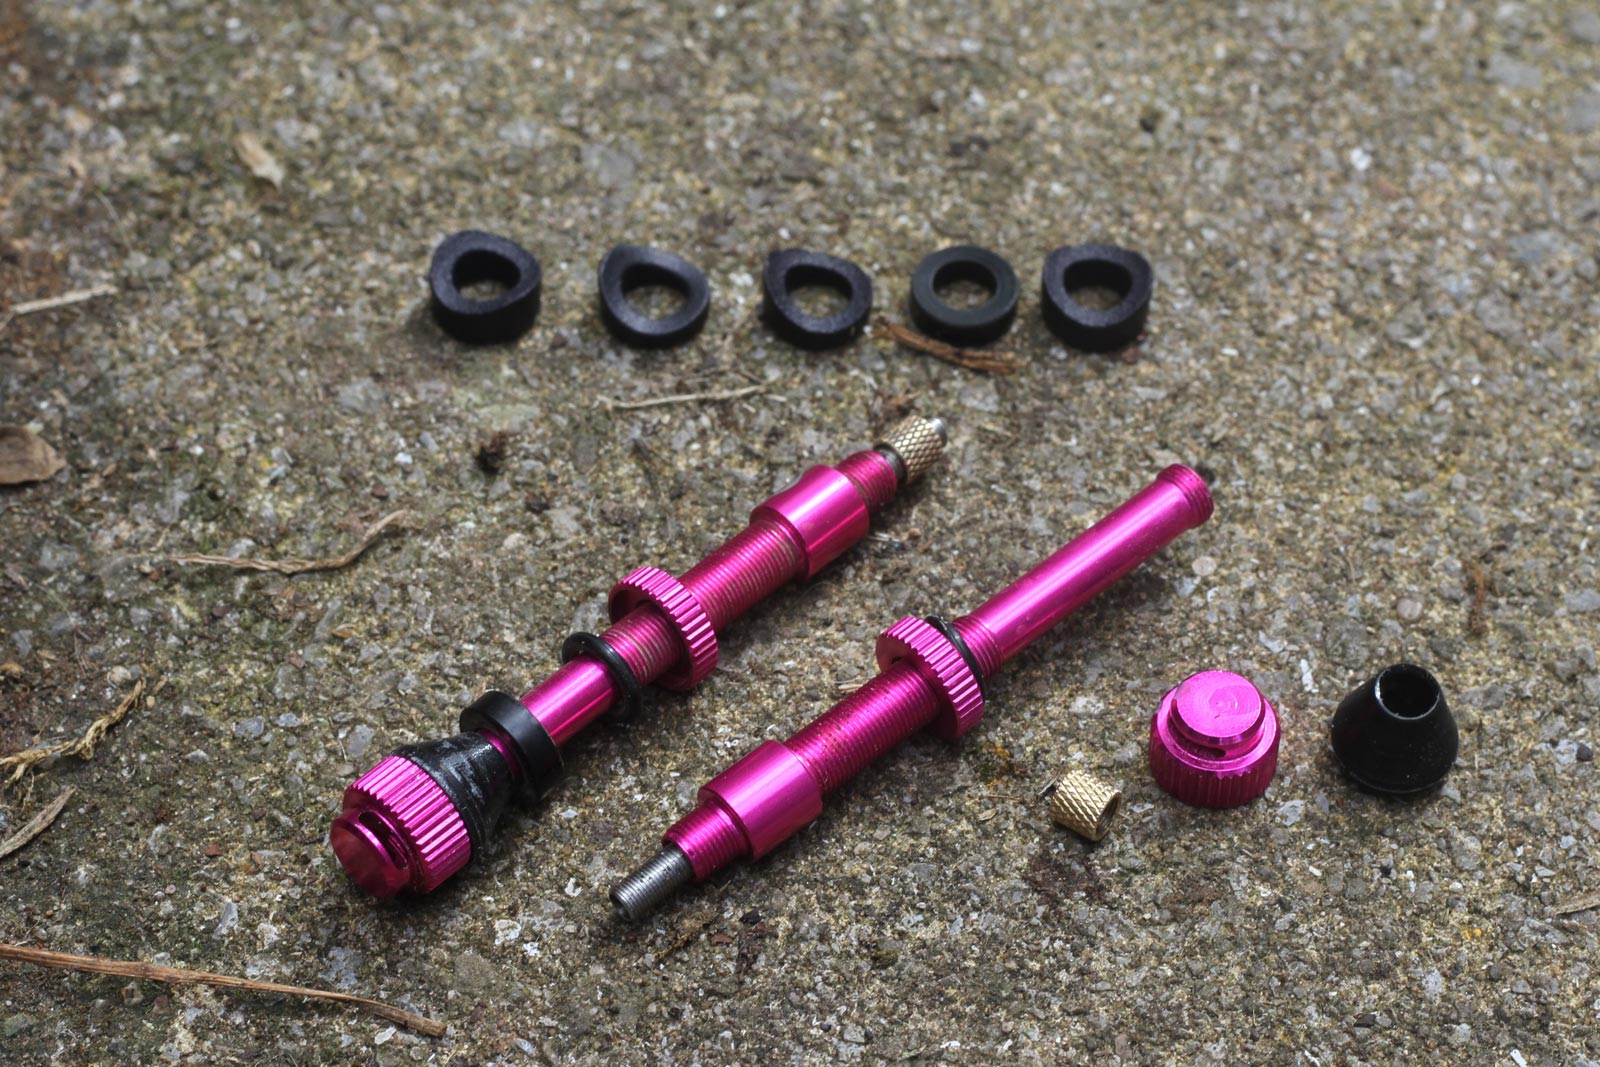
With eight different component parts to each valve, it did at first seem overly complex to fit. As the valve stem itself is wider than a regular Presta valve stem, it doesn’t actually fit through the rim’s valve hole. That’s why the valve has a removable base nut; to install, you have to push the valve stem through the rim from the outside (opposite to normal), then push the base seal onto the shaft, and then thread the base nut onto the threaded end.

Before you push the valve stem through the rim, you need to select the appropriate spacer to slide onto the stem – included is a host of spacers, including flat ones, rounded ones, and half-rounded ones that could work well if you have an asymmetric rim profile. Don’t forget the o-ring and lock ring, too.
The risk here is that, if your rim tape doesn’t already have a clean cut hole in it, the action of pushing the valve stem through could cause it to tear. That said, if you are able to pre-cut the tape at the valve hole before carefully pushing the valve through it, it shouldn’t be a problem. In this case, we had no trouble at all. Even if the tape did tear ever so slightly, the sealant shouldn’t really have any problems dealing with that.
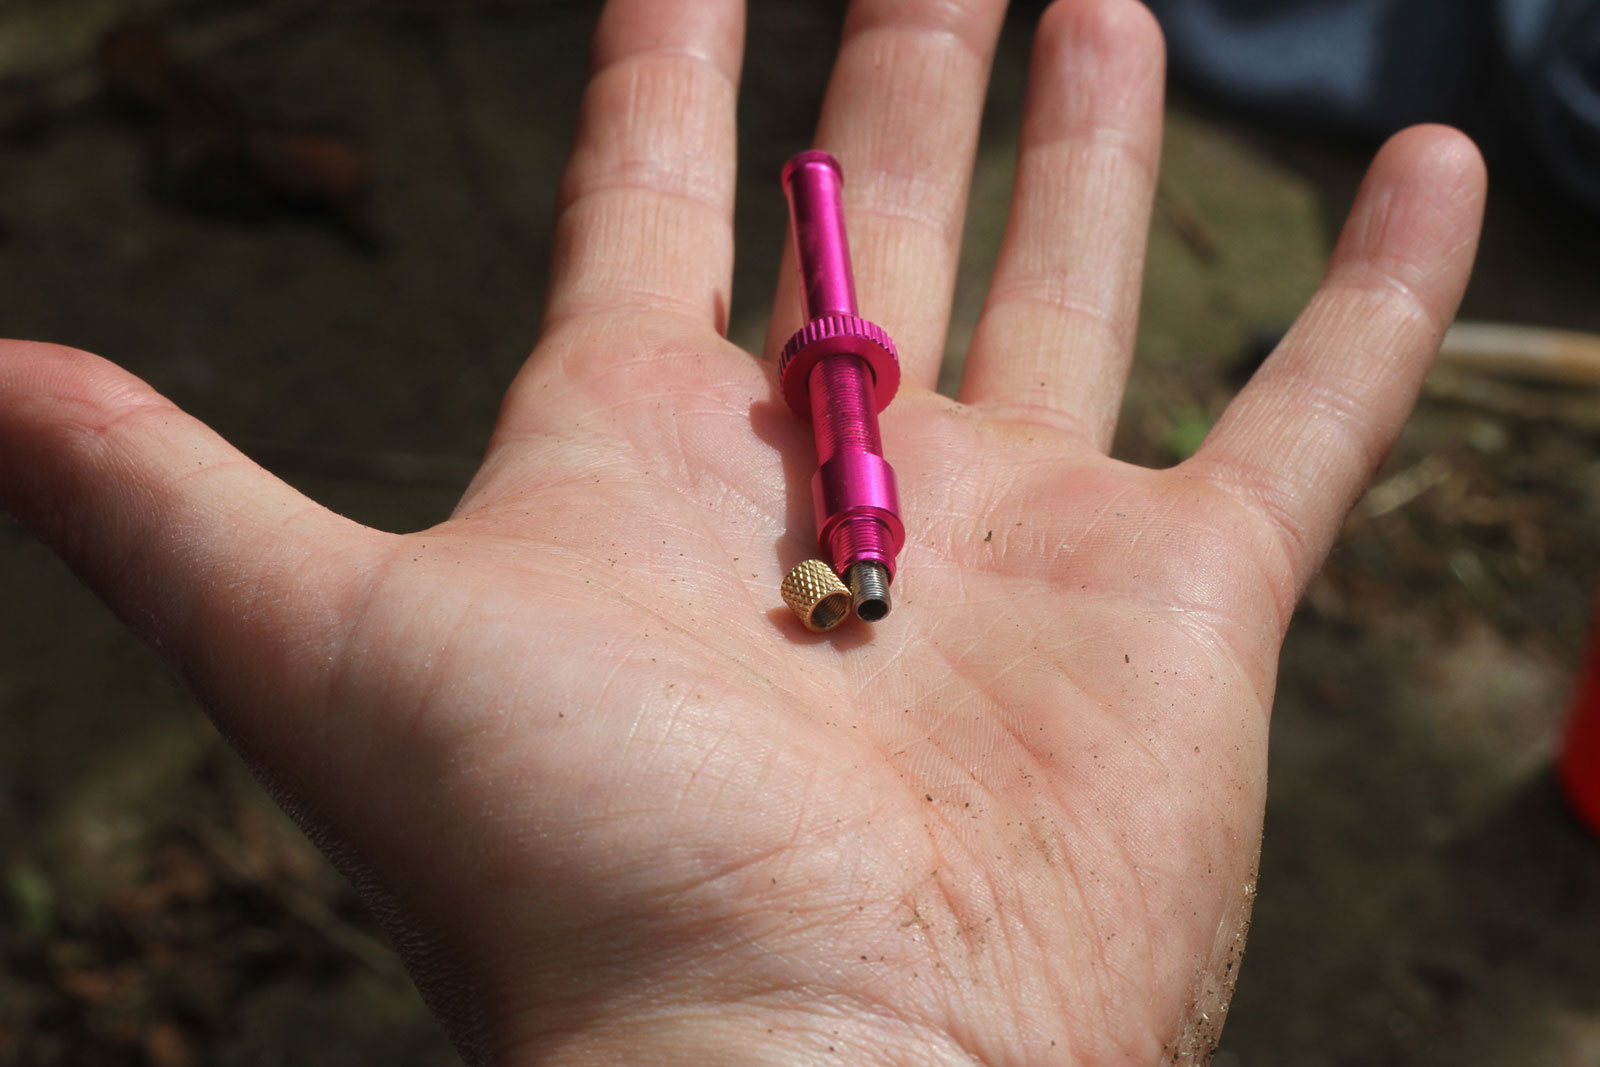
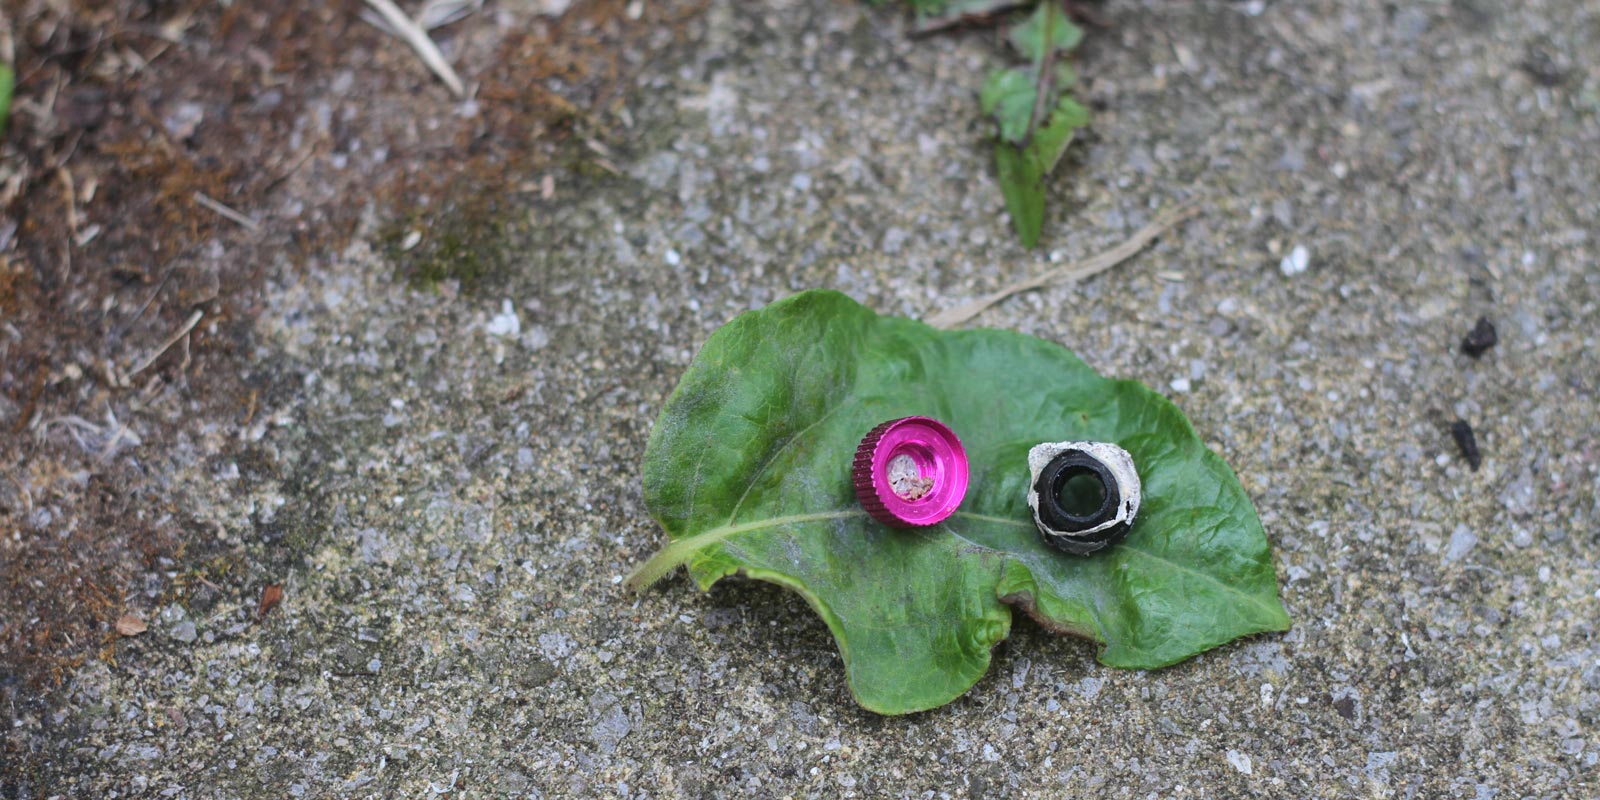
At the top of the valve, underneath the push-on rubber cap, you’ll find the valve core. It is made from stainless steel, and it’s hollow. It is through the hollow center of the core that air flows (and sealant can be injected). A small brass nut threads onto the hollow core locking the whole assembly into position – it pulls the valve core up the valve stem, cinching the internal seal into place to close the lumen. See here for cutaway images of the valve’s internals.
Honestly, installation of the 76 Project Tubeless Valve was considerably more fiddly than that of a regular Presta valve, mainly due to there being so many more tiny parts to lose! The little brass nut would so easy to lose, but really you should only have that off completely when injecting sealant through the core. Topping up was easy enough with Stan’s The Injector – just push the rubber pipping directly over the valve to form a tight seal before injecting it through.
How easy was tire seating with the 76 Projects Hi Flow No Clog Tubeless Valve?
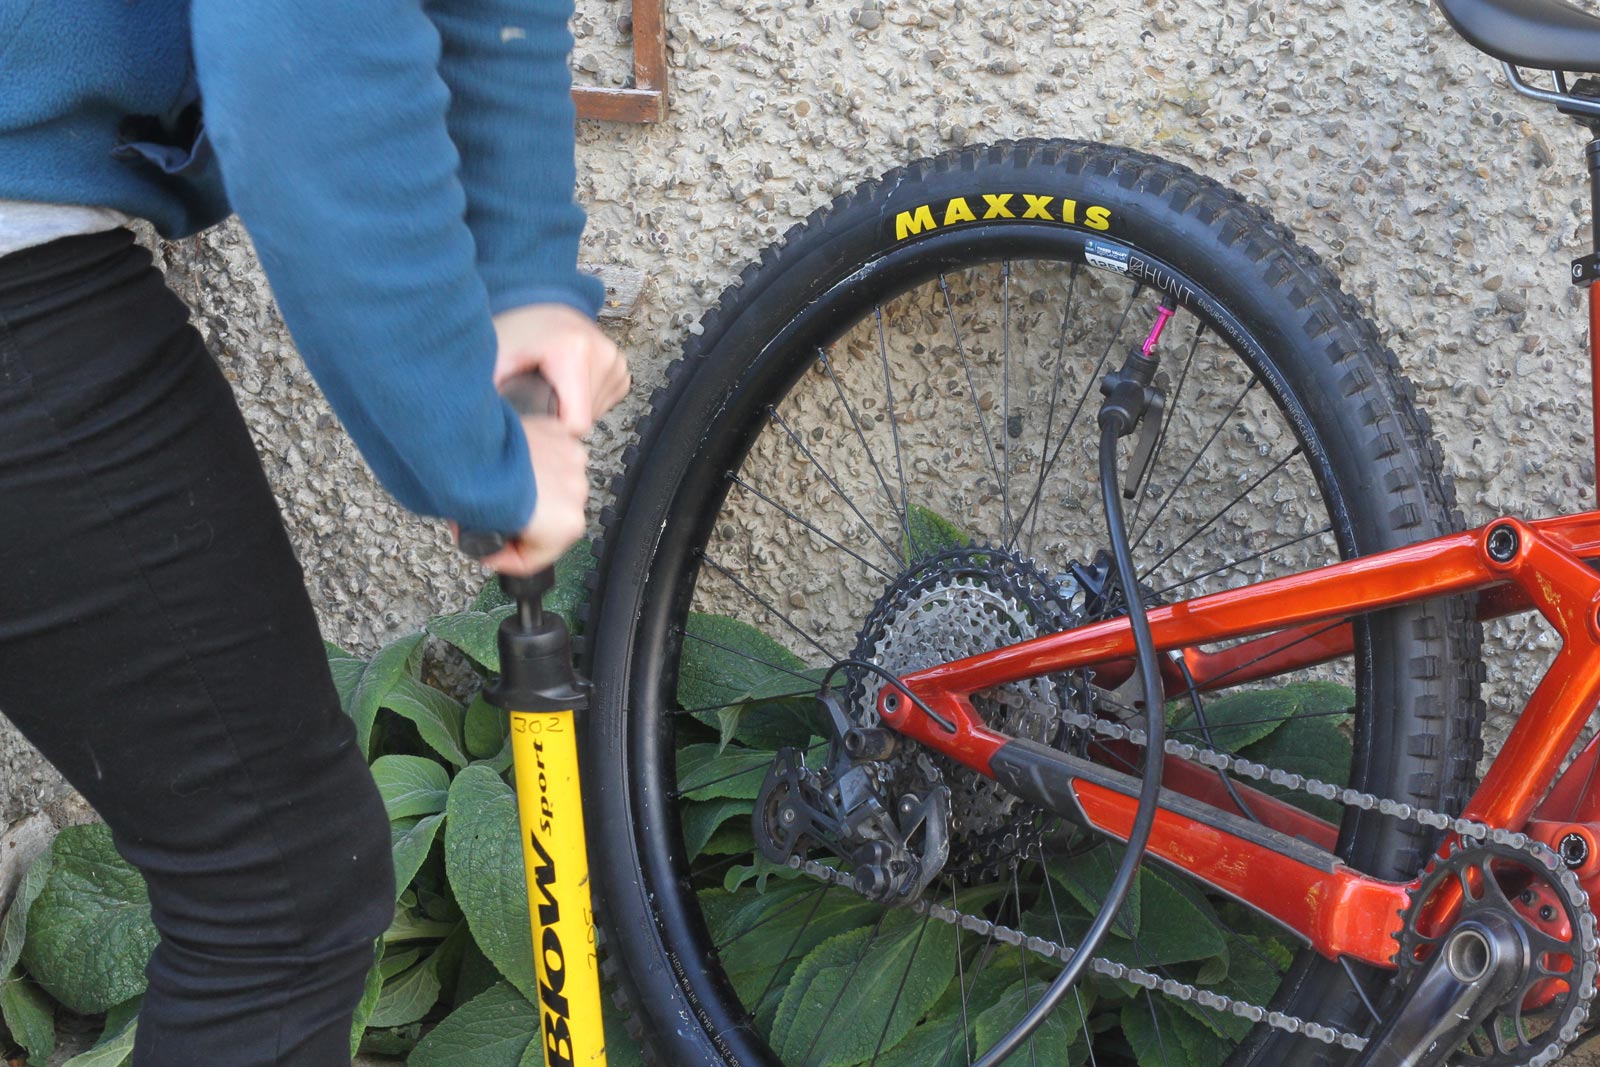
Very! Seating a 27.5″ x 2.4″ Continental Kryptotal Fr onto a Hunt Enduro Wide V2 rim was a doddle. I took 23 seconds of working away on the Topeak Joeblow Sport Pump to hear the satisfying pops of the bead seating on the rim. I back-to-back tested the same combo with a regular Presta Valve with the valve core installed – inflation took 33 seconds. Granted, it’s not super scientific, but from the first few pumps I could tell that inflation was going to be faster with the 76 Projects Valve.
The bigger difference was seen in the deflation time. From 25 PSI, it took just 12 seconds to deflate the aforementioned tire, as opposed to the 50 seconds it took to deflate it via the Presta Valve.
Given that I was able to easily inflate the tire with a regular Presta Valve without needing to remove the valve core, one could argue that the 76 Projects Valve is trying to solve a problem that doesn’t really exist. However, that easy inflation isn’t always the case – on some occasions I have had to remove the valve core, and sometimes I have even had to call on the services of the AirShot. Regardless, it was the No Clog feature of the valve that captured my interest. Which brings me to…
Did the 76 Projects Tubeless Valve clog up?
Nope! During the 3-4 month test period, I had three Presta Tubeless Valves clog up on me, but the 76 Projects Hi Flow No Clog remained blockage-free. That’s despite having injected Orange Seal through the core on one occasion. Very pleasing.
I switched the valve onto a new rim-tire combo half way through testing. Removing the tire from the rim, it did look as though the valve would be blocked as some sealant had coagulated inside the base nut, but it wasn’t enough to block the air flow – the valve was still functioning perfectly.
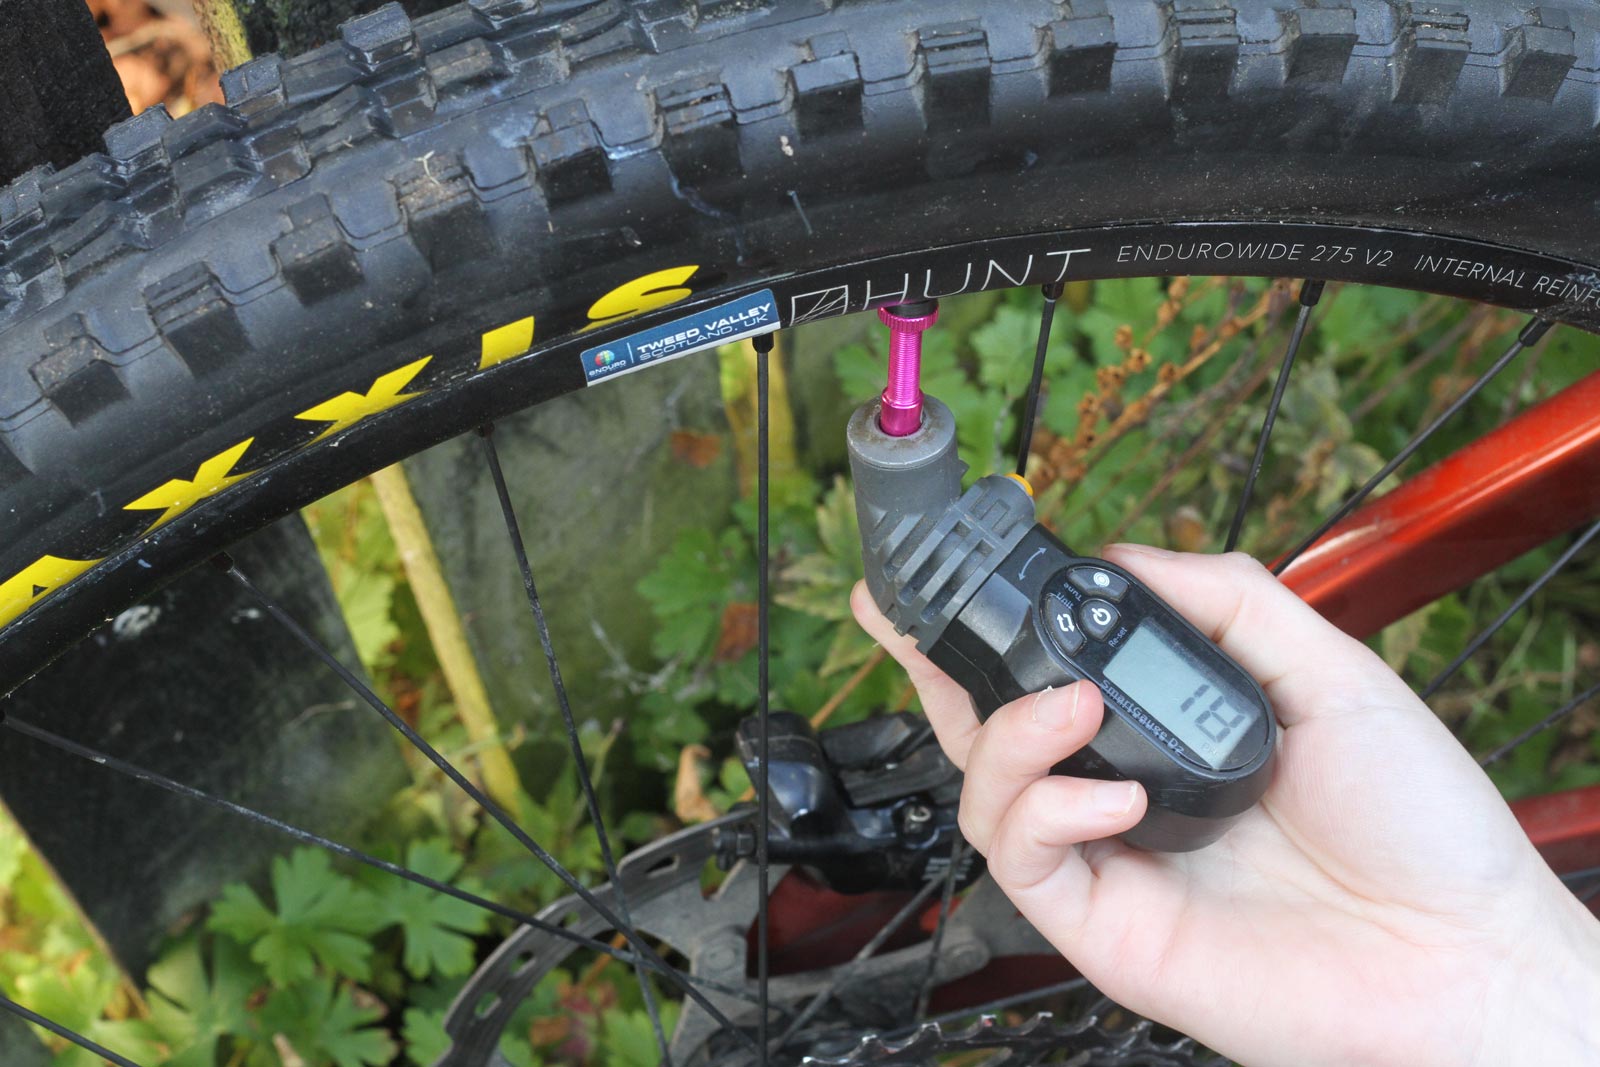
The valve is compatible with digital pressure gauges – I tried it with the Topeak Smartgauge D2, specifically, set to the Presta setting. The valve only works with push-on lever-locking pumps. If you have a screw-on hand pump, you’ll need to order an adapter at check out for an extra £4.
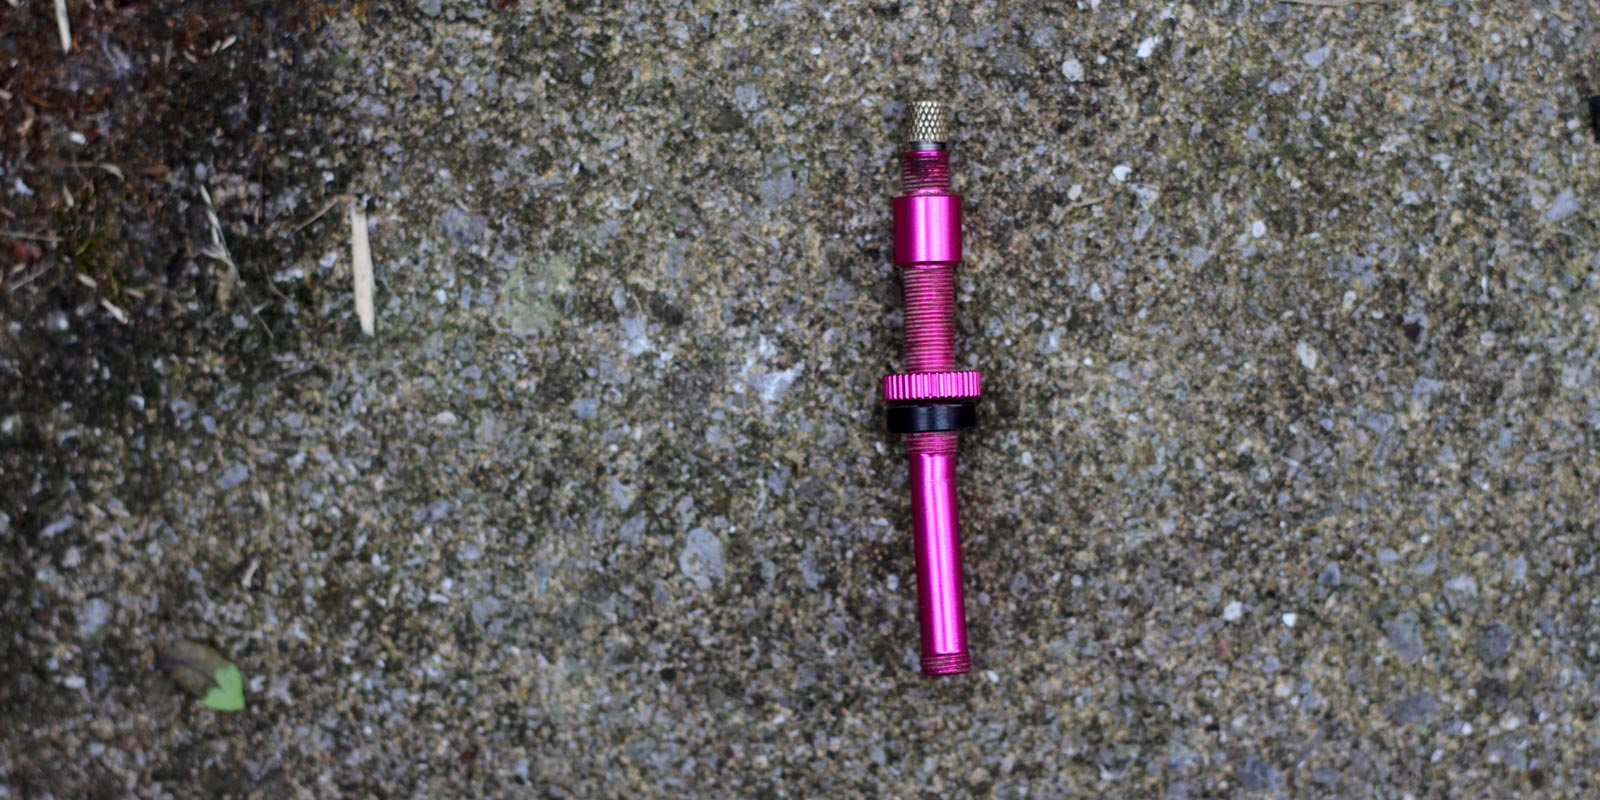
Unfortunately, the valve stem is a little bent after its 3-4 months of service. I can’t tell you when that happened, but I am pleased that the slight kink hasn’t compromised the function of the valve. Whatever the impact was, its force wasn’t sufficient to snap the valve stem entirely.
I did try the 76 Projects Valve with a MegaNorris Sandwich tire insert, and found the two to be perfectly compatible. That said, it is by no means the tightest fitting tire insert. Tighter, more voluminous ones like the Nukeproof ARD and CushCore may have been the more suitable challenge for the valve’s compatibility. However, judging by the considerable size of the holes on the aluminum base nut, I see no reason to believe it wouldn’t work with any tire insert out there.
Pricing & Availability
The 76 Projects Hi Flow No Clog Tubeless Valves retail at £24.50 ($29 USD) per pair, and are in stock now. Pick them up in Black or Magenta. There are three sizes available to fit differing rim depths:
- 15mm-35mm
- 30mm-50mm
- 45mm-65mm
Note that if you carry a screw-on pump in your riding pack, you’ll need to pick up the adapter for that at the check out; it’s an extra £4.
